Which bike is best for bikepacking?
How to choose the right bike for your bikepacking adventures
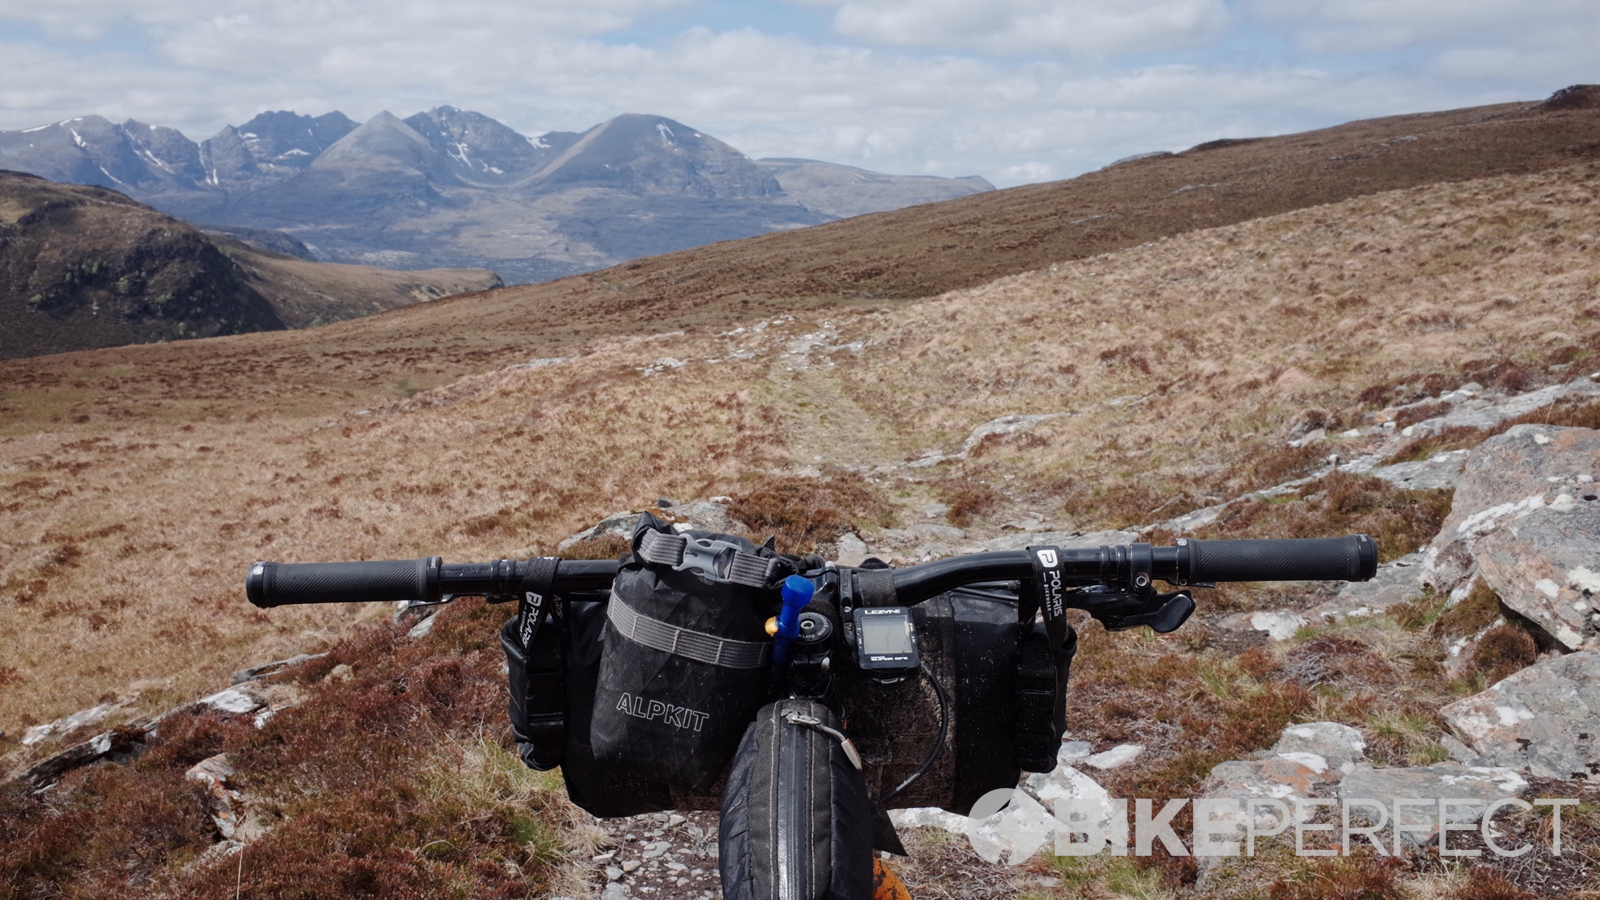
Bikepacking is quickly growing in popularity and due to the flexibility of bikepacking equipment, any bike can easily be transformed into an adventure-ready steed. However, depending on the adventure, choosing the right bikepacking bike for your trip could greatly influence your experience.
Previously, camping by bike was greatly limited by clunky touring equipment or a rider’s ability to pack everything into a rucksack. With more and more brands releasing universal storage systems, the options for bikepacking adventures are now almost endless. Whether your hunting out remote singletrack or want to take on a multi-day endurance race, the demands of the terrain and equipment needed will affect your choice of bike.
That means you now have the full choice of the bike styles although there are plenty of advantages and disadvantages when picking between hardtails, gravel and even full suspension bikes for your next trip. We take a look at which bike is best for bikepacking and break down some of the pros and cons of each type as well as a few suggestions to get your chosen bike adventure-ready.
Gravel bikes
Why trust BikePerfect
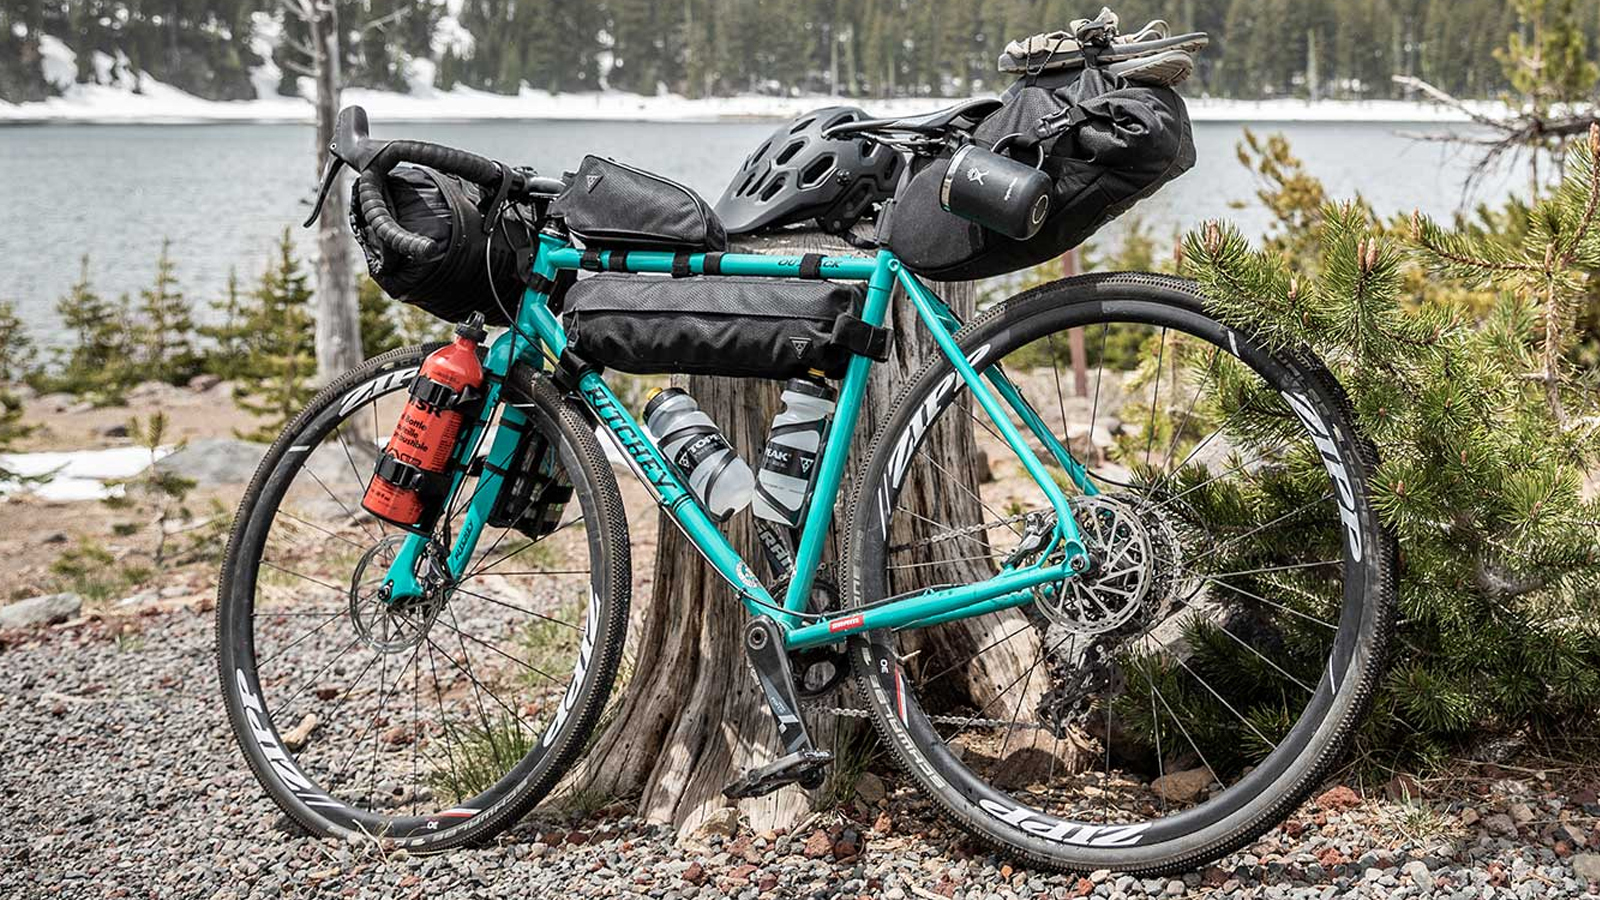
Gravel bikes are some of the most popular bikepacking bikes due to their terrain versatility and durability. Most popular bikepacking routes are designed with gravel bikes in mind as well, mixing sections of gravel, road, and well-graded singletrack. The best gravel bikes can offer close to road bike efficiency whilst still having the durability and tire capacity to tackle rough off-road sections. The stable geometry also lends itself well to being loaded with luggage without having a detrimental effect on handling. Gravel bikes' bikepacking potential hasn’t gone unnoticed by bike brands who include bikepacking-friendly features to bikes such as bosses for luggage, as well as extra bottle cage mounts on the downtube and forks.
While gravel bikes are very versatile they do have their limitations when the terrain becomes rougher. Despite clearances becoming more accepting of larger tires, the steeper geometry and drop bars can become limiting factors on steep or loose surfaces. The shape of drop bars can also be a limiting factor for handlebar bags, restricting the width and potentially impeding hand positions.
Hardtail mountain bike
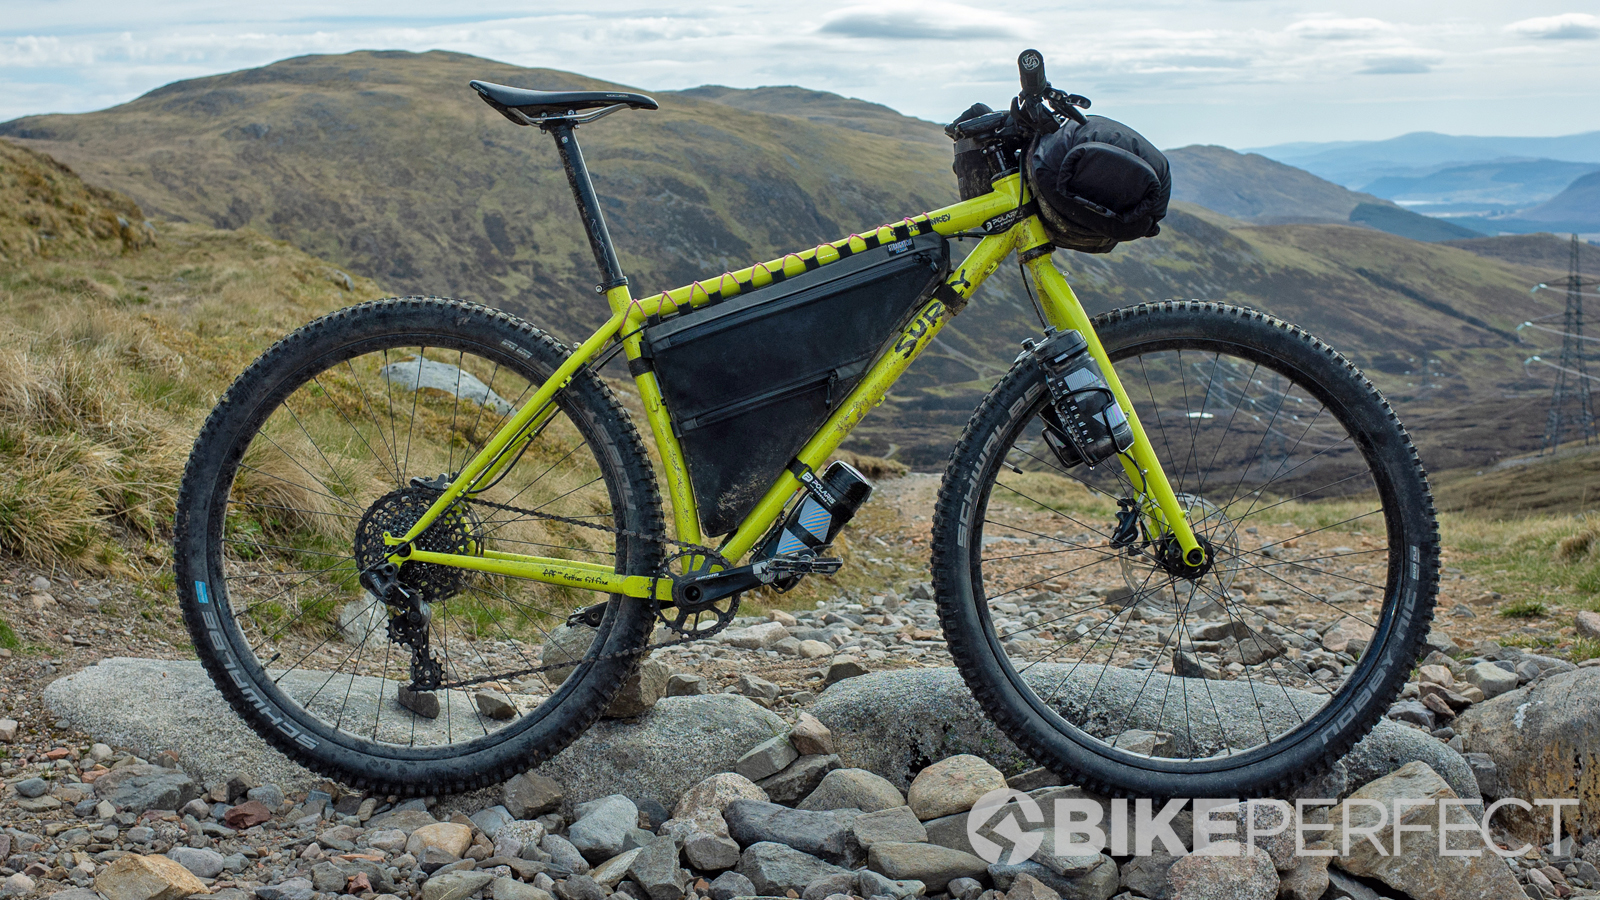
Like gravel bikes, the best hardtail mountain bikes are also well suited to bikepacking. Hardtails come with either suspension or rigid forks, a suspension fork adds comfort and control however if the terrain is smooth enough, swapping to a rigid fork can save weight and add extra mounting points. Although mountain bikes are better suited to off-road trails, rolling resistance can be greatly reduced with some fast low-profile XC tires if the route doesn’t require big grippy knobbles elsewhere. Fitting bar bags and saddlebags are also easy although smaller main triangles can limit frame bag capacity. If you are running a dropper post, check that your saddlebag is dropper-compatible although there are adapters to avoid damaging the dropper’s stanchion.
Over long distances some riders may miss the extra hand positions you would get on drop bars and if the route involves a lot of roads or smooth gravel even slick mountain bike tires will cause noticeable extra drag. If running a suspension fork, take into consideration the weight of your luggage and adjust your suspension to accommodate the extra load.
Full Suspension mountain bike
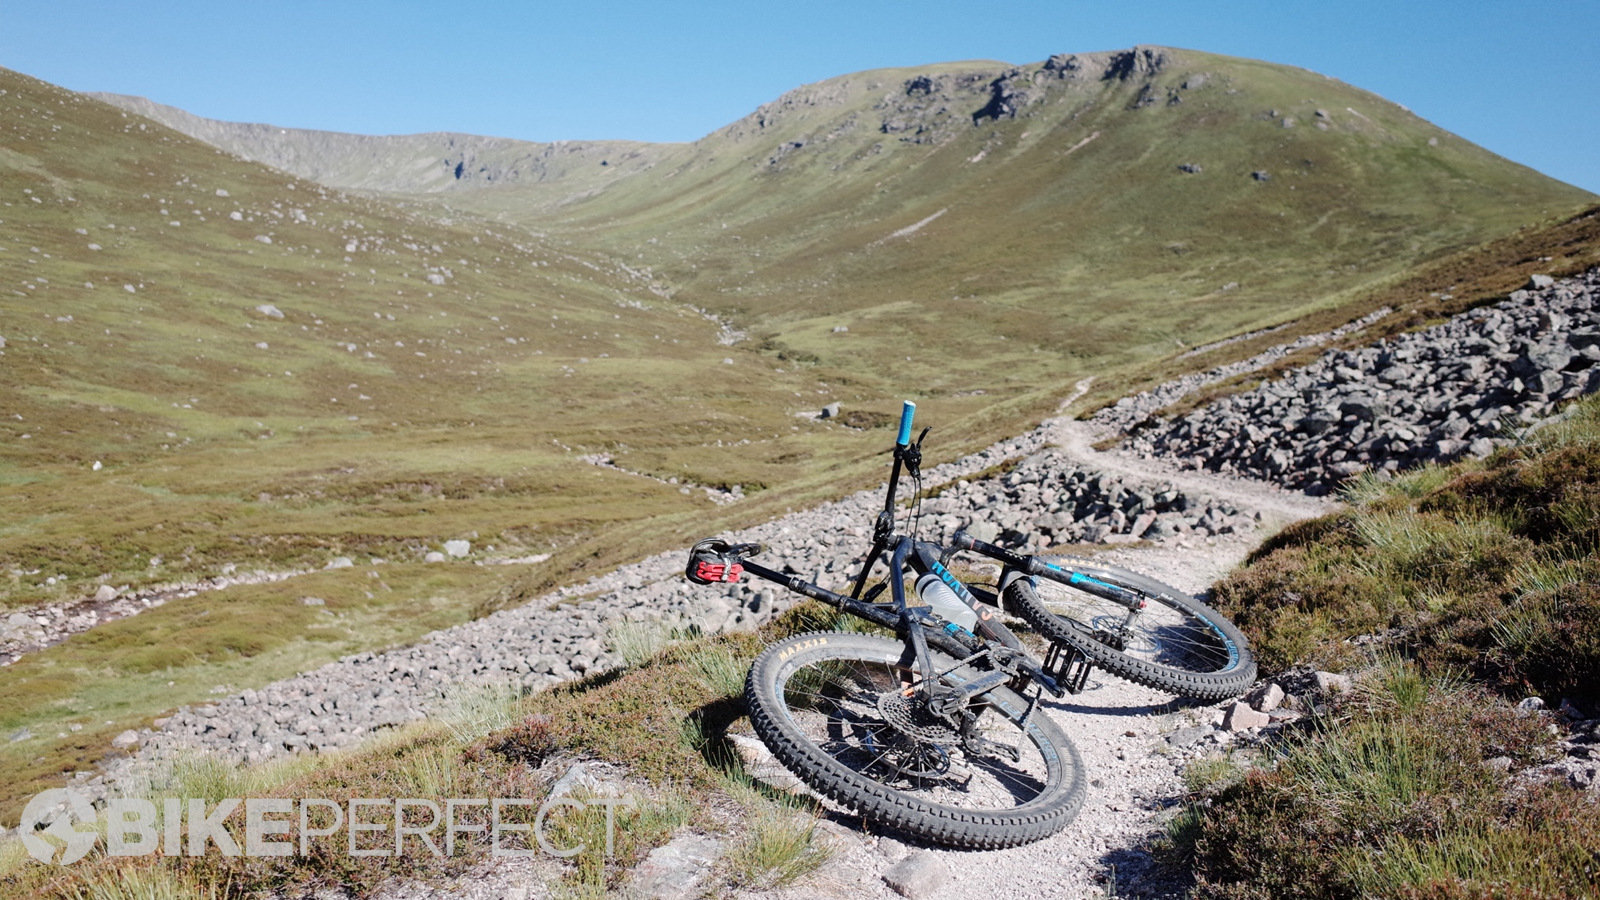
A full-suspension mountain bike may not be the sort of bike you first think of taking for a bikepacking adventure but there are a few types of trips where they make a lot of sense. Suspension allows you to travel over very rough terrain much faster, reducing fatigue and thanks to modern lightweight frames, don’t add much of a weight penalty. For multi-day endurance races where riders are choosing to pack light and travel fast, full-suspension makes a lot of sense. On the other end, trail and enduro bikes will be used by all-mountain riders looking for trails in the backcountry that wouldn’t otherwise be accessible in a single-day of riding.
The most obvious limitation when using a full-suspension mountain bike is bag compatibility. The front triangle is occupied with suspension and as the suspension compresses there may not be clearance between the rear wheel and saddle at full stroke. This results in relying on using a backpack or simply carrying the very bare essentials. Bikes with more front triangle space will allow more possibility to store water or fit a small frame bag. As with hardtails, the suspension should be adjusted as the extra weight on the bike will affect how the suspension performs.
Road bike
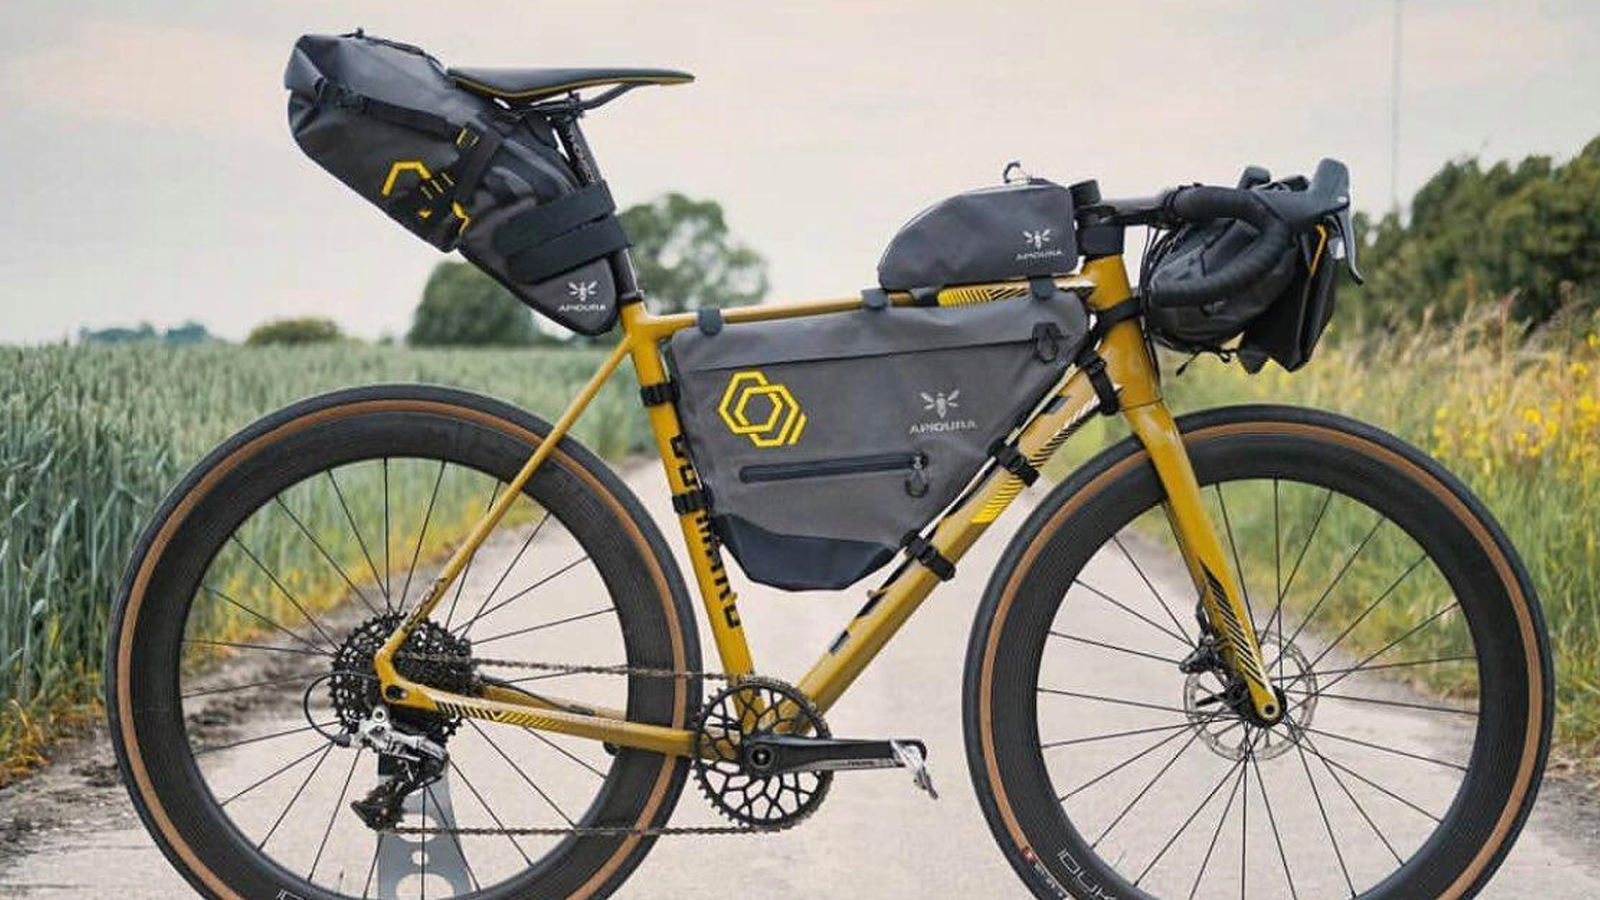
The image of bikepacking is usually portrayed with remote tracks and trails in the wilderness but that isn’t to say a road bike can’t be used as a bikepacking bike. Whether you fancy a few days of cruising along peaceful country roads or want to take on an ultra-endurance race like the Transcontinental, opting for a road bike will have you traveling quickly and efficiently. Bag fitting is much the same as a gravel bike although attaching them will rely on velcro rather than dedicated mounting points. Obviously, your route options are limited by where the roads go, however, there are plenty of roads that go to or through interesting places.
Getting your bike ready for bikepacking
1. Protect your frame
A painful truth is that no matter how well designed and fitted your bikepacking bags are it can only take a couple of gritty days on the trail for a bag to begin eating away at your bike paint. This means that many riders are cautious around choosing carbon, instead opting for steel or aluminum as if there are any abrasion points they are unlikely to have a catastrophic effect to frame integrity. If you are riding carbon, risks of damage can easily be reduced with some careful pre-ride prep. We recommend that no matter what type of frame you are using for bikepacking, protecting potential trouble points with heli-tape will keep your paintwork unscathed. We have also had great success by applying a few layers of electrical tape to stop your bags from eating away at your bike’s finish, although it isn’t as neat or long-lasting.
2. Gearing
While you might be slaying all the hills on your usual rides, once your bike is loaded up and you are a few days deep in a trip, gradient percentages become noticeably harder to conquer. We recommend swapping out your chainring for one that has a couple of teeth fewer than what you would usually ride. You might lose some of your top-end speed but tired legs will be thanking you as the elevation racks up.
3. Bag setup
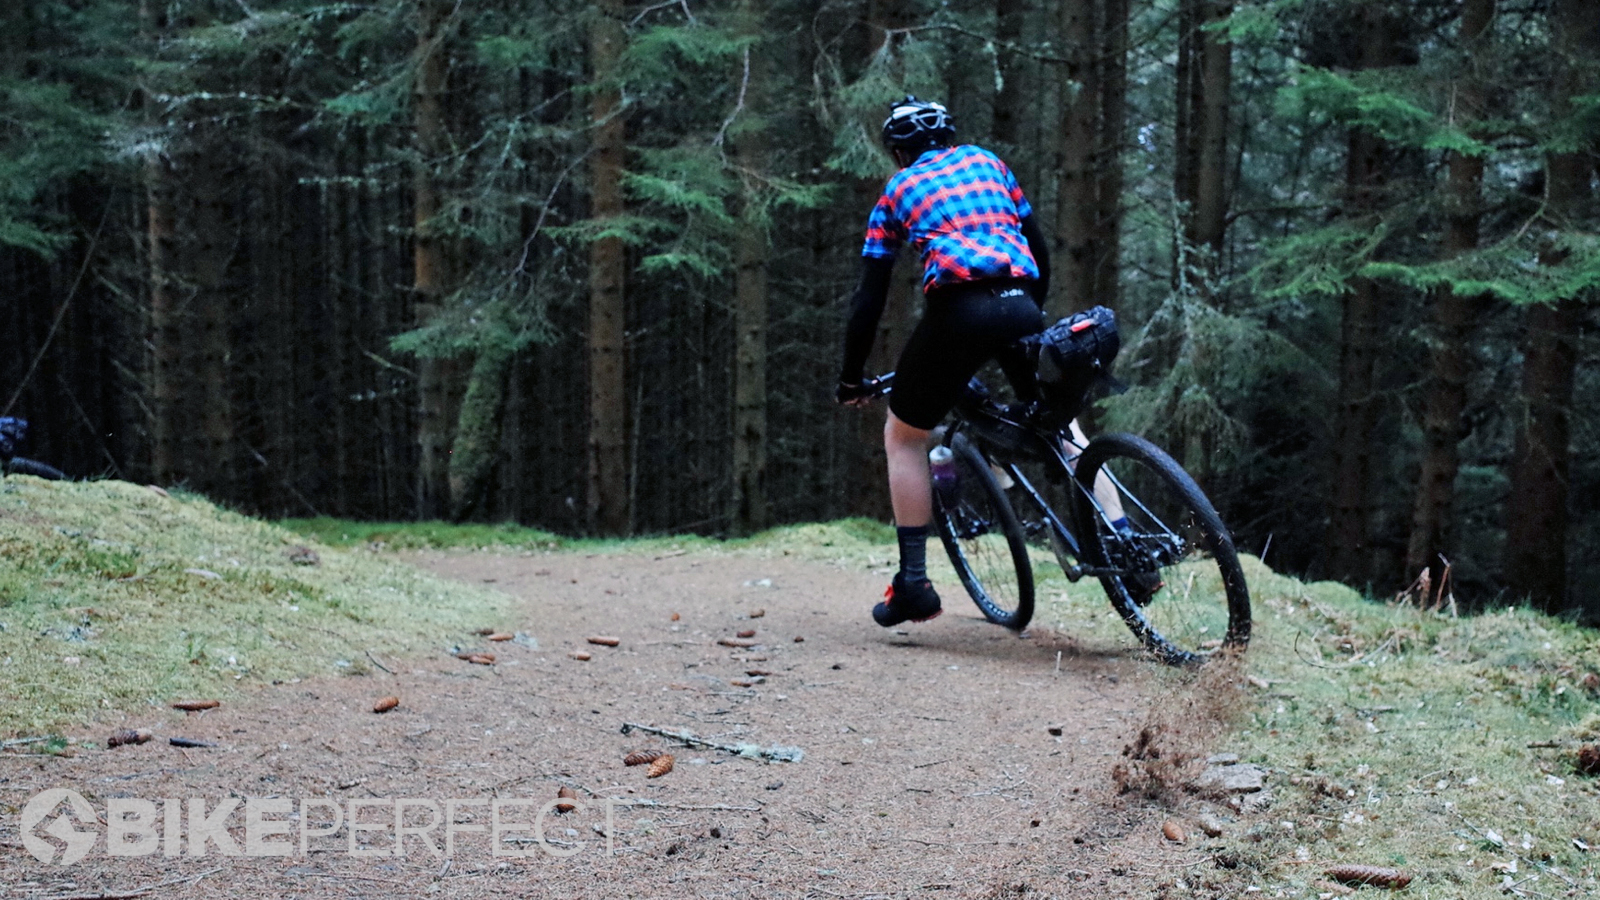
Bikepacking bag setup is extremely unique from one rider to the next and while there are plenty of correct setups there are also many mistakes that can be made. What works for one person may not work for another with bike type, preferred equipment, frame sizes, environment, and budget all influencing how you set your bike up. Trial and error is the best way to refine your own personal best setup but here are a few important things to consider.
Packing is a whole subject in itself but as a rough guide, distributing load is vital. You don’t want to overload a handlebar bag or seat pack resulting in a dramatic effect on your bike’s ride quality. Distribute equipment across a range of bags thinking about how frequently they need to be accessed and how they pack makes a massive difference. Soft bulky sleeping equipment that only needs to be accessed at the end of the day is best suited to a handlebar or saddle pack. Food, tools, spare riding layers and toilet paper can be stowed in a frame bag, top tube bag or stem pouches for easy access because, when the time comes, you might need them really quickly. Don’t forget water and consider how the best way to carry enough water to stay hydrated, whether that’s standard bottle cages, fork-mounted bottles or a hydration bladder in a frame bag or backpack. Never underestimate the benefit of empty bag space as this will give you more flexibility for refueling or tweaking packing mid-trip.

Graham Cottingham joined the BikePerfect team as our senior tech writer in 2020. With over 20 years of riding experience, he has dabbled in downhill, enduro, and gravel racing. Not afraid of a challenge, Graham has embraced bikepacking over the last few years and likes nothing more than strapping some bags to his bike and covering big miles to explore Scotland's wildernesses. When he isn’t shredding the gnar in the Tweed Valley, sleeping in bushes, or tinkering with bikes, he is writing tech reviews for BikePerfect.
Rides: Cotic SolarisMax, Stooge MK4, 24 Bicycles Le Toy 3, Surly Steamroller
Height: 177cm
Weight: 71kg
