MTB suspension 101 – everything you need to know about your mountain bike suspension dials
We delve into how all the colorful dials on your fork and shock affect your suspenison
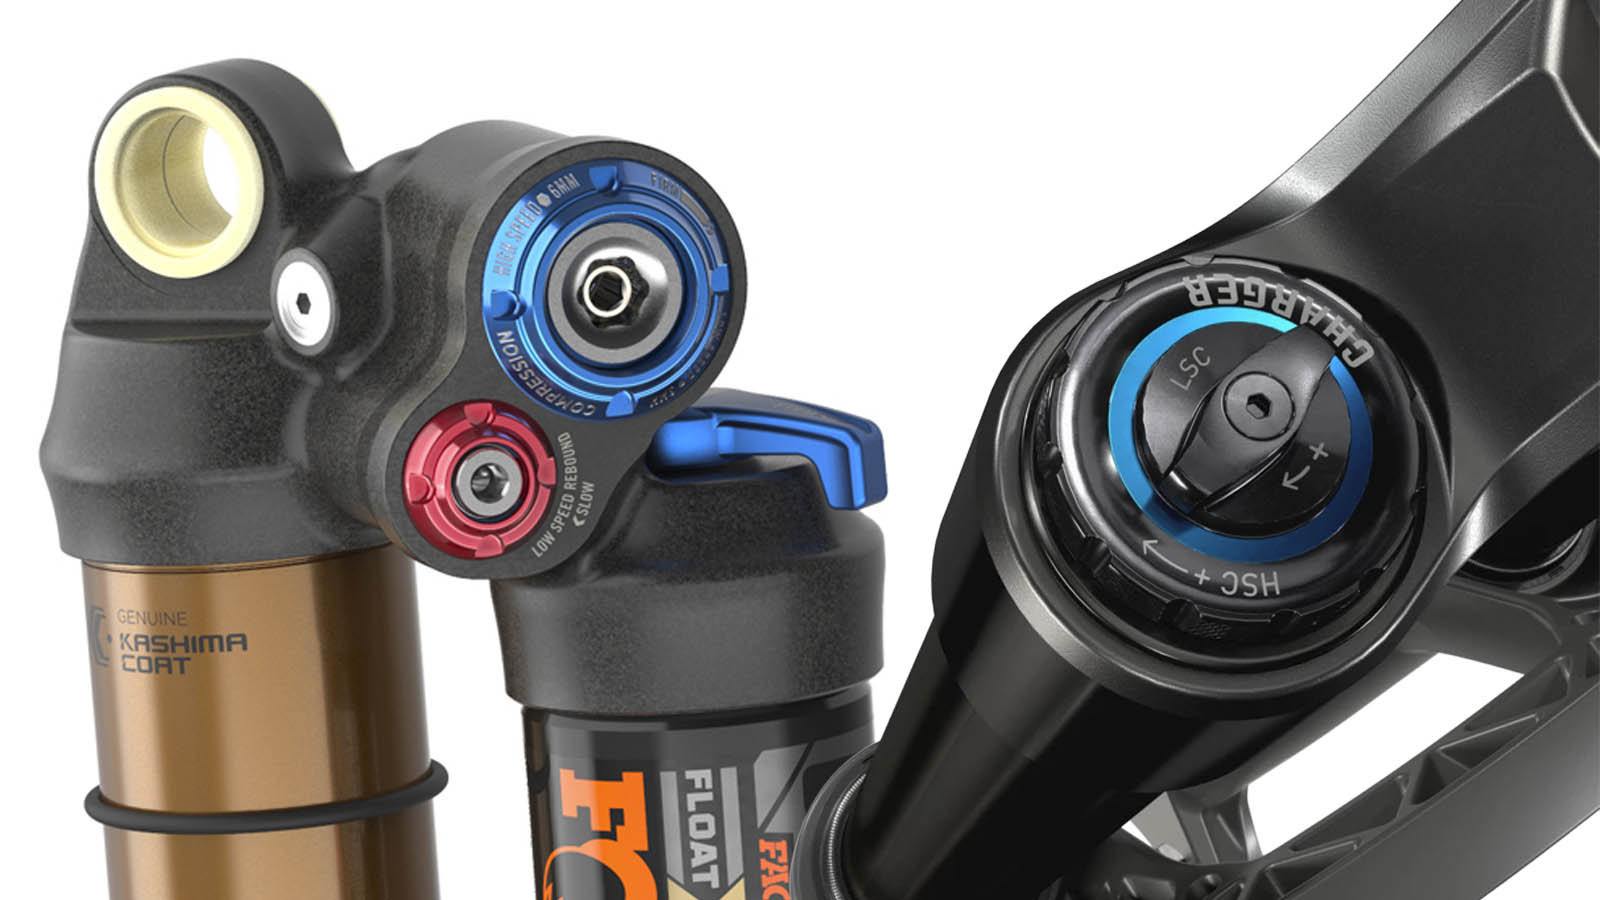
Mountain bike suspension is continually becoming more adjustable, from literally changing how many millimeters of travel a fork has, to how your rear shock will react to bumps of different sizes.
Click into any review of a suspension component and you will hear references to rebound, compression damping, and maybe even spring rate, progressivity, and volume spacers. If you’re just getting into mountain biking, this type of jargon can be intimidating, and so can the different knobs and dials on your suspension. Worse still, a few clicks the wrong way on a fork or shock can make it feel like it’s filled with sand or turn it into a wallowing nightmare.
Depending on your fork or rear shock, it may have some or all of these adjustments — usually, as a rule of thumb the more expensive the suspension, the more knobs and dials it will have to customize the way it feels.
So if you have a new fork or shock and are unsure what the dials do, read on for our jargon buster. As all of these concepts apply to both front and rear suspension, we will use fork and shock interchangeably.
Air vs. Coil and sag
Before we get into the complex stuff we need to do a primer on air springs, coil springs and sag.
For the most part, most mountain bike suspension will be built around either an air spring or a coil spring — there are a few outliers like the linkage forks from now-defunct Trust and a few others. This spring-type will determine your suspension's overall feel at its most basic level, which is called the spring rate.
The spring rate on an air spring will be progressive, meaning that it will become firmer as it’s compressed. On the other hand, a coil spring will have a linear spring rate, meaning the energy needed to compress the spring will be consistent through its travel. Again there are some exceptions to the rule for the latter, as progressive coil springs do exist.
Depending on the terrain and bike you are riding, there are pros and cons to each, and for rear suspension, frame designers can tweak the linkage and swingarm to accentuate specific characteristics.
For each, you will need to adjust the sag, or how much the suspension compresses just from you sitting on the bike. It's as simple for an air spring as adding air pressure until you reach the desired sag. Setting up a coil shock is a bit more complex and involves turning the preload adjuster (essentially a washer and nut that buts up against and compresses the spring) and possibly swapping to a lighter or heavier weight spring.
Getting the sag correct is key because adding or removing air pressure (using a shock pump) or preload will also have an effect on rebound and compression. The recommended amount of sag varies for manufacturers and forks/bikes but it’s usually in the ballpark of 20 per cent of the fork travel and 30 per cent of rear shock travel.
Damping
Without any sort of damping, riding a rock garden or a drop would likely end with you laying on the side of the trail because your suspension bucked you off. Without anything to control how the shock compresses and extends, it would act like a pogo stick — which is less than ideal. In terms of your fork and rear shock, the corresponding dials refer to compression and rebound.
Before we get to the heart of it all, we’ll delve into how they work because both are controlled by the same medium – oil.
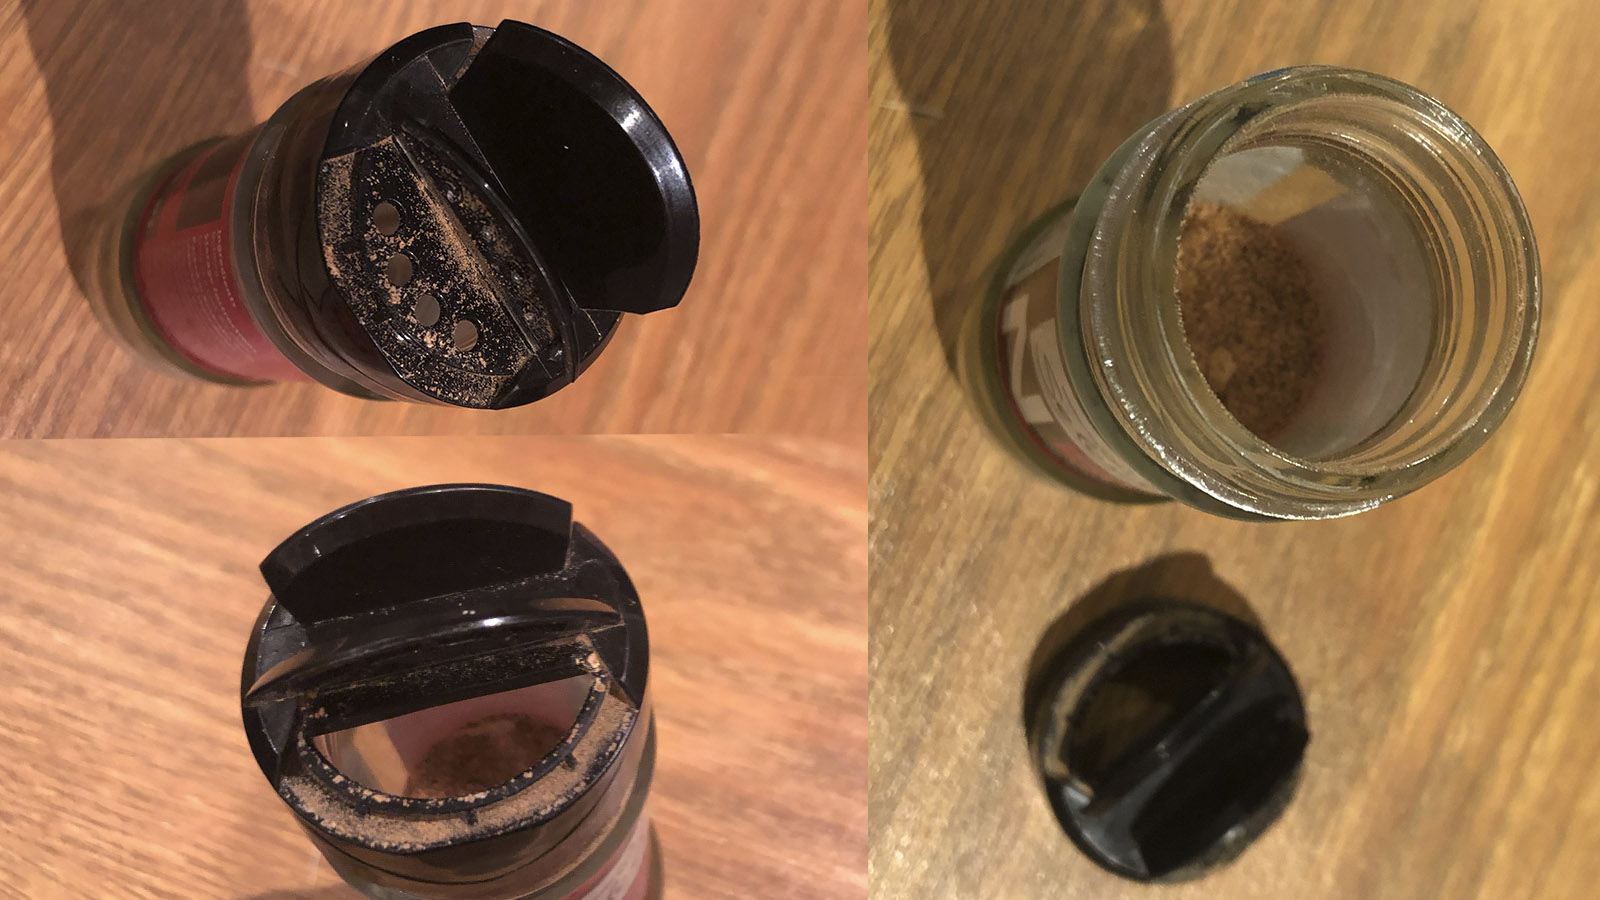
Turning the knobs on your fork or shock either opens or restricts oil flow through its compression or rebound circuit. We like to think of them a bit like the two-stage lids on containers of spices that control how much chilli powder ends up in your dinner. On the one end, you have half of the lid with the small holes that only let a few grains of powder fall through at a time. The other half which is open allows the chilli to flow more freely for a bit more spice, and ripping the lid off altogether will enable it to flow unencumbered for a 5-alarm meal.
Your suspension works the same way, but instead of a plastic lid, it controls the flow of oil using small metal shims and ports.
Compression Damping
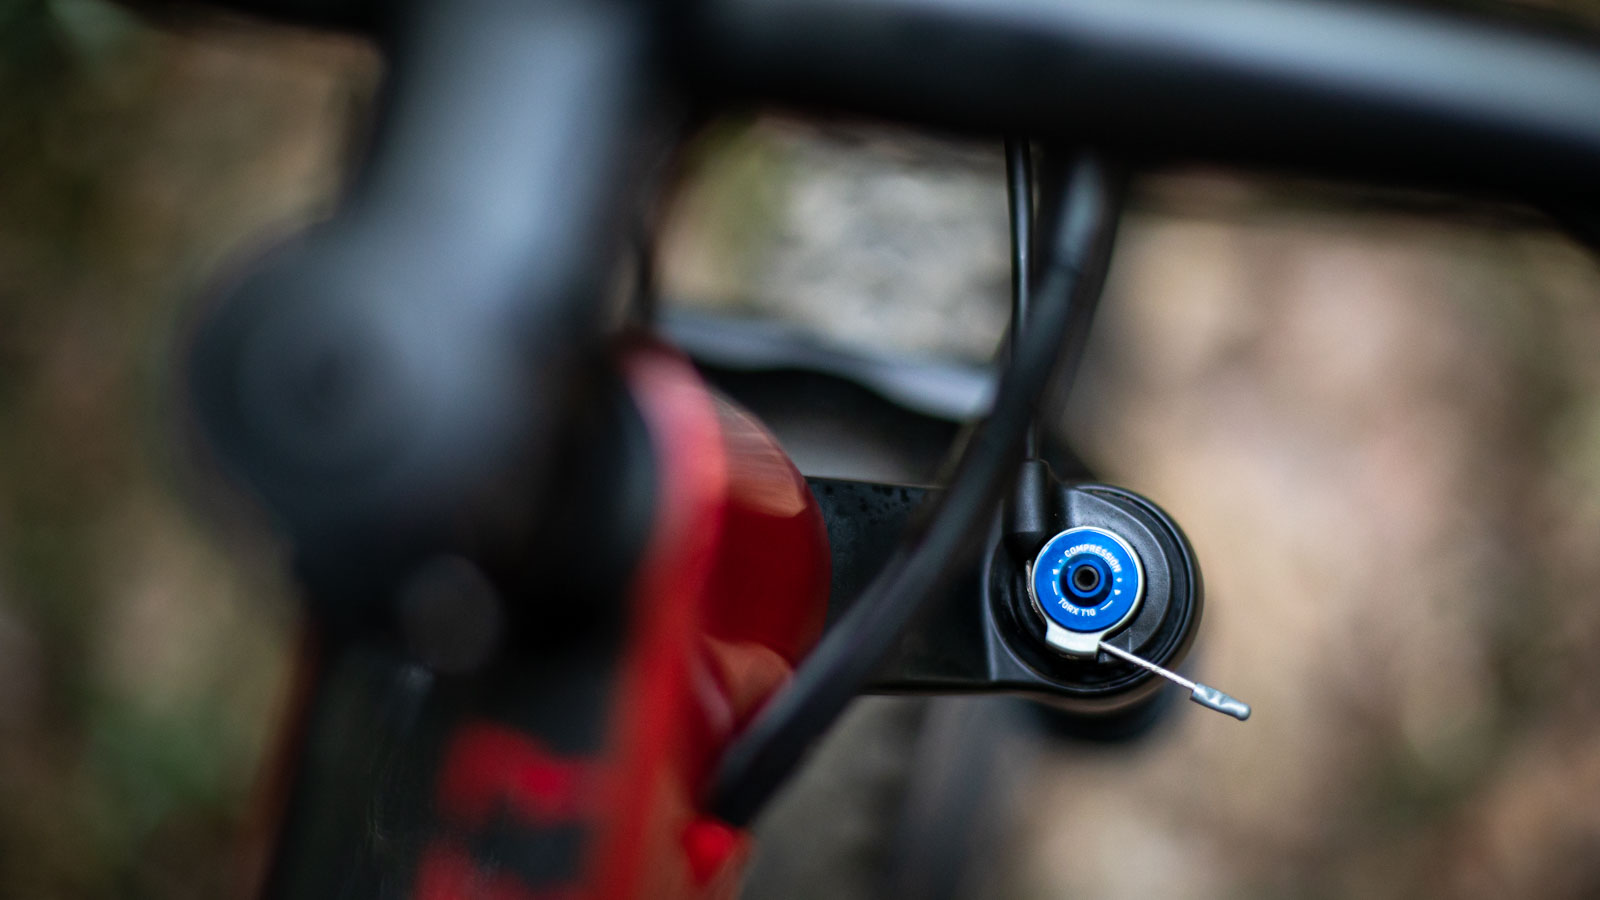
Compression refers to how firm the shock is as it moves through the travel. So as you spin the compression knob on the top of your fork, it restricts the flow of oil, with some going as far as being able to ‘lock-out’ and create an almost solid platform. When you open up the compression, it allows the oil to flow freely, and the shock or fork can move uninhibited through its range of travel to absorb bumps.
You would increase the amount of compression damping when you don’t need or want the suspension to move as much; this could be on a smooth or rolling trail, a tarmac liaison, or in the final sprint of an XC race when you don’t want to lose anything to suspension bob.
On the inverse, when you are descending or rolling through technical terrain, you want to ensure your compression is fully open as this will allow the front wheel to move out of the way when it needs to, and maximize traction.
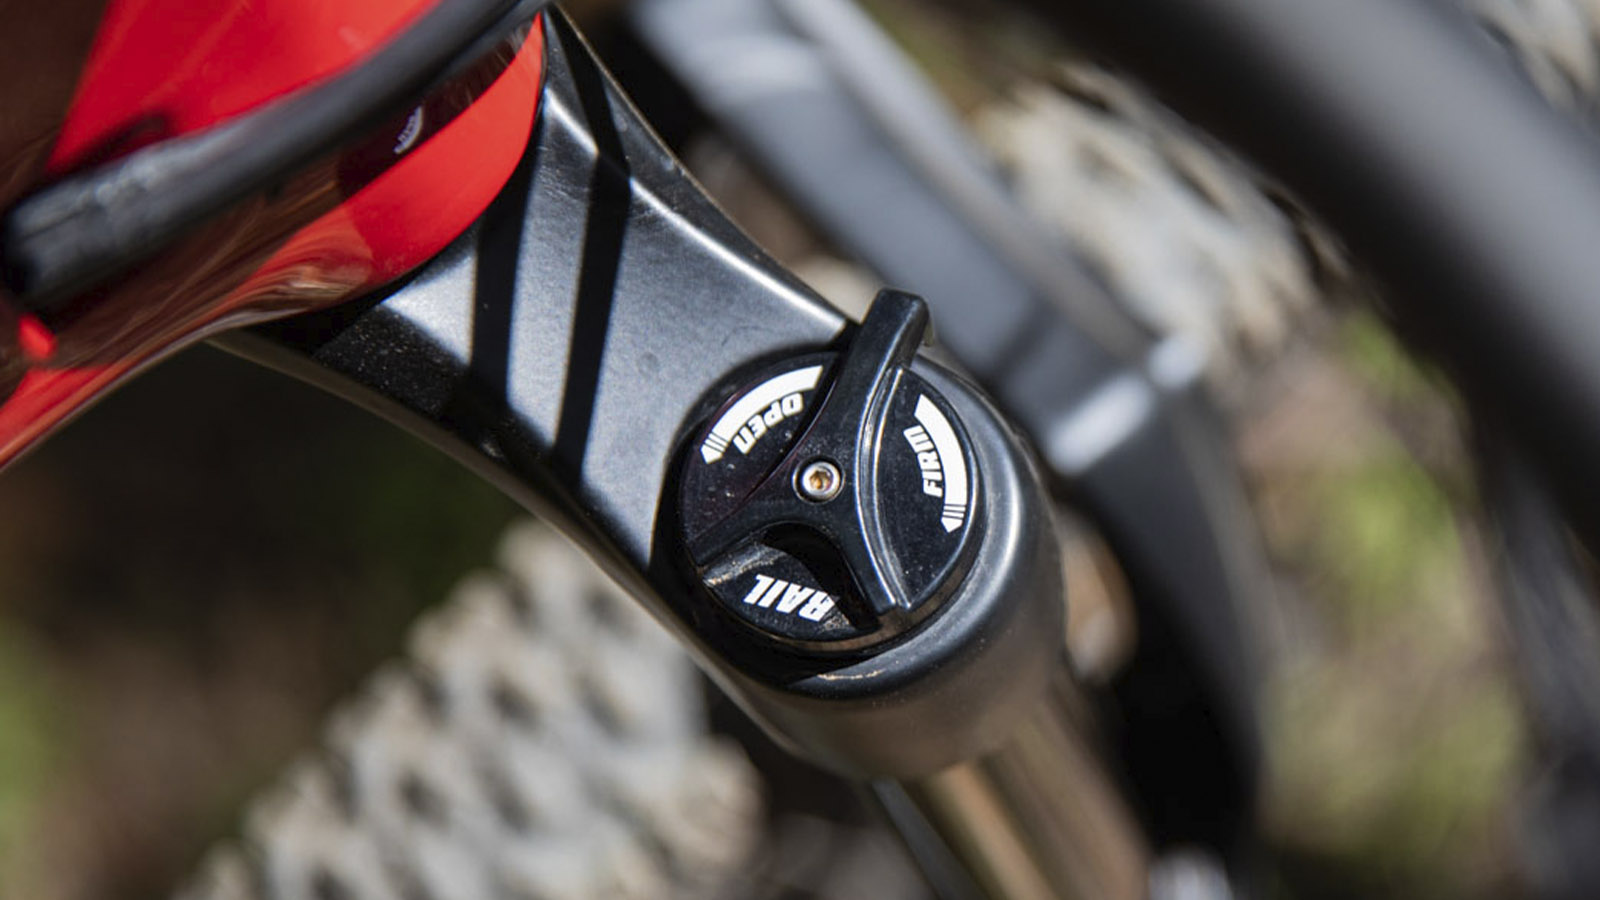
Your shock may have a dial that splits compression into high speed and low-speed. This means your fork has more complex oil circuits that allow the fork to adjust and control how it responds to you pressing down on the shock (low-speed compression), and the ground pressing up (high-speed compression).
Examples of low-speed compression would be standing up to pedal, or pumping over rollers; here, your suspension is essentially absorbing your bodyweight. The low-speed compression circuit in your shock is what provides the feeling of support, so it's not wallowing through heaps of travel as you pedal. Adding a few clicks of low-speed compression will offer more of this pedaling support, however, it comes at the cost of small bump sensitivity — of course you don’t ride in a vacuum, and your tire and air pressure/spring weight play a role here, too.
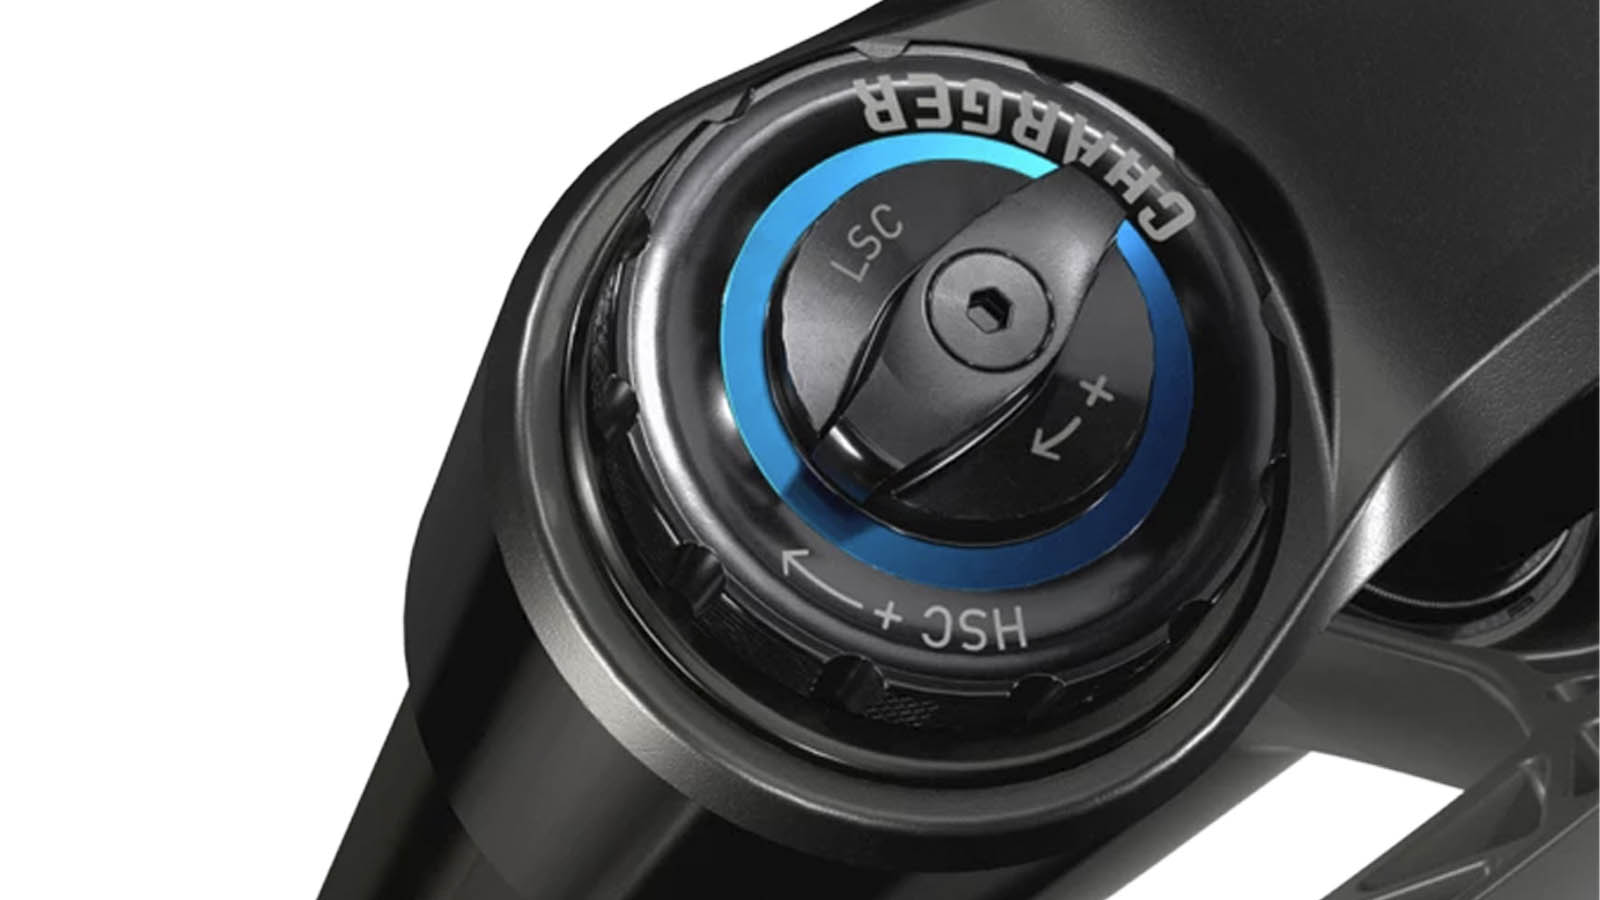
On the other hand, high-speed compression is an abrupt impact, like hitting a rock, root, or successive impact like brake bumps where the shock has to compress quickly. When this happens, the oil flows through the compression circuit with enough force to bypass the low-speed circuit — either via alternative flow paths or a design that physically moves it out of the way. The high-speed circuit also controls the rate of shock compressions; low levels of high-speed compression make it easier to achieve full travel in response to big hits. Adding a few clicks will increase the progressivity and make it more challenging to achieve maximum travel.
Rebound damping
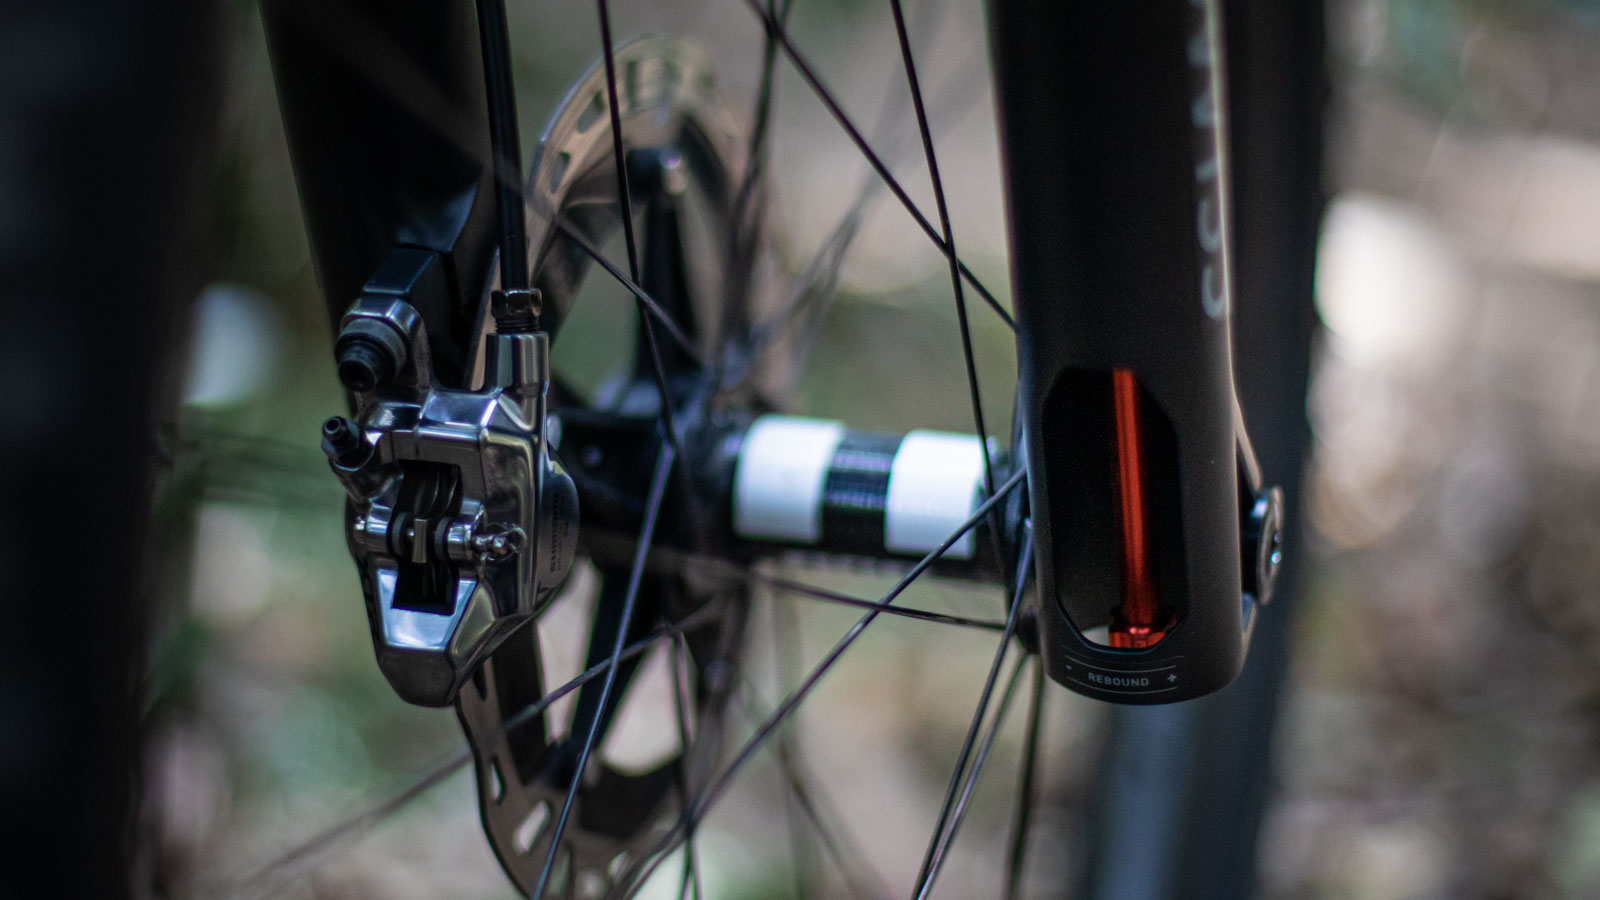
While compression damping refers to how the shock responds as its compresses, rebound refers to the speed at which it extends. Just like compression damping, the rate your suspension bounces back after an impact is governed by oil flow. A few clicks in one direction will force the oil through smaller openings, just like the chilli powder, slowing down its return. Turning the dial in the opposite direction allows the oil to flow more freely, and the spring will return at a higher rate of speed.
Rebound, as with all aspects of suspension, is all about finding a happy middle ground of the shock extending fast enough to maintain ground contact and provide some squish for the next bump, but not so quickly that it bucks you or bounces off subsequent impacts. If your rebound is too slow, it will feel as though you’re getting bogged down in the travel.
For the vast majority of riders, a few clicks either way from the middle will have you laughing.
Some higher-end forks and shocks will have separate dials for high speed and low-speed rebound — if you only have one rebound dial, it’s doing low-speed rebound. The vast majority of forks and shocks will have the high-speed rebound (HSR) set from the factory and, even if your shock or fork doesn't have an HSR dial, there will be separate high and low-speed rebound oil circuits.
The high-speed rebound has nothing to do with the speed of the impact and only comes into play as you approach full travel. With your shock fully compressed, the spring pressure is higher, which means it wants to rebound faster than it would a half or three-quarters travel. High-speed rebound controls the speed at which the shock returns in this highly compressed and pressurized state, so it extends at a uniform rate as it moves back into the range governed by low-speed rebound.
Because HSR only controls this small portion of the travel, most suspension doesn’t have a dial for it, and if it does, it takes A LOT of fiddling to get it right.
Volume spacers

While this technically isn’t a knob you can spin trailside; volume spacers (or Bottomless Tokens in RockShox-speak) are a useful tool that allows you to customize the spring rate of your air suspension. Essentially, a spacer reduces the volume of air in a shock required to reach a certain pressure. Adding volume spacers will firm up the spring rate making the shock more progressive as it compresses. Removing a volume spacer increases the air volume required to reach a particular pressure, softening the spring rate and reducing the amount of force needed to achieve a bottom out.
If you’re a heavy rider and are constantly bottoming out at the air pressure that provides the correct amount of sag, a volume spacer or two adds the support you need. For a lighter rider that struggles to use all of their suspension, removing a spacer may help you take advantage of that bottom end of the travel.

Born and bred in Colorado, and now based in Australia, Colin comes from a ski racing background and started riding as a way to stay fit through the summer months. His father, a former European pro, convinced him to join the Colorado State University collegiate cycling team, and he hasn't stopped since. It's not often he pins on a number nowadays, and you'll likely find him in search of flowy singletrack, gravel roads and hairpin corners. Colin has worked at Bikeradar and is a regular contributor to Australian Mountain Bike and Cyclist magazines.
Rides: BMC Team Machine SLR01, Trek Top Fuel 9, Ibis Ripley
