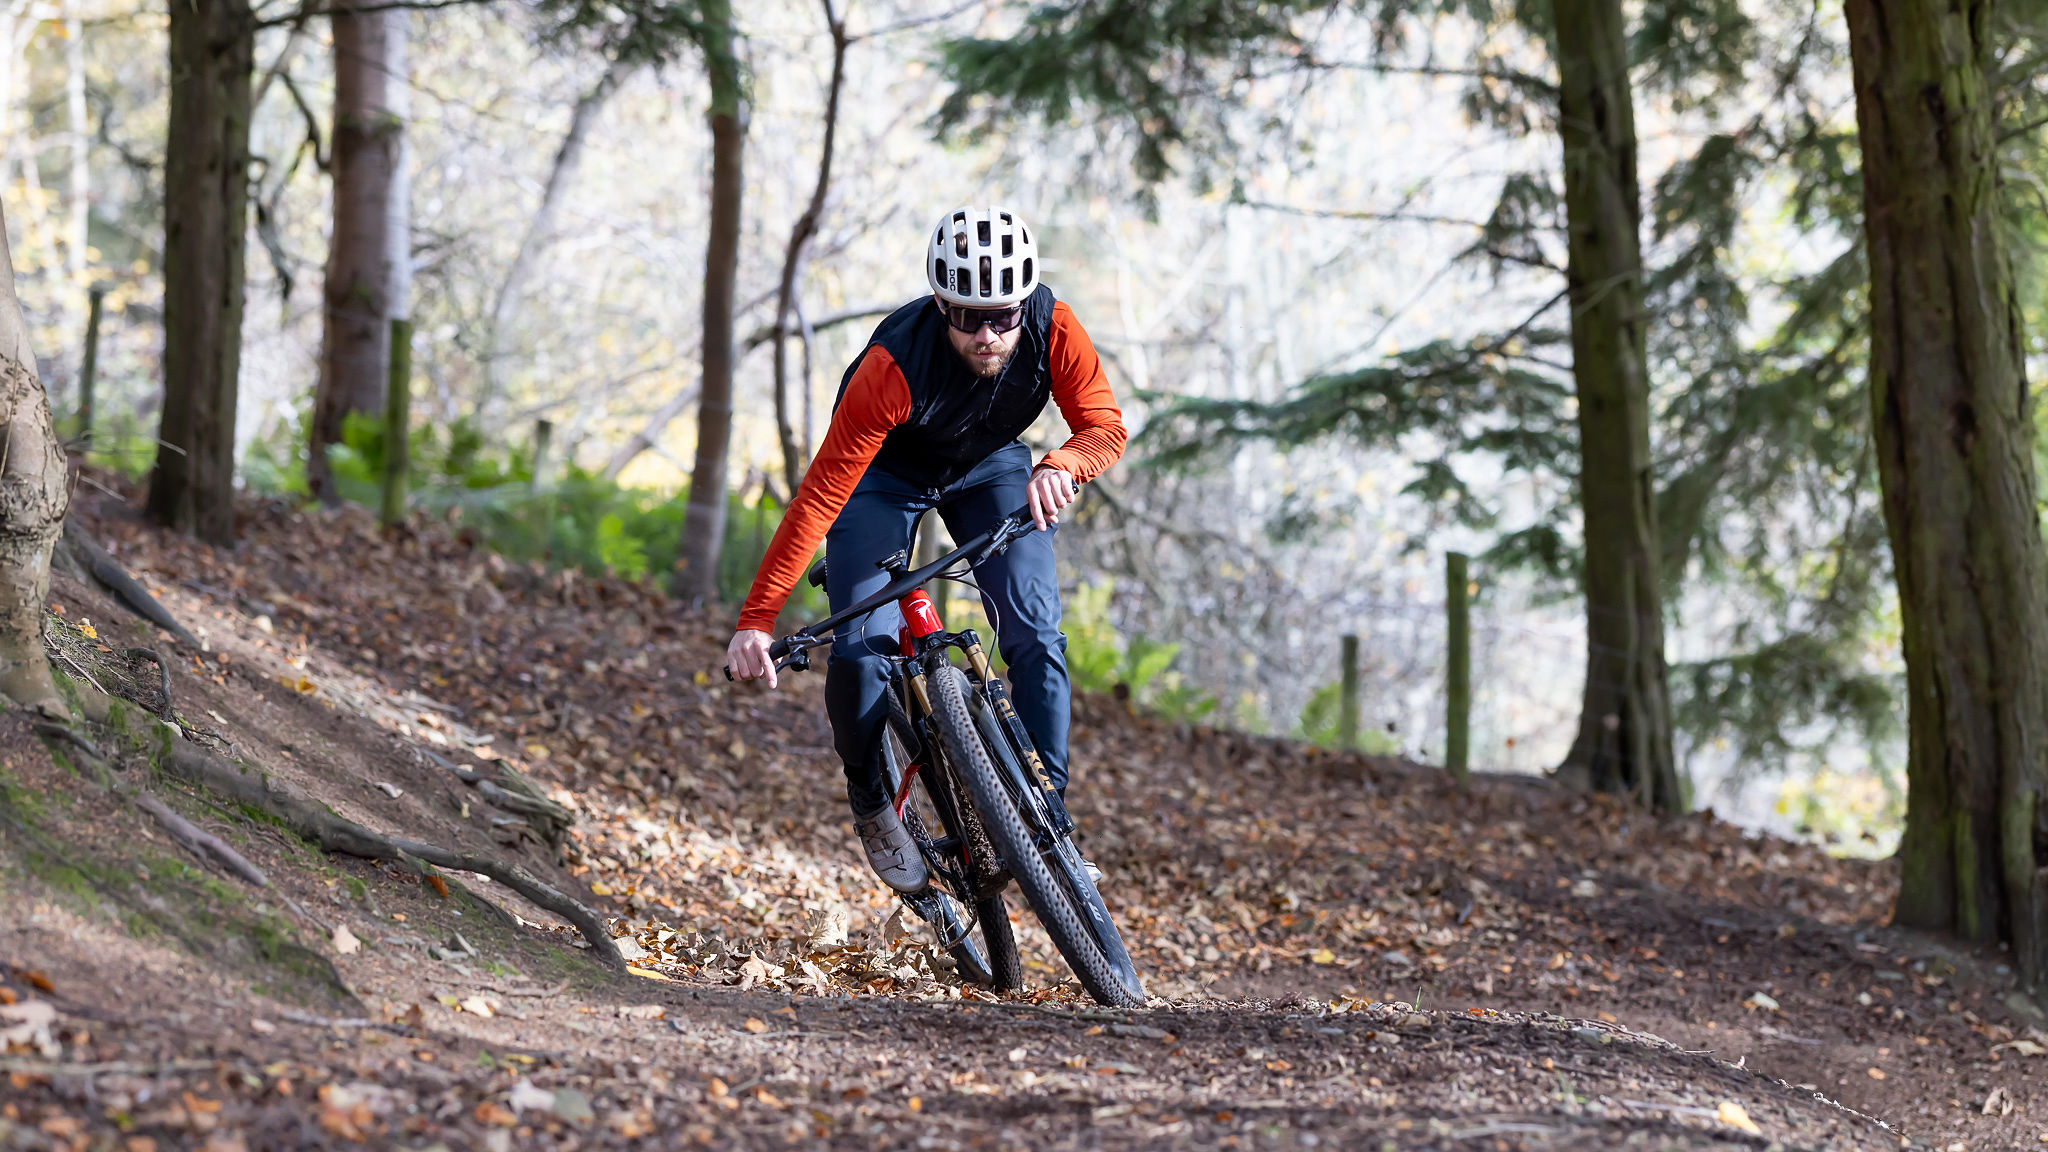
How to install cleats on bike shoes – five top tips to get you clipped-in comfortably
There’s more to installing a set of cleats on a bike shoe than just bolting them on, here are our handy tips for fitting cleats
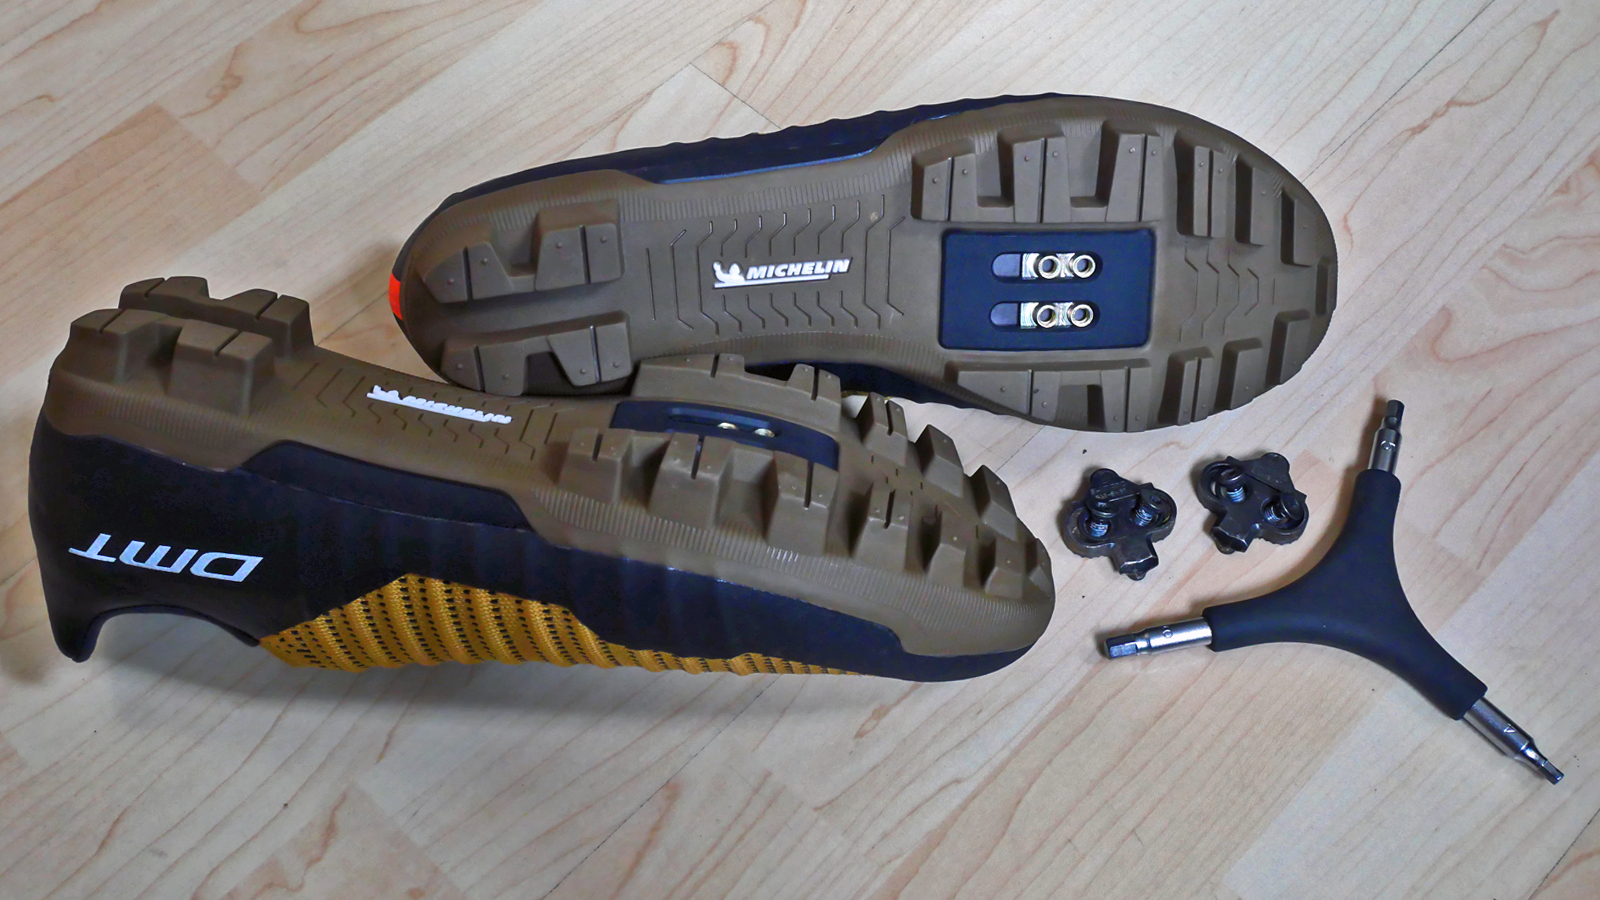
Moving onto clipless shoes often feels like a big step but the enhanced control, efficiency, and comfort that comes with bike-specific shoes and clipless pedals are well worth it. Getting set up is a little bit more involved than simply fitting the pedals to your bike though, as you will also need to install the cleats on your bike shoes.
The cleats and how you install them will have a noticeable effect on the trail. Set your cleats up well and you will be wishing you converted sooner, if they are set up badly though you will be cursing from the first clipping in.
To help you out, we have put together five of our best tips to help you install cleats on bike shoes and get out and ride.
1. Understand how different cleats and pedals work
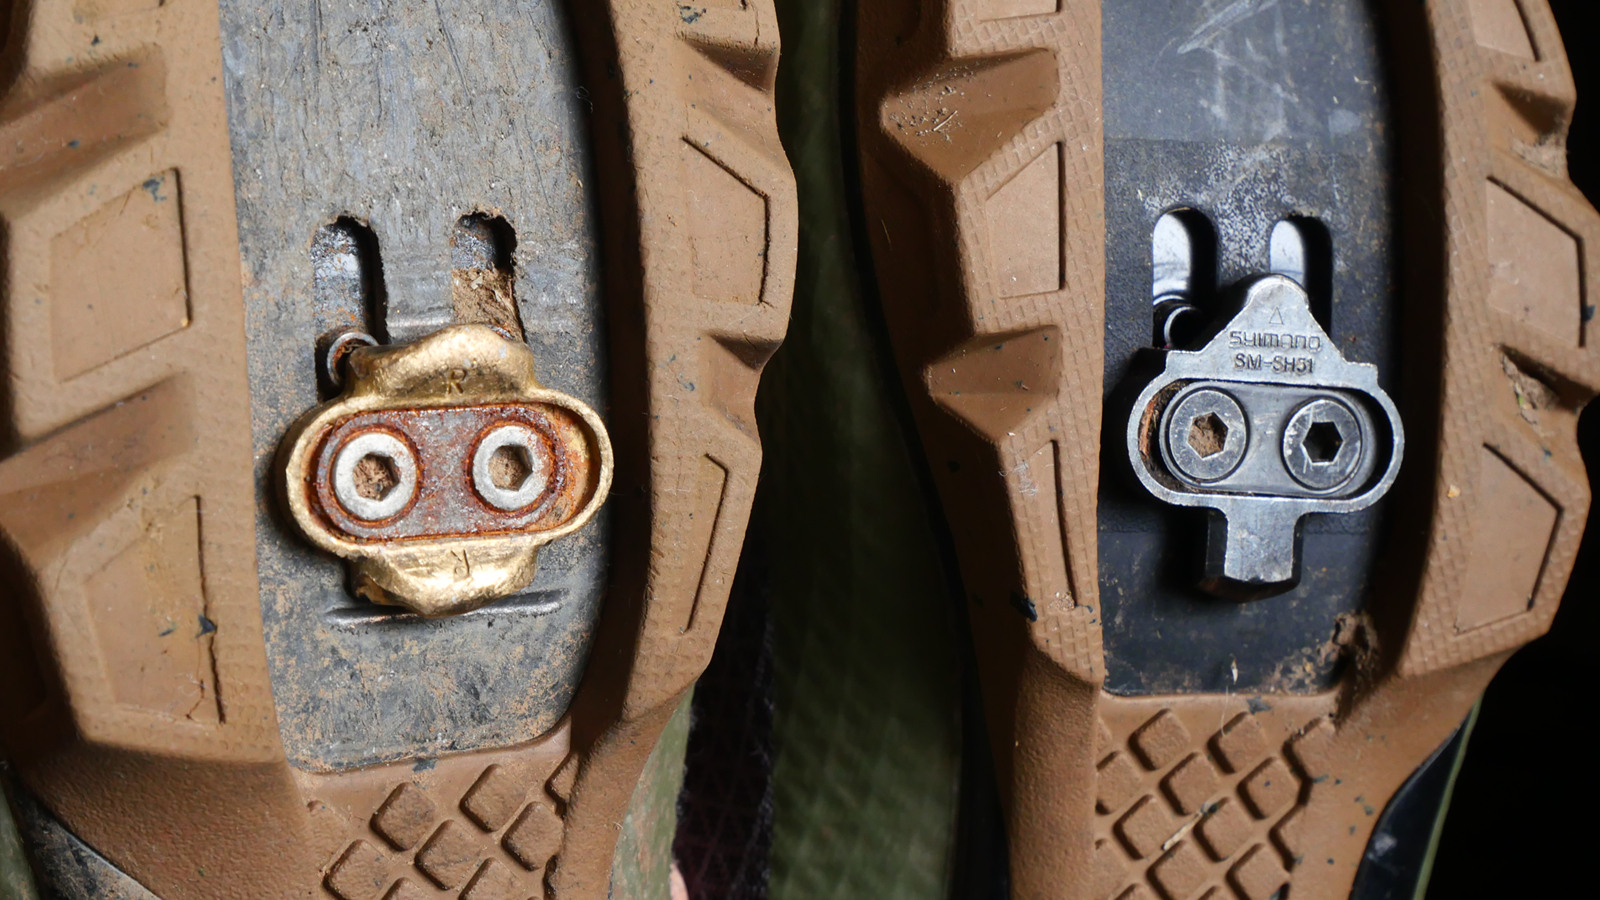
When most people are looking for the best mountain bike pedal, they default to Shimano’s SPD system and the standard cleats that are included in the box. While there is nothing wrong with these, they are popular for a reason, it's not the only cleat type or pedal system out there. There are different cleats and mechanisms which give a very different ride feel which in turn allows you to find something which matches your riding style. You will need to know some basic terms though.
Most importantly you need to know what float and release angle are. Float is how much your heel can freely move side to side and release angle is how much you need to turn your foot before it disconnects from the pedal. Float is important because it helps protect your joints by reducing pressure on the knee joint when pedaling.
The amount of float is usually decided by a rider's physiology and personal preference. Generally, XC and gravel riders will opt for less float as it feels better under power, whereas gravity riders prefer a larger float as it allows them to be more dynamic on the bike without unclipping. There is no right answer so it's definitely worth experimenting with. Float, which is measured in degrees, is usually controlled by the cleats and some brands offer different options.
Some pedals also allow riders to tune the release tension on the pedal which affects how much force is required to disconnect cleat from pedal. For riders new to clipless, riding a lighter release tension will allow you to easily disconnect if you need to quickly put a foot down. More experienced riders may opt for a higher tension to avoid accidentally unclipping while riding.
2. Not all bike shoes are the same
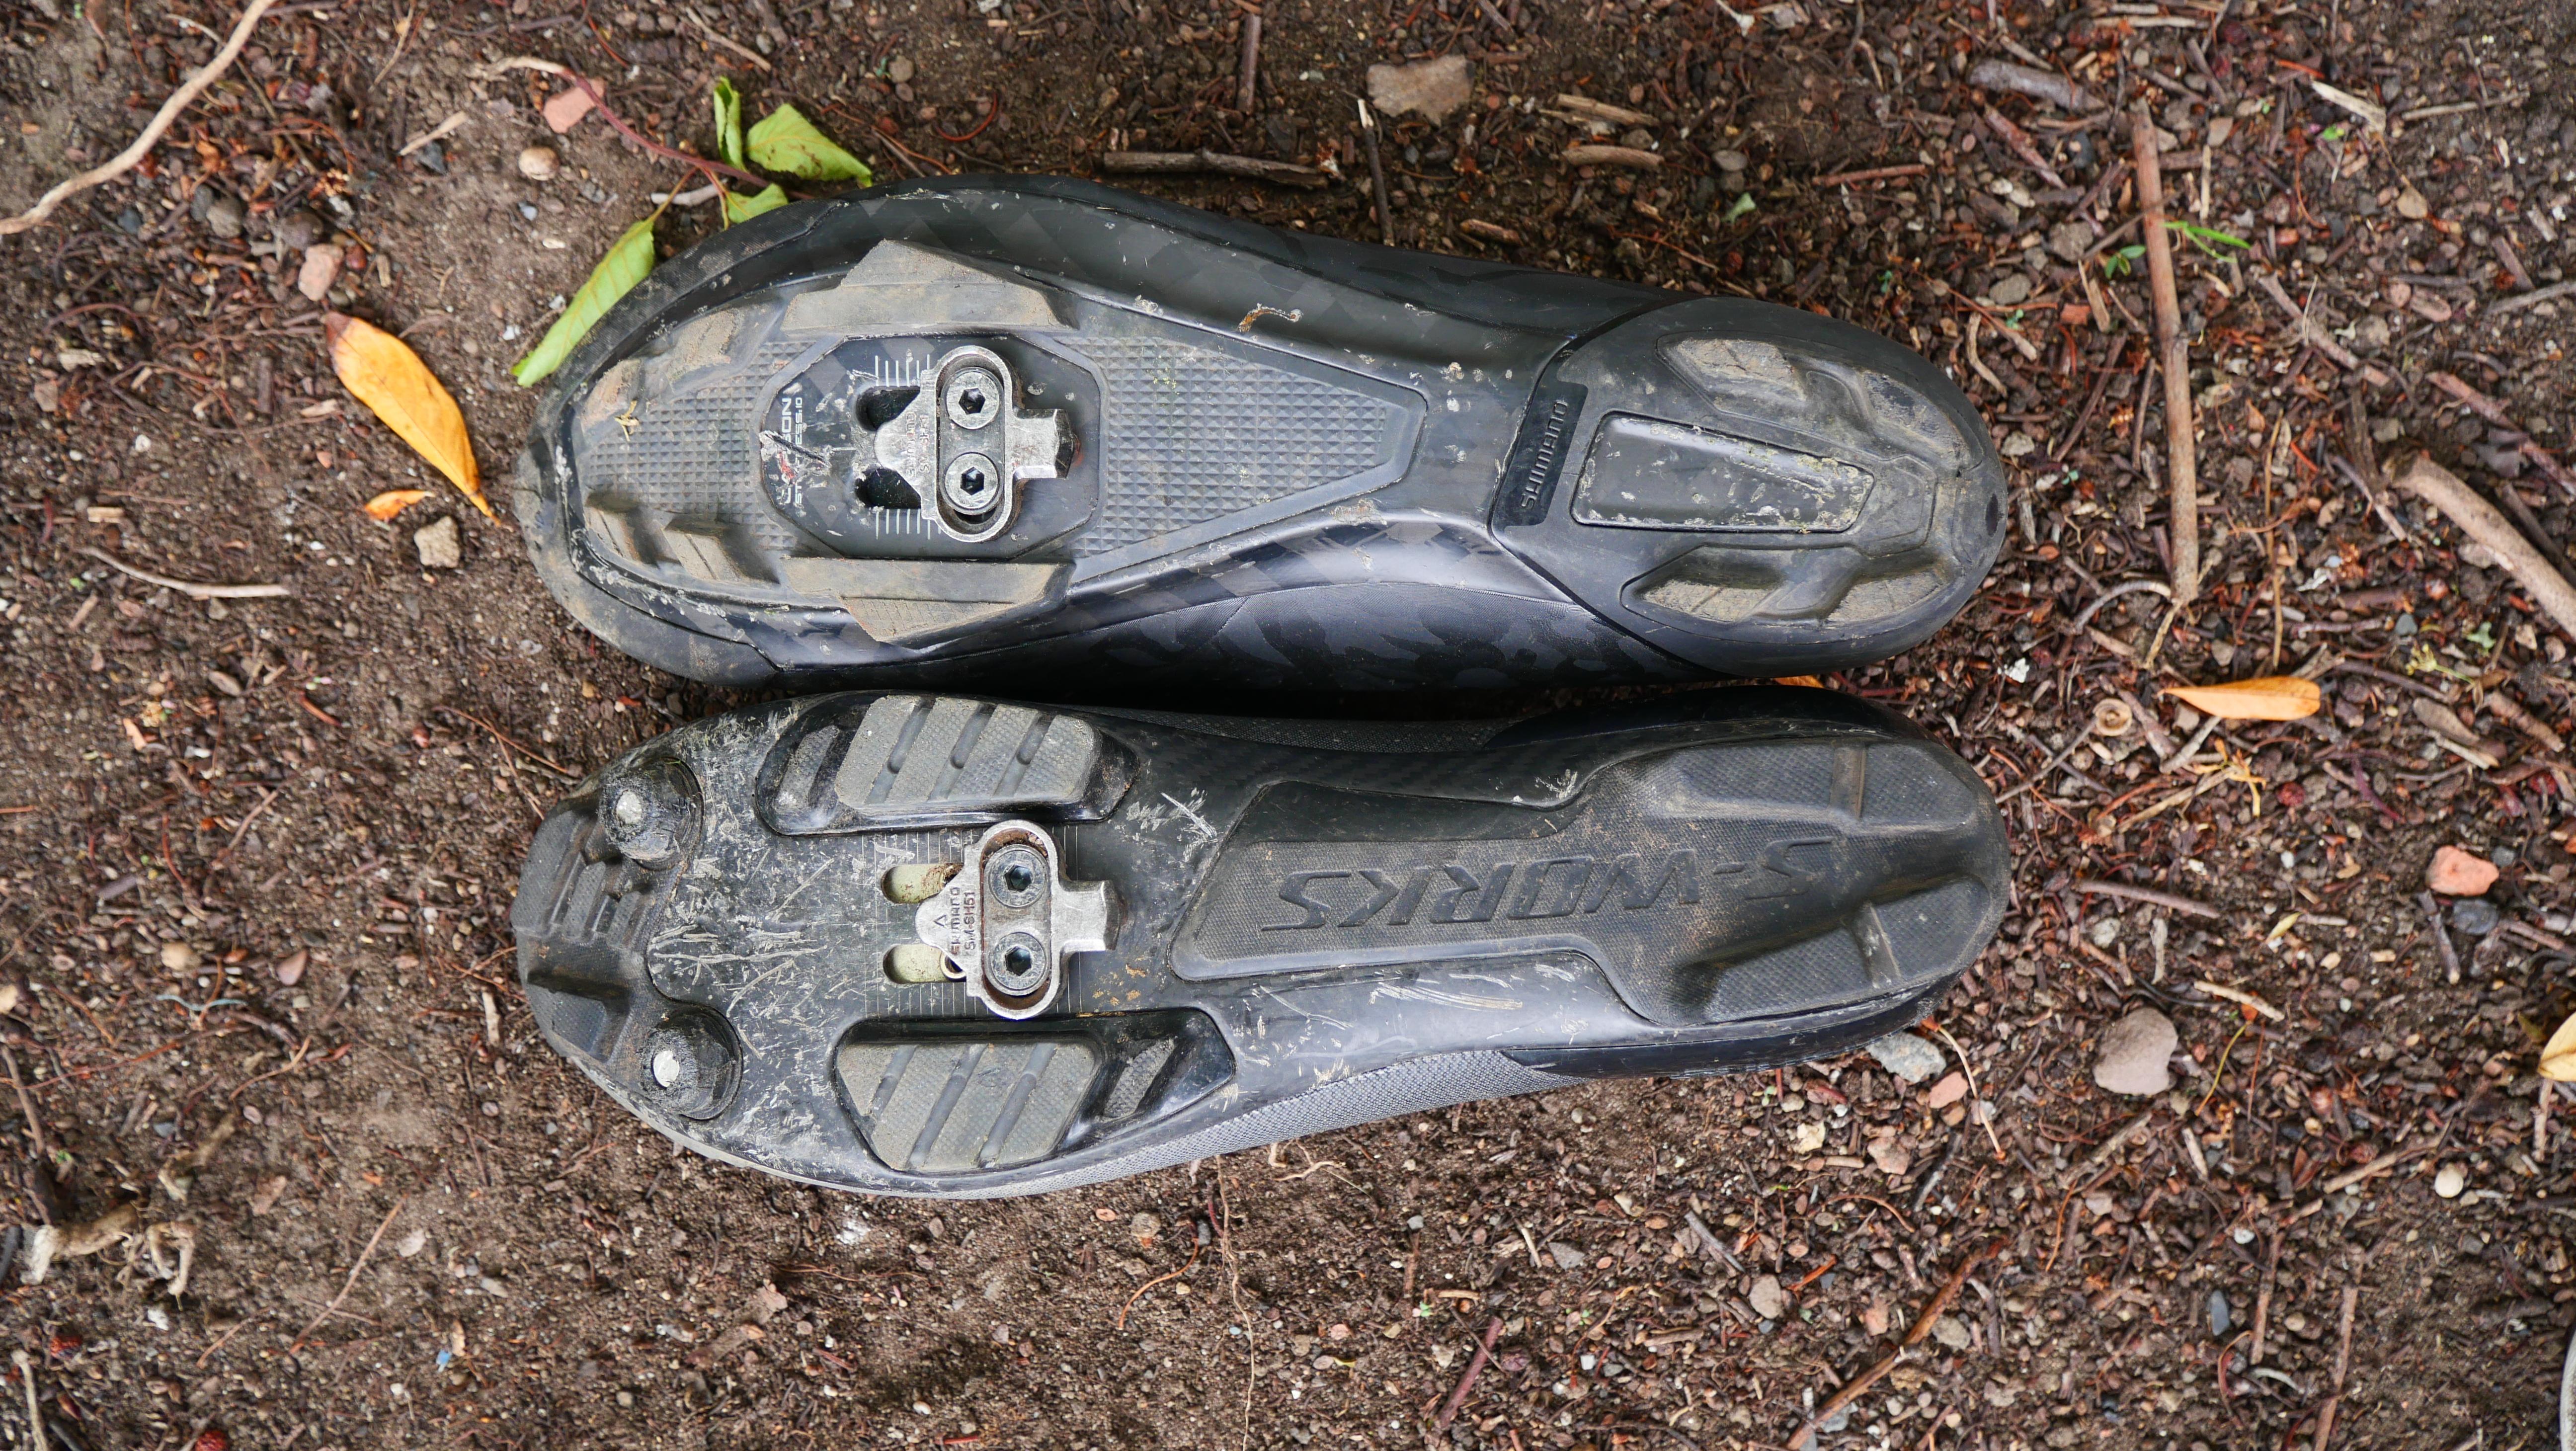
Unless you have bought exactly the same shoes as you previously had, it can be very hard to replicate a cleat position from one shoe to another, especially if they are from different brands. There is quite a bit of variation on where manufacturers position the cleat slots and how they relate to the rest of the shoe.
It is possible though, as you can create a template on a piece of paperusing your old shoe, to find the cleat position in relation to your foot and then use this to find the corresponding position on your new shoes. It's never going to be an exact science but it should definitely at least get you in the ballpark.
3. Consider getting a bike fit
Cleat position is a complicated topic and can greatly influence your comfort and interaction on the bike. While most riders can have a broad comfort range with cleat position, for others it can play havoc on joints. So if you are unsure or trying a new cleat position, it's worth treading carefully and easing into it with shorter rides.
Getting a bike fit is the best way to mitigate any potential issues ever rearing their head and allow you to keep getting out on the bike. Bike fitting is certainly aimed more at road and gravel riders, but if you plan on spending any length of time on a bike then getting a bike fit will be advantageous.
Good bike fits can be expensive but they will be able to advise on not just cleat position, but also dial-in saddle position, reach, handlebar width, and any other contact point with the bike. The results could mean that not only are you more comfortable on the bike but also faster and more controlled.
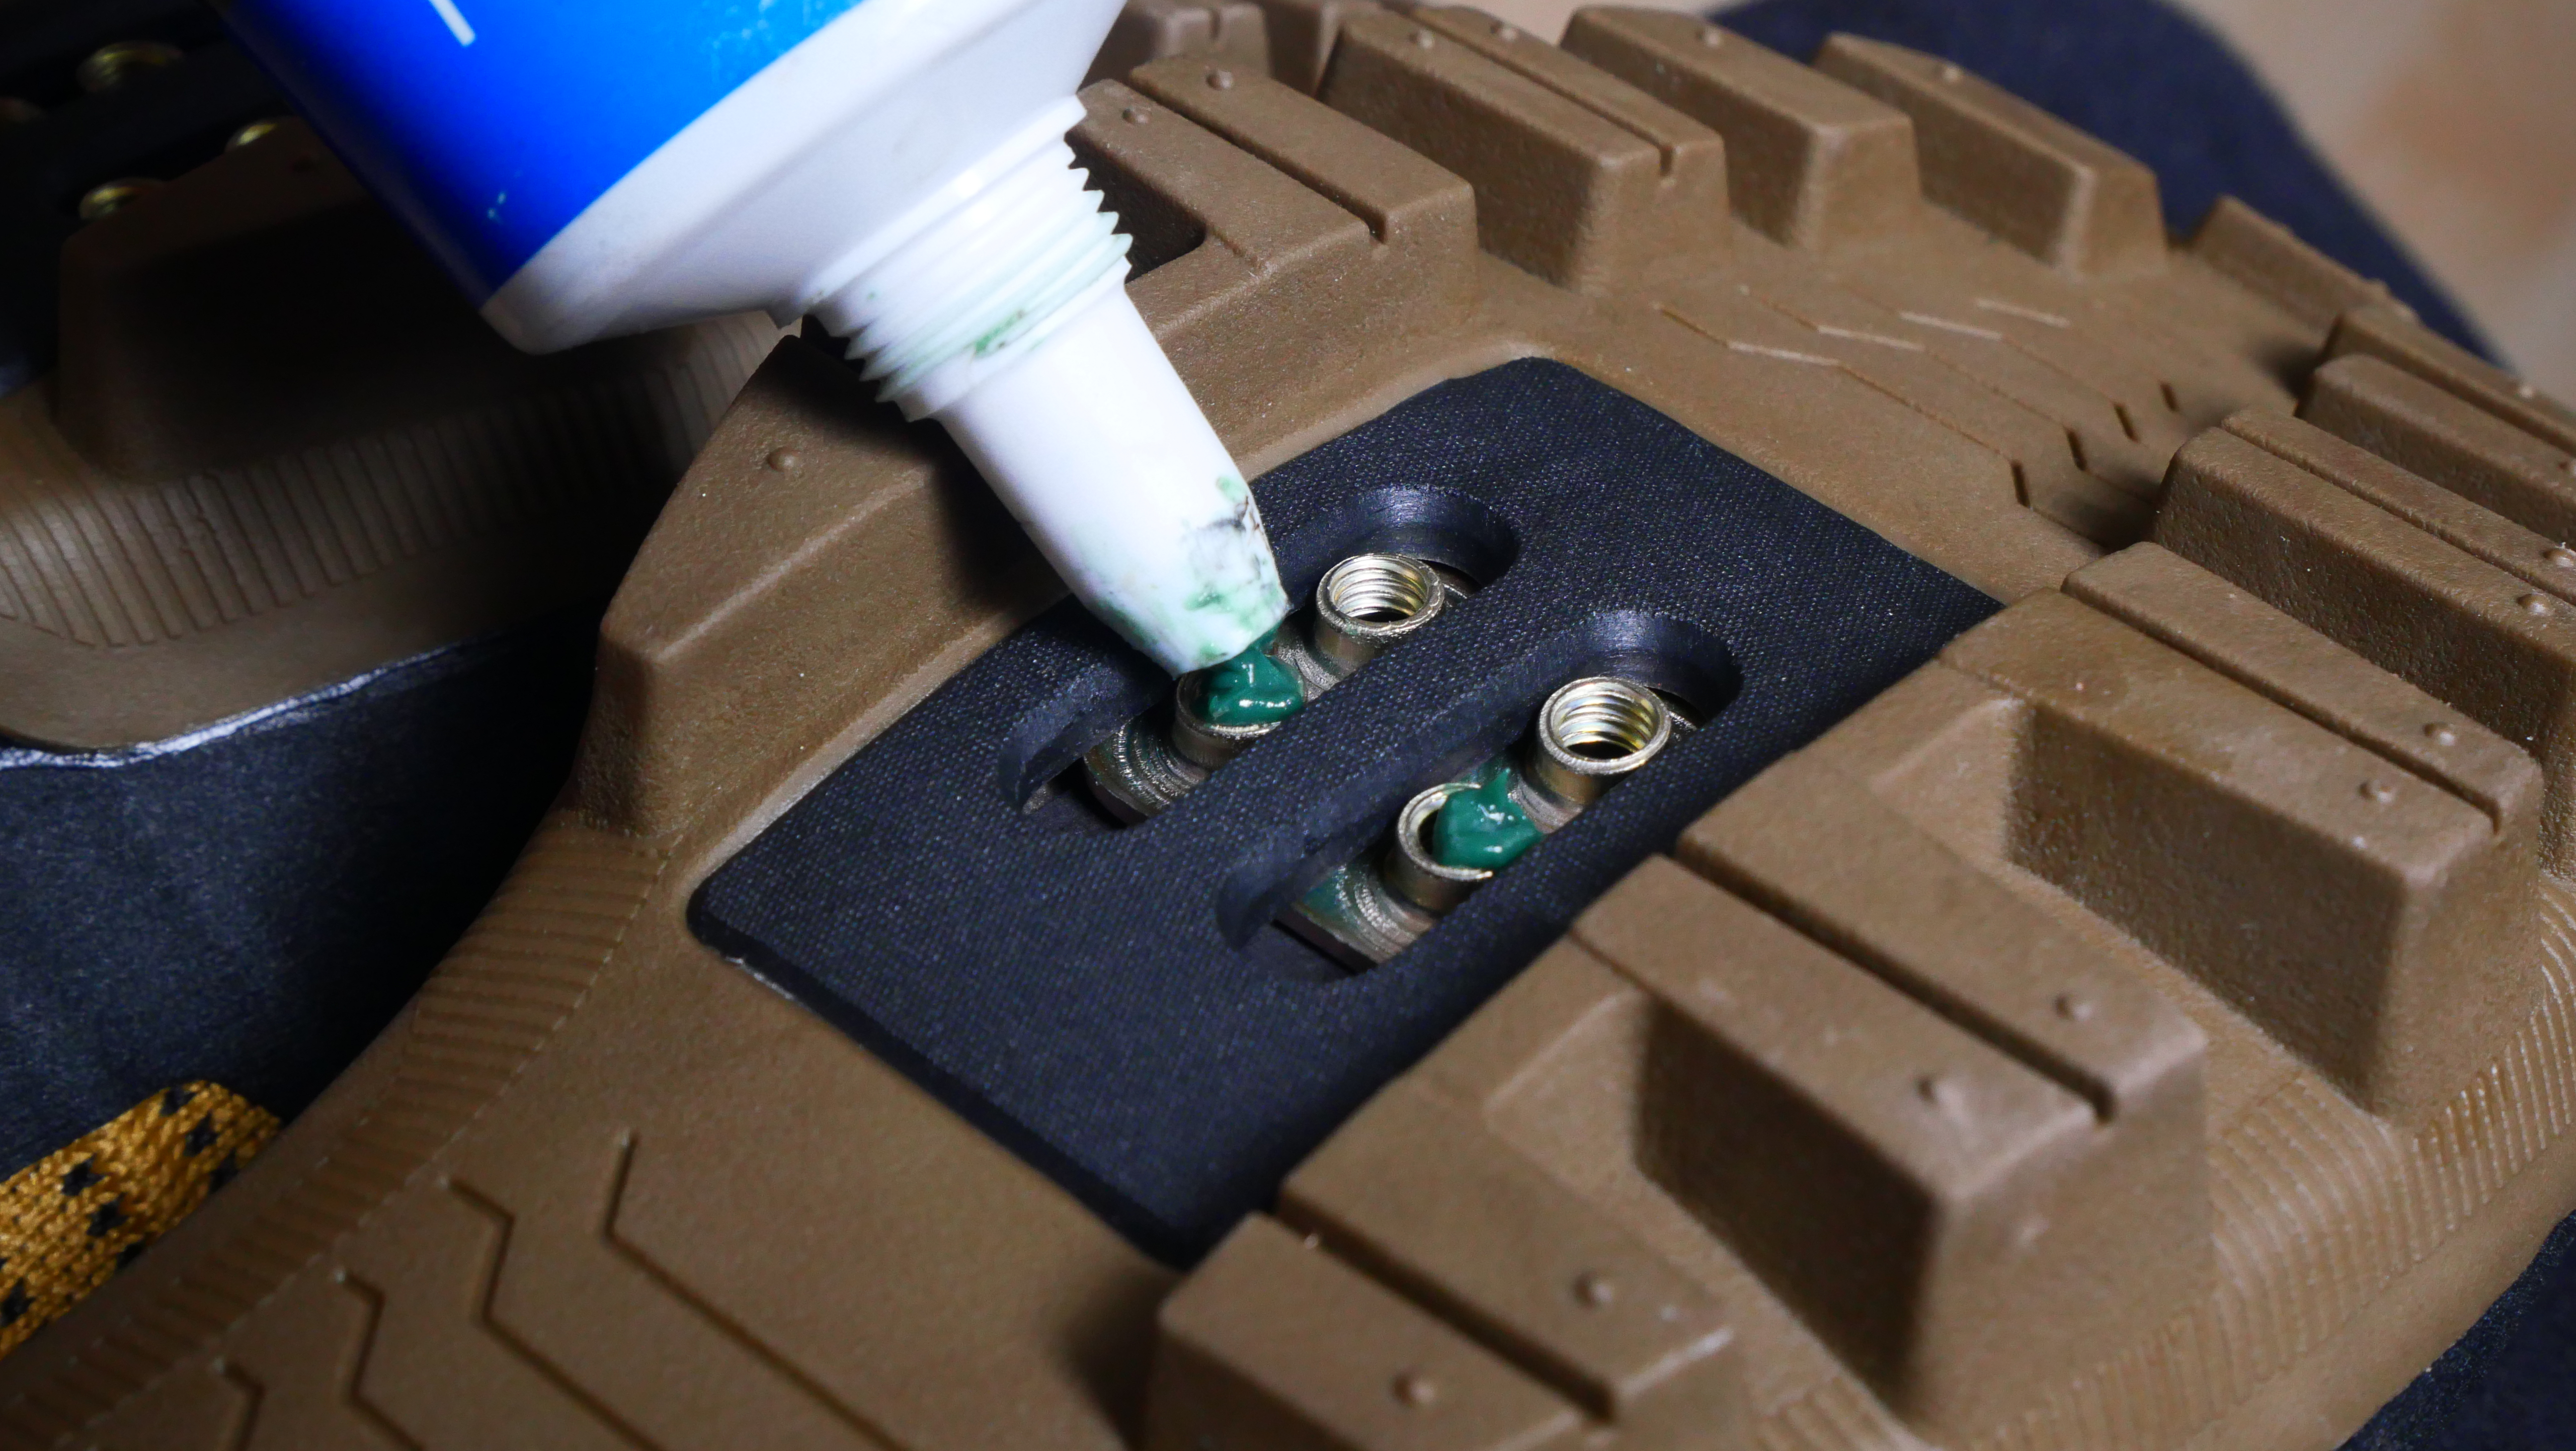
4. Grease the bolt holes
This is an important step that we see overlooked way too often. Cleats and the bolts that hold them into the shoes live a harsh life, constantly battered by water and dirt. Cleats eventually wear out and the last thing you want to do is find you can't remove the worn cleats from the bottom of your best mountain bike shoes. Simply popping a dollop of grease into each threaded hole in your shoe should mean when it comes to swapping them out down the line, the bolts can be easily unscrewed.
On a side note, it's worth double-checking the torque rating for your shoes. While some cleats can just be bolted tightly into the shoes by hand, higher-end shoes might use more exotic materials which require accurate torque numbers to avoid any damage. For more on torque, see our guide to the best bike torque wrenches.
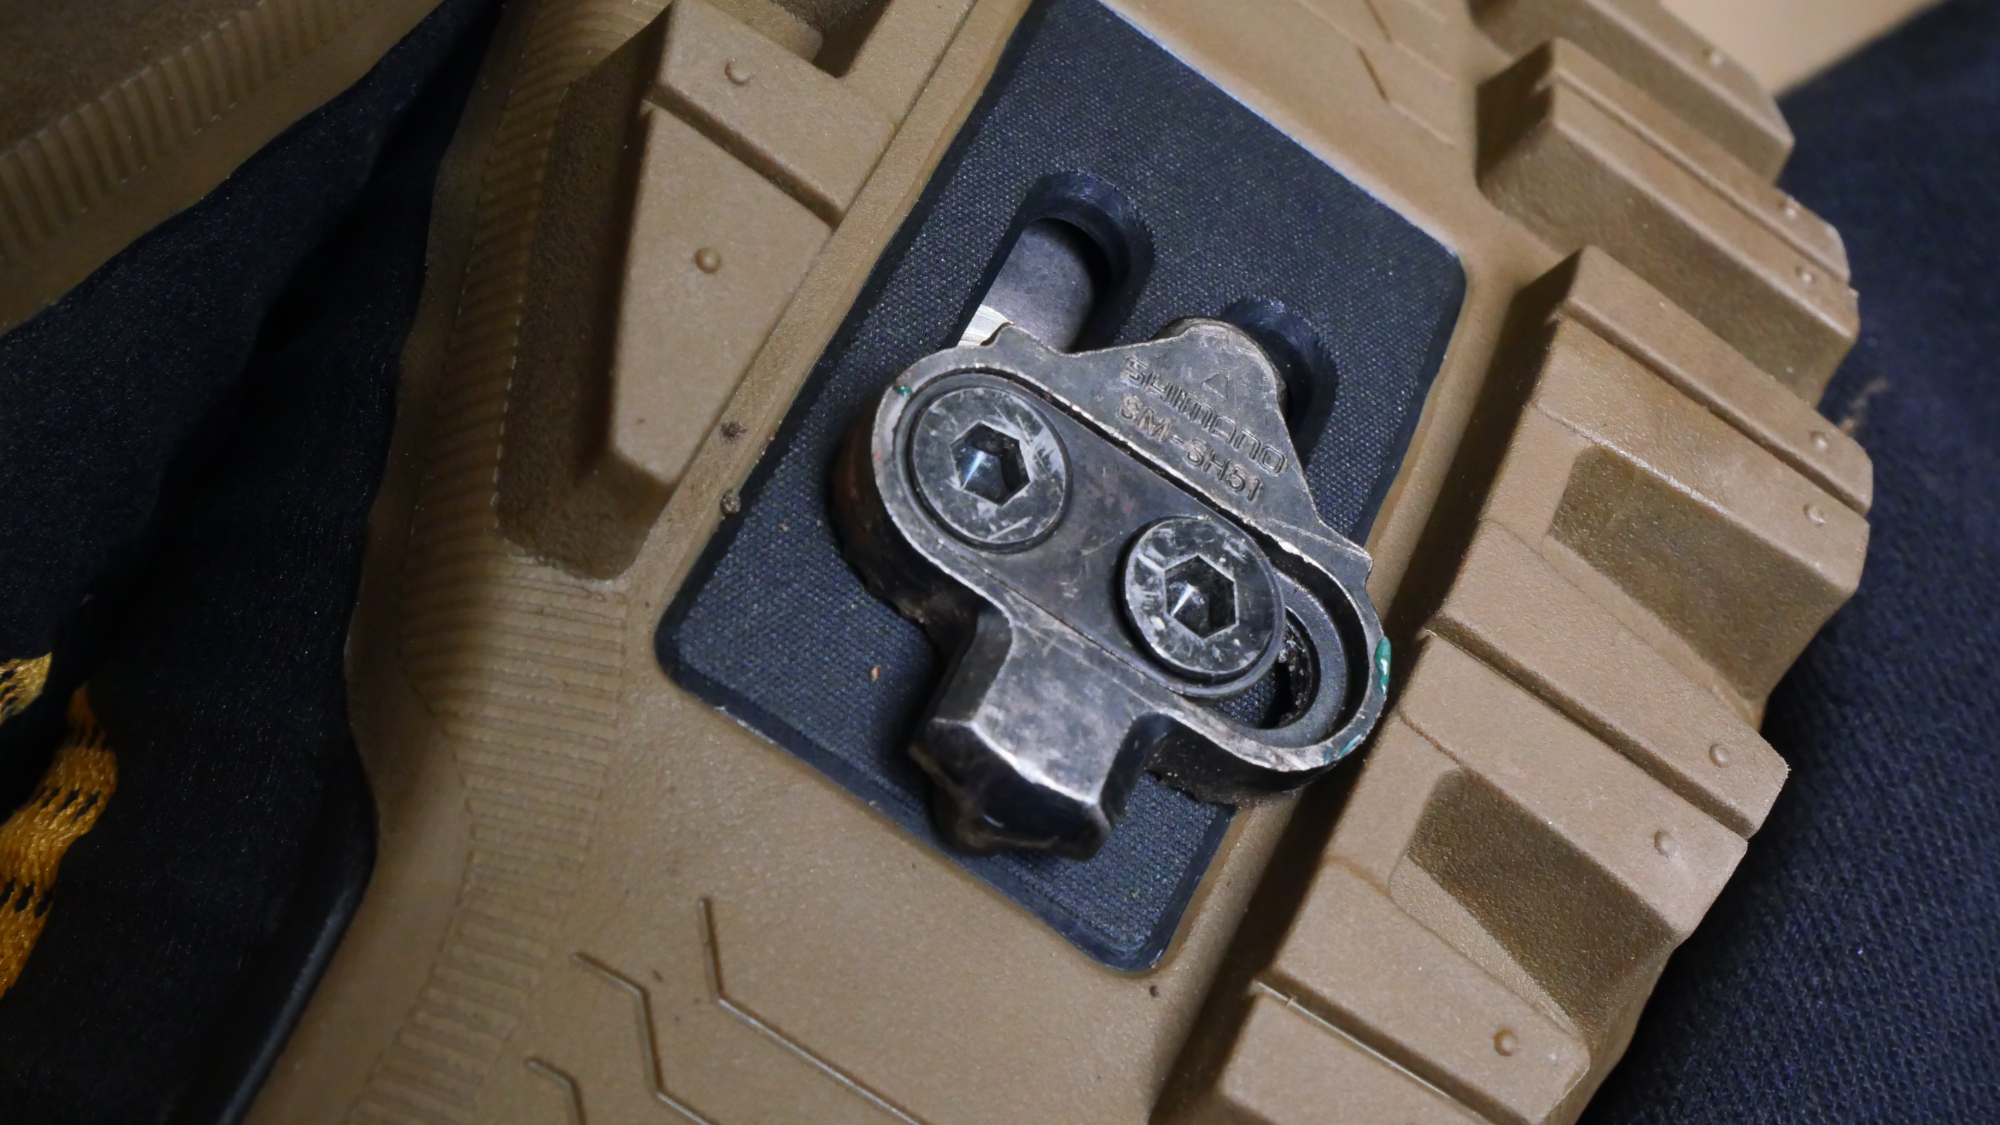
5. Position the cleats
Unless you have had the aforementioned bike fit to guide your position and said bike fitter to fit your cleats in the perfect position, this is the point that installing cleats on bike shoes starts to get complicated.
Cleat position is a whole subject of its own and can greatly influence your comfort and control on the bike. While most riders can have a broad comfort range, for others cleat position can play havoc on their joints. So if you are unsure or trying a new cleat position, it's worth treading carefully and easing into it with shorter rides.
As a general starting point, you are looking to position the cleat underneath the third metatarsal-phalangeal joint (the knuckle of your middle toe), although for mountain biking many riders opt to push the cleat further back as it offers better stability.
The lateral adjustment is more complicated as this is used to line up your pelvis, knees, and feet to ensure a smooth pedaling action. Experiment to see what works for you, but if you start feeling any knee pain it's worth consulting a professional before putting thousands of rotations in and it developing into a lasting injury.
Unless you have a specific reason not to, you will want to set the cleats up the same on both shoes. Most brands will have some form of guide on the soles as this makes it a lot easier to compare both shoes and assure they are the same. On the unlikely occasion your shoes don't, we recommend setting up one side and then either eyeballing the second or getting creative and making a template.

Graham Cottingham joined the BikePerfect team as our senior tech writer in 2020. With over 20 years of riding experience, he has dabbled in downhill, enduro, and gravel racing. Not afraid of a challenge, Graham has embraced bikepacking over the last few years and likes nothing more than strapping some bags to his bike and covering big miles to explore Scotland's wildernesses. When he isn’t shredding the gnar in the Tweed Valley, sleeping in bushes, or tinkering with bikes, he is writing tech reviews for BikePerfect.
Rides: Cotic SolarisMax, Stooge MK4, 24 Bicycles Le Toy 3, Surly Steamroller
Height: 177cm
Weight: 71kg
