Five hidden Garmin watch features for MTB riders
Here are our top five features on the Garmin Instinct 2 that you might not know about

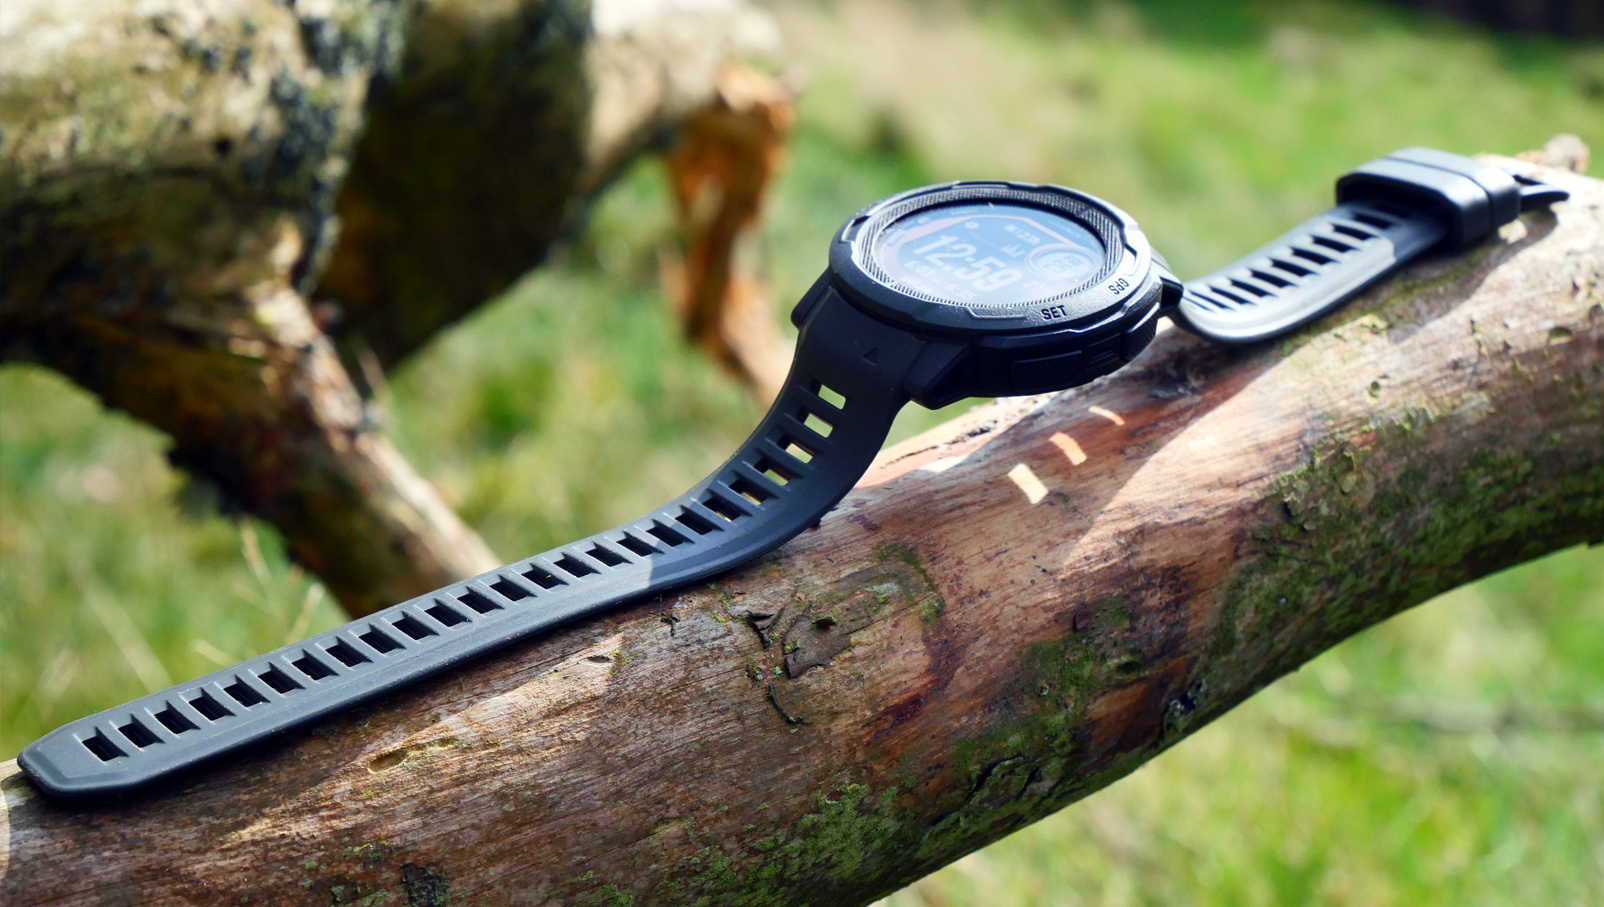
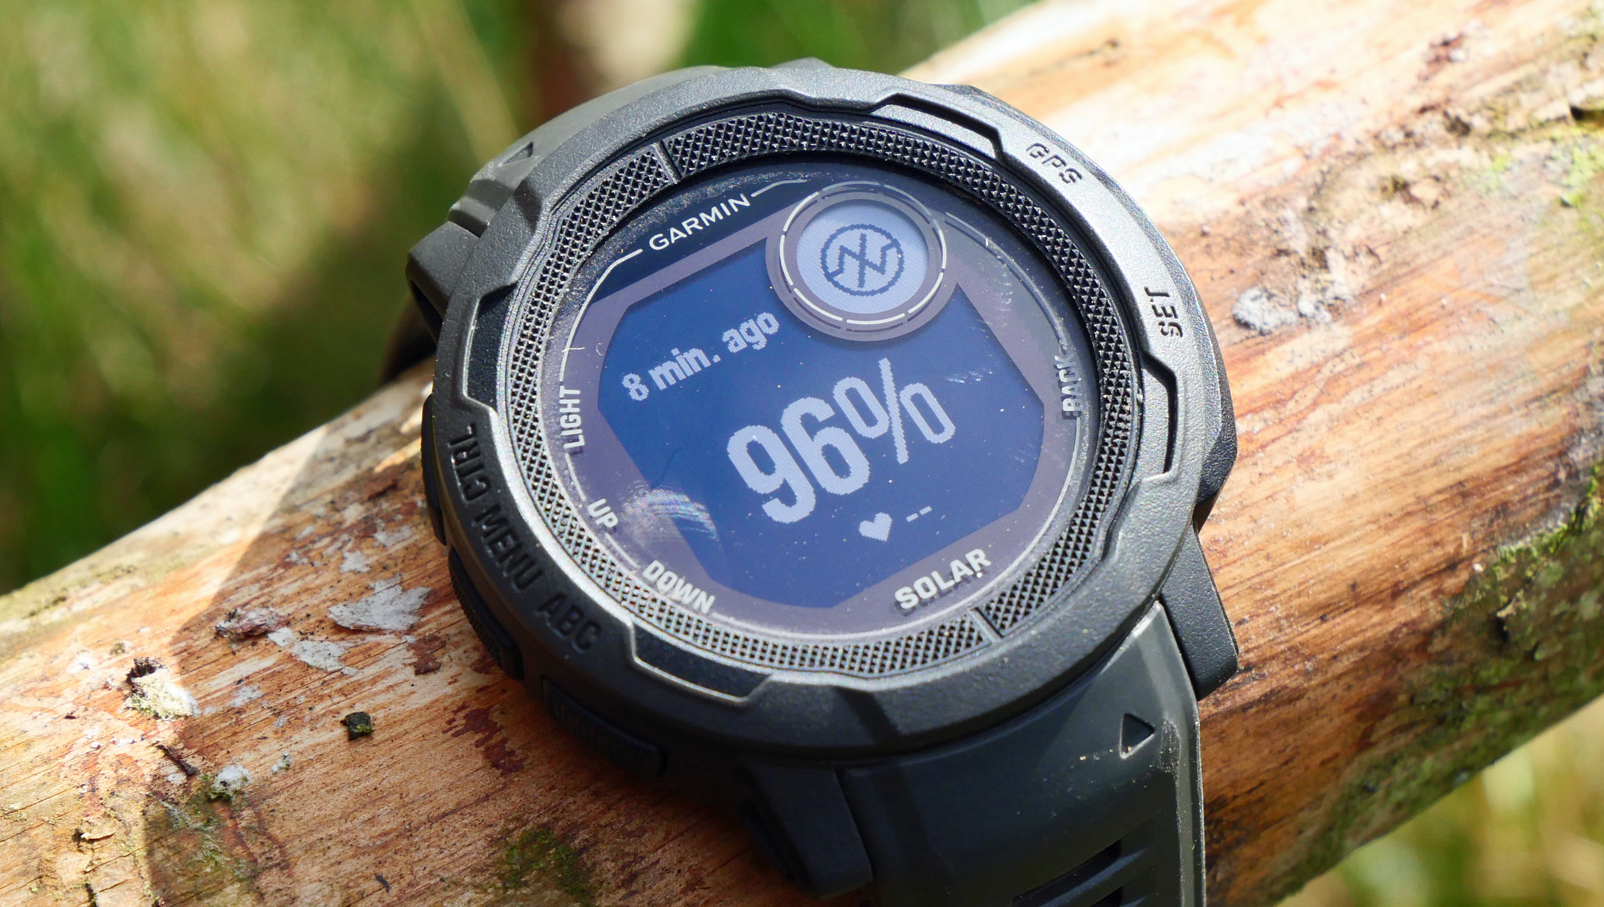
I have been using the Garmin Instinct 2 for a while now and have found it to be a powerful tool for recording rides, as well as other activities. Despite the Instinct 2 being the entry-level watch in Garmin's adventure range, it's packed with features that can be customized to fit your needs. I like it so much, it has become my go-to Garmin smartwatch and is even my preferred ride recorder over many of the best MTB GPS computers.
So once you have connected the Garmin Connect app, synchronized Strava, and gathered your glance widgets, what's next?
After some digging through the menus, I have found some extra useful features for mountain biking that you might not know about. These aren’t just Instinct 2 features either, so if you have a different Garmin wearable, it's likely these tips will also work on your Garmin smartwatch.
Uplift activity profile
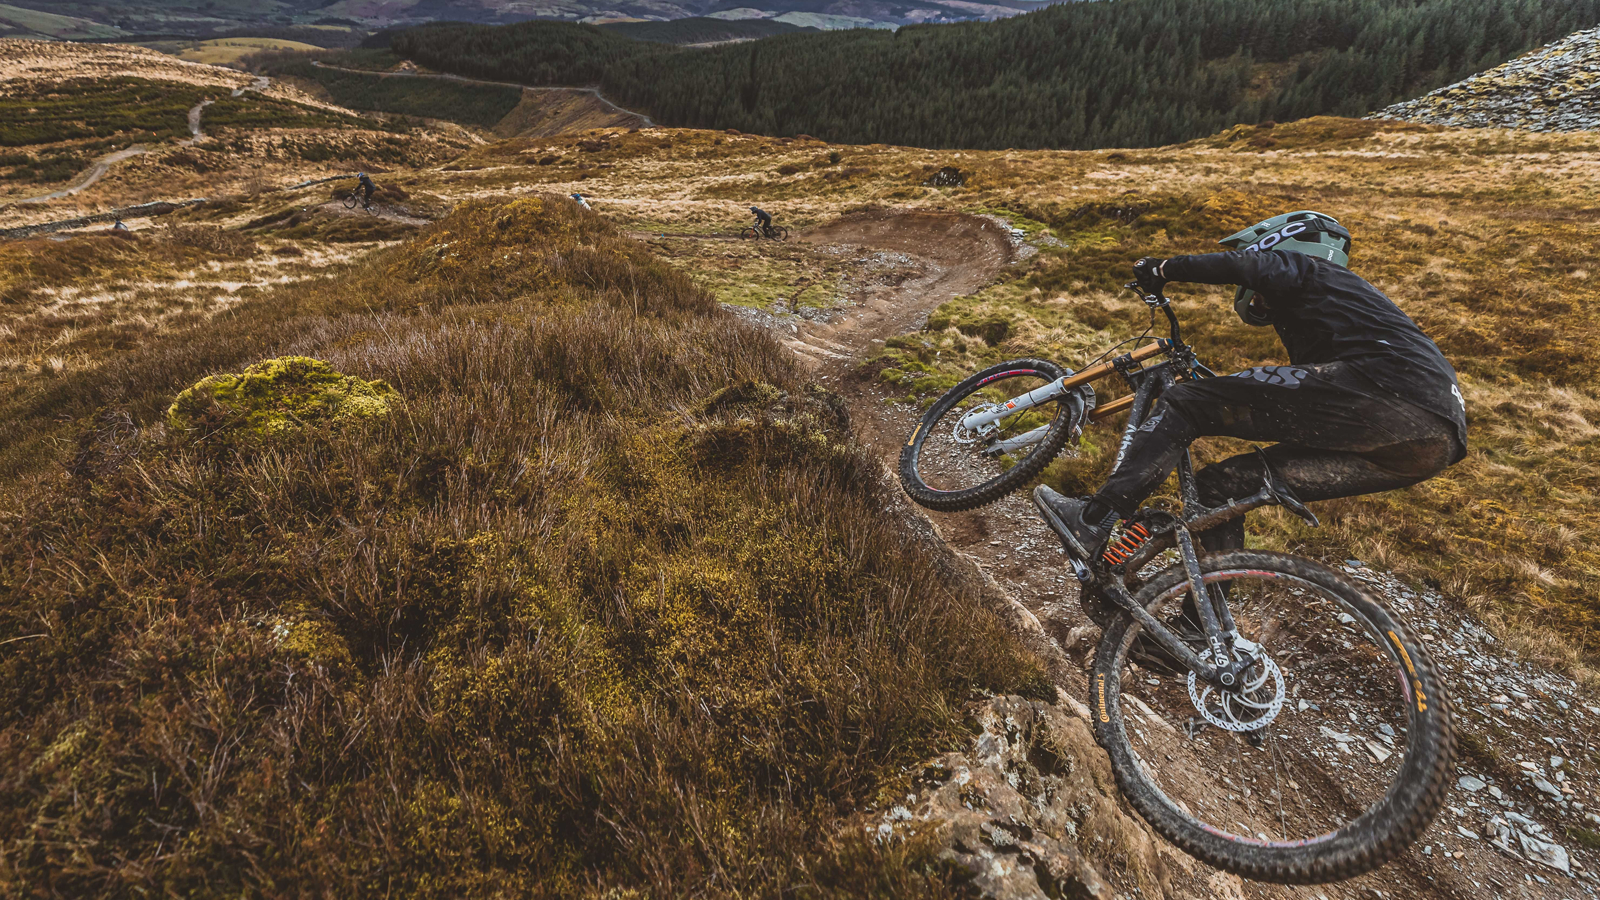
The watch has become my favorite way to record all mountain bike rides, whether it's whizzing around a trail center on an XC bike, pedaling up and dropping into enduro trails, or going out for some laps of the bike park. The latter however is a little more complicated as I don’t want to record the lift or shuttle up the hill, pausing and resuming an activity is a workaround but it's way too easy to forget to stop and restart an activity when you’re out on the trails.
Luckily the Instinct 2 can be set up to automatically pause the activity when it detects you going uphill and resume when you start moving downhill. To set this up you will need to copy the ski profile, either in the Connect app or on the watch itself, and rename it. Then set your preferred data screens and turn off 3D Speed and Distance for better accuracy. Now when you go to the bike park and select your new activity profile the watch will auto-pause when you jump on the uplift for another run.

Auto Lap
This is an interesting one as Garmin didn’t officially include this feature on the watch although, like the uplift setting, it was possible to set it up manually.
In the recent Garmin Watch update, this feature was quietly made available in all activity profiles. It's a feature I find very useful when sessioning a section of trail to get splits without having to manually press any buttons. Handy for testing, practice, and training intervals.
To set it up, go into your activity profile, then in activity settings scroll down to Auto Lap and set the Auto Lap to Auto Position. To set the lap positions you will need to press the Set button at the start and end of the trail section you want to time. Once this has been configured the watch will auto lap every time you pass that point on the trail. Once you have completed your ride you can analyze your laps on websites like Strava.
It's not perfect though as I have seen the GPS miss the lap trigger before. With the set button, with is also the back button, now triggering laps you also can’t go back into the smartwatch features when recording an activity either.
Turn off PulseOX
It's tempting to have all the health data on as it gives you as much data as possible but if you find you're not getting close to the advertised battery life there is a chance you only need to change one setting. Recording 24/7 health metrics means the watch is constantly taking readings, however, it's only one metric that is consuming the majority of the power.
PulseOx is a massive drain on the battery and on top of that, it isn’t always producing readings as you need to be still and stationary for it to work. By turning off PulseOX, battery life goes from 7 days to 29 days whilst still recording loads of other health metrics. If PulseOx is a feature you do want, you can always set it to work while you sleep, and therefore still, or perform manual readings.

Transmit heart rate
I didn’t think this feature would be of much use when I first started using the watch, but as time has gone on I have actually used it quite a lot. The setting simply transmits your heart rate via Bluetooth to another device, ie phone or head unit.
If you’re riding with a watch anyway it means you don't have to use a separate heart rate monitor. Linking the watch to a head unit for heart rate is my preferred setup for off-road riding, especially bikepacking as the watch can be used as a backup to record my riding if something goes wrong with your primary device.
Gear Tracker
You can use Garmin to automatically track the mileage you put on your bike by adding it to the Gear tab in the Garmin Connect app. Once your bike has been added you can set it to automatically track the mileage of the bike.
The feature is pretty basic though as you can only link it to cycling, rather than specific activity profiles, which would be a lot more useful for tracking different milage on multiple bikes. If you use Strava, then the gear tracker there is considerably more comprehensive as it allows you to add and remove components as well, although you do need to manually add your bike to each activity.

Graham Cottingham joined the BikePerfect team as our senior tech writer in 2020. With over 20 years of riding experience, he has dabbled in downhill, enduro, and gravel racing. Not afraid of a challenge, Graham has embraced bikepacking over the last few years and likes nothing more than strapping some bags to his bike and covering big miles to explore Scotland's wildernesses. When he isn’t shredding the gnar in the Tweed Valley, sleeping in bushes, or tinkering with bikes, he is writing tech reviews for BikePerfect.
Rides: Cotic SolarisMax, Stooge MK4, 24 Bicycles Le Toy 3, Surly Steamroller
Height: 177cm
Weight: 71kg
