Bikepacking on a budget – top tips to help make your bike adventures affordable
Bike Perfect shares some expert tips for bikepacking on a budget
As with most things in the cycling industry, it’s easy to be swept up with the idea that you need the latest and greatest bike, components and kit. While these cutting-edge products certainly help you ride faster, further and more comfortably, they are far from a necessity. Factor in that bikepacking not only involves the outlay of a bike and clothing but also all the camping equipment and bags.
Bikepacking is quickly gaining popularity and with it, manufacturers are starting to bring out more and more specialist equipment. This has resulted in a myriad of options at all budgets. Luckily packable camping gear isn’t anything new, ultralight backpackers have been developing super light and packable equipment for years so with some shopping around you can easily put together a solid bikepacking setup without spending too much money. Keep reading as we take you through some tips and tricks to bikepacking on a budget.
With the money saved from this article, perhaps you might like to put it towards one of the best bikepacking bikes around, or dine in style with the best bikepacking food?
For information on Bike Perfect's testing procedures and how our scoring system works, see our how we test page.
Bikepacking is quickly gaining popularity and with it, manufacturers are starting to bring out more and more specialist equipment. This has resulted in a myriad of options at all budgets. Luckily packable camping gear isn’t anything new, ultralight backpackers have been developing super light and packable equipment for years so with some shopping around you can easily put together a solid bikepacking setup without spending too much money. Keep reading as we take you through some tips and tricks to bikepacking on a budget.
With the money saved from this article, perhaps you might like to put it towards one of the best bikepacking bikes around, or dine in style with the best bikepacking food?
1. Bikepacking bags
Why trust BikePerfect
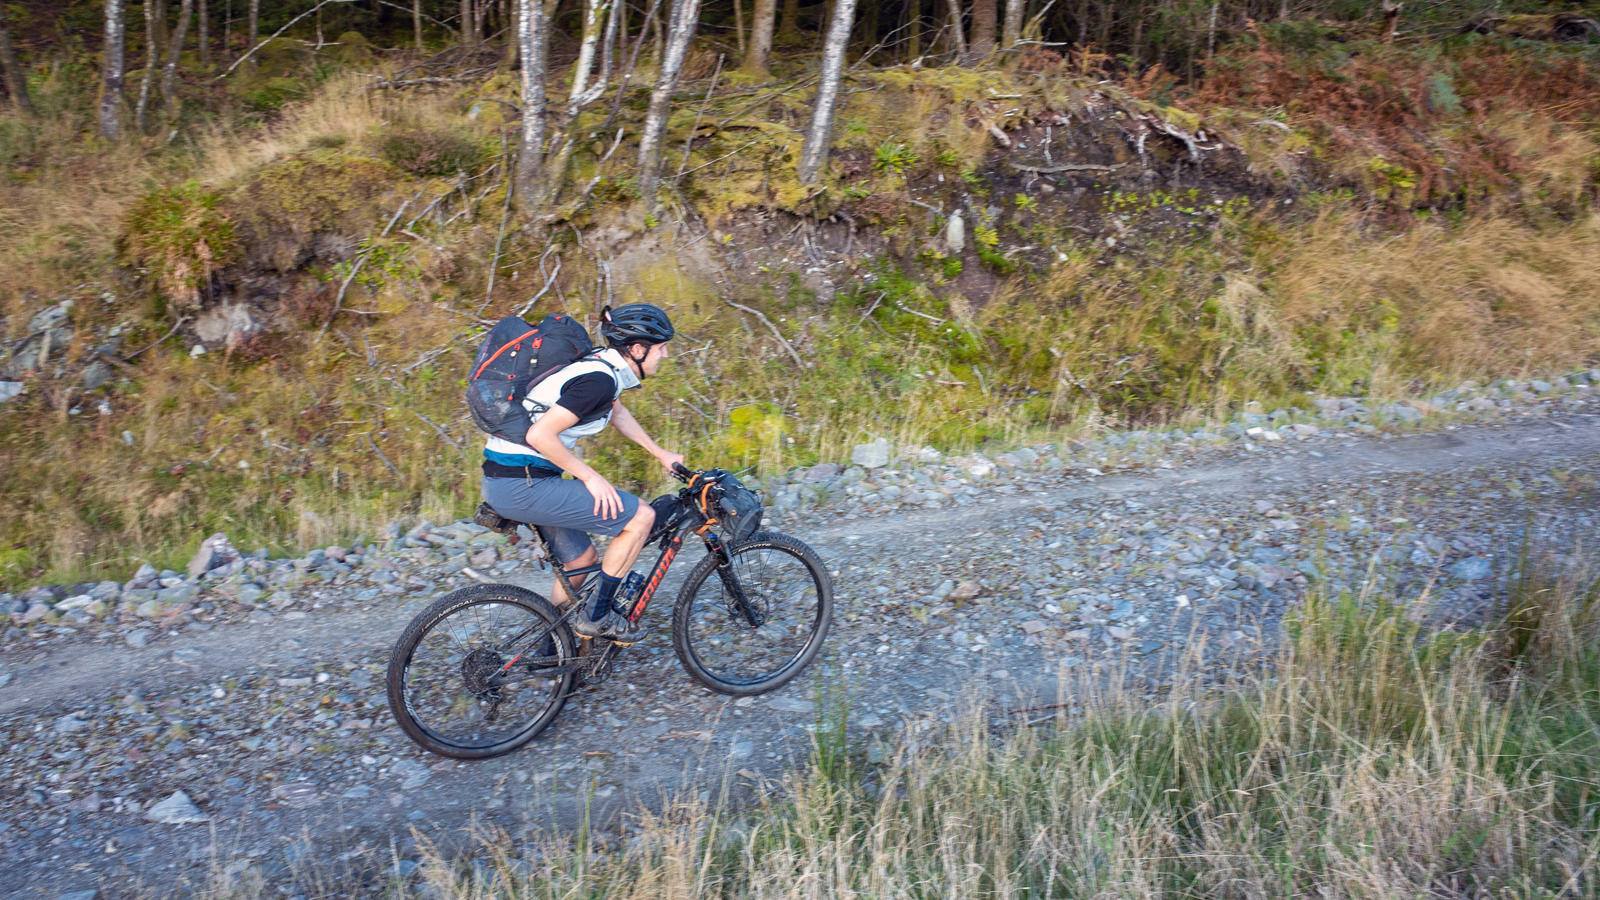
Bags are the crux of your bikepacking setup, without a way to carry all the camping gear you aren’t able to go bikepacking. However, the first consideration should be whether you actually need bikepacking bags at all? Most people own a large backpack already that can be used to carry everything that’s needed. For those who are dipping their toes into bikepacking or choosing a very mountain bike-orientated route, using a backpack makes packing simple and convenient, however if riding longer distances you will discover why loading the bike is the preferred method of carrying equipment.
If you are looking for a budget option to take the load off your body and onto the bike, there are three options. The cheapest and easiest is to use either toe or ski straps to simply lash dry bags to your handlebars and seatpost. Traditional toe straps or rubberized ski straps are universal straps that not only can be used to secure equipment to the bike but also worth carrying a few spare just in case something happens mid-ride. Drybags will wriggle and sway a bit no matter how strapped down they are, and the movement will eventually wear a hole in the bag, but it’s a very cheap way to get the load off your back and onto the bike.
There are plenty of budget bikepacking bags, durability will vary depending on the manufacturer so it can be worth spending a little more to get a product with quality seams, zips and workmanship. The alternative is to make your own bags. For the cost of material, utilizing some sewing skills and a bit of design you could kit your bike out with a full set of custom bags. MYOG (make your own gear) isn’t a new concept and has been a popular movement within the ultralight backpacker community who can’t always find what they want on the market. MYOG isn’t for everyone though as you need to have access to a sewing machine as well as have a good knowledge of sewing to be able to make something remotely usable, the last thing you want is a bag to fail and dumping all your kit on the trail in the middle of nowhere.
2. Cooking
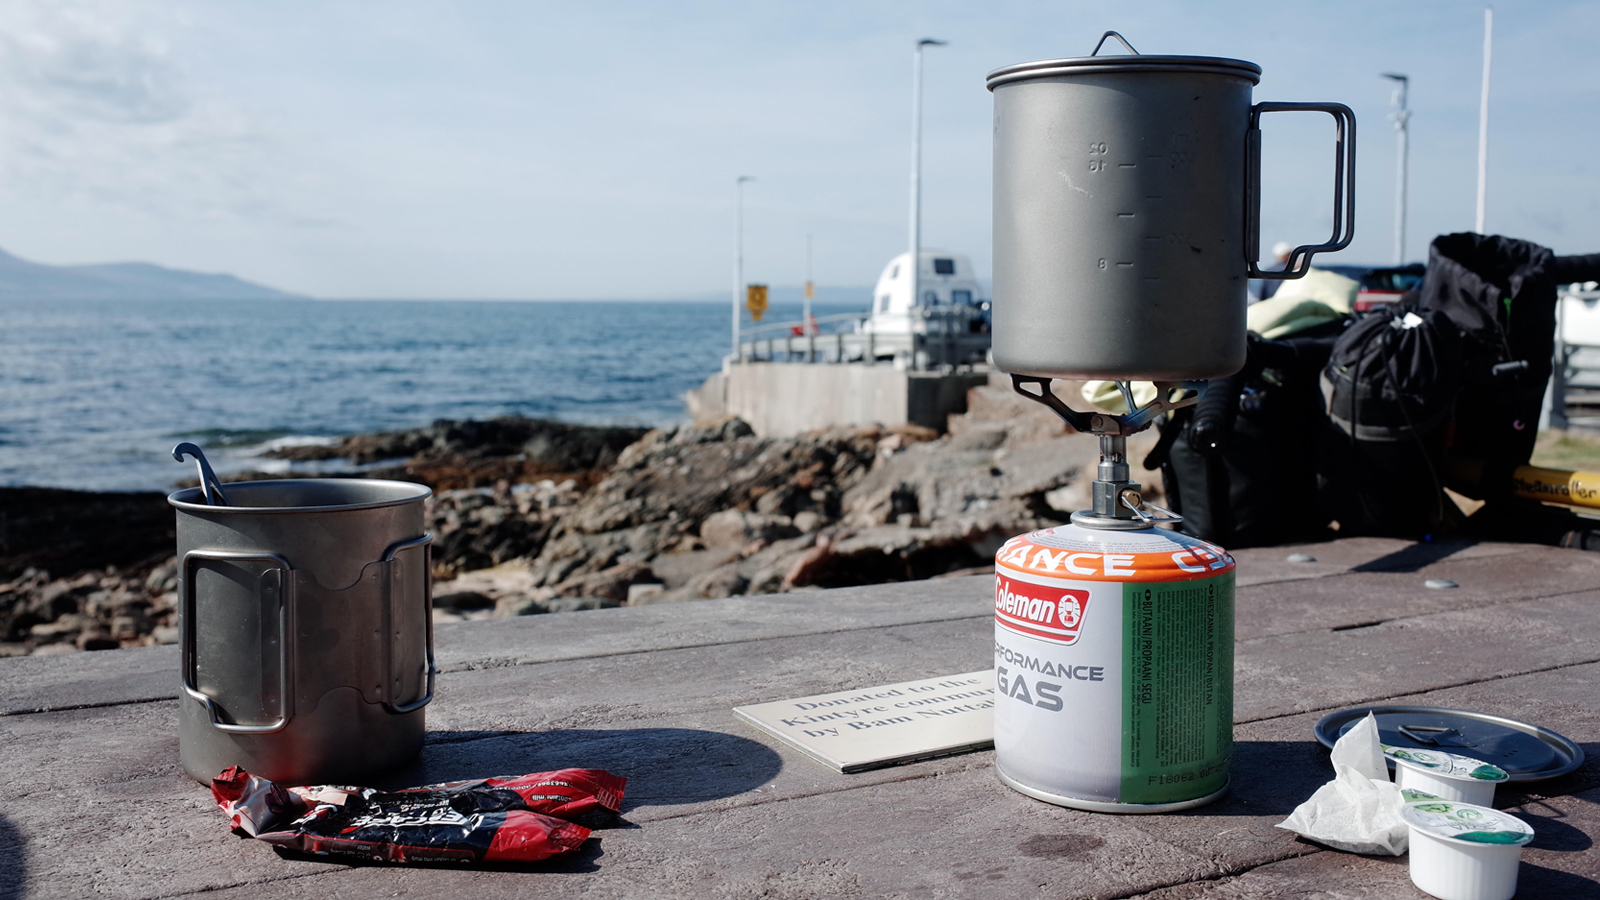
There are loads of different cooking setups, luckily there are plenty of budget options available, too. The cheapest option is making your own stove out of an aluminum drink can, disclaimer we haven’t actually done this ourselves so can’t recommend the best design, however, there are plenty of tutorials online for different setups so it’s worth experimenting. Most versions use alcohol as a fuel source which is easy to get hold of and the stoves themselves are very light and small. The cooking performance will be highly dependent on your craftsmanship though. For more efficient or reliable cooking we recommend buying a cheap gas stove. We have been using an ultralight titanium BRS camping stove from Amazon for the last few years with no problems. The design is loosely based on the MSR PocketRocket albeit less refined. It folds away incredibly small, weighs 25g and is simple to use. Screwing straight onto a standard threaded gas canister and modulating flow with the small dial on the side. Performance is affected by wind and the hinges on our stove have developed a bit of play, but for the price we thoroughly recommend it. Amazon also sells titanium pots (look for 650 to 750ml) and sporks (make sure it has a long handle) and while those aren’t as cheap as military surplus mess tins and a spoon from your kitchen, it packs into the pot for a neater setup. Altogether it’s possible to buy a simple yet reliable cooking setup for under $80.
3. Food
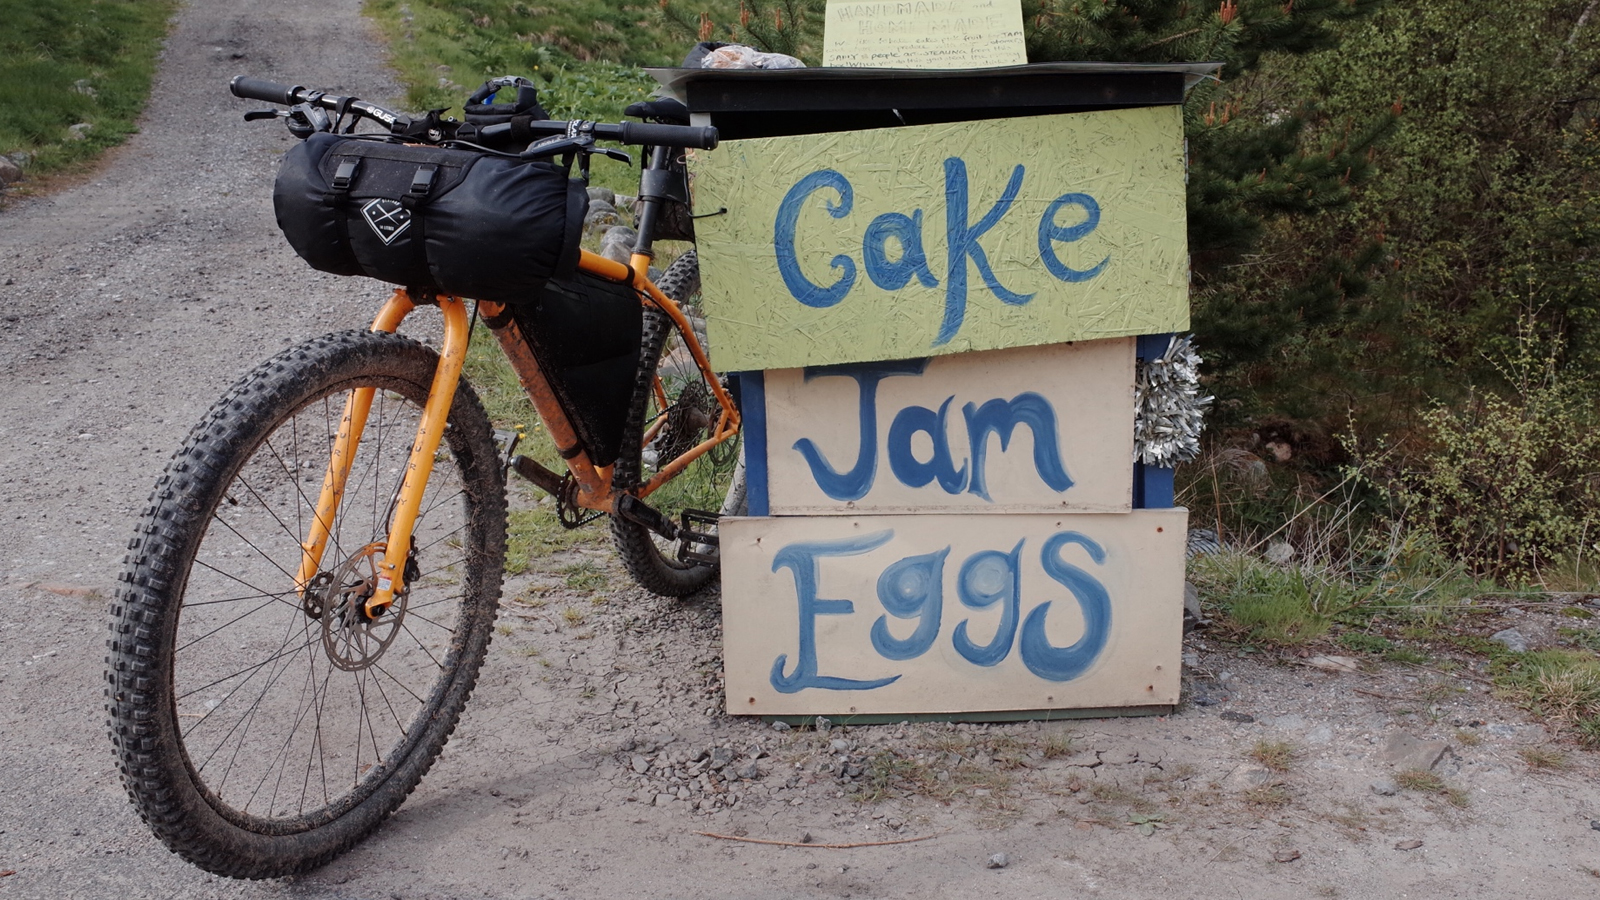
When it comes to choosing what you eat on a ride making your own food is far cheaper than choosing packaged meals. The convenience of packaged outdoor meals is the selling point but with some extra preparation, there is a lot of money that can be saved. I’m not a chef so you will need to find your own recipes but look for meals that use dry ingredients as they travel better. We prefer rice or couscous as not only are they easy to pack, cook and eat quickly but they also use very little water. Having some go-to recipes that use common ingredients means, if you need to resupply, you are more guaranteed to find the ingredients you need therefore avoiding the temptation of treating yourself to a pizza. The same goes for mid-ride snacks, making your own energy bars, treats and snacks not only saves money but means you also know exactly how much nutrition you are consuming.
4. Sleeping setup
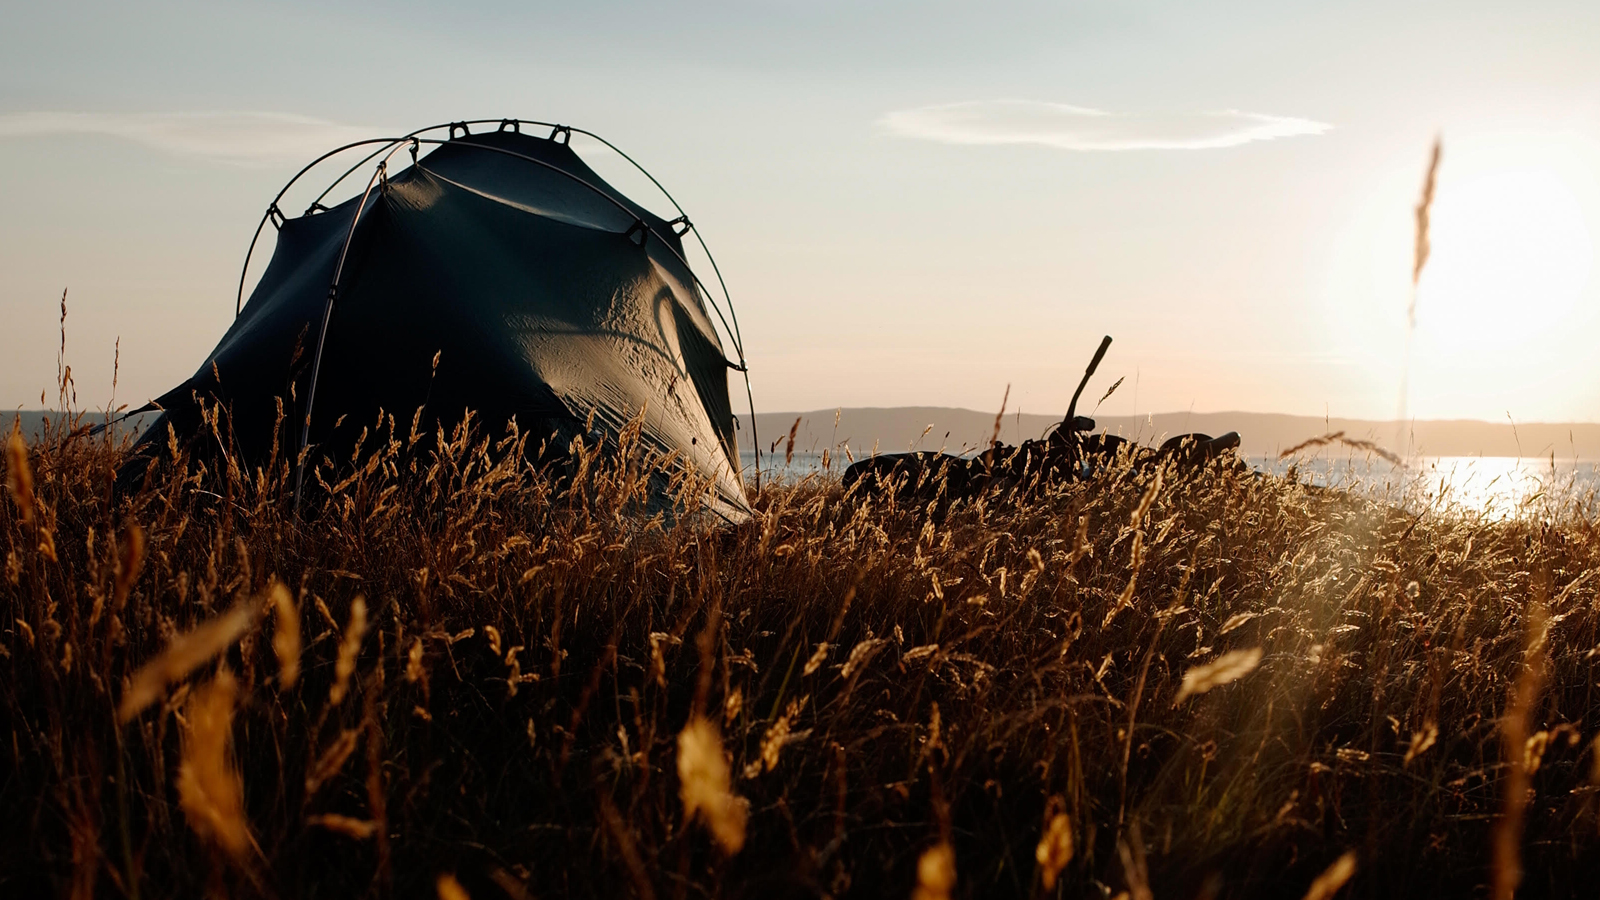
Even the most premium and lightweight setup is still going to be the single most space-consuming and heavy item you will bring with you on a bikepacking trip. The unfortunate truth is that when it comes to sleeping systems you really do get what you pay for as well. Advanced materials are warmer and pack smaller meaning they not only improve comfort at night but also the quality of riding during the day. If you have the budget to spend, investing in the best sleeping system is the best option. An outdoor sleeping system isn’t bike-specific either so if you are into other outdoor sports that involve sleeping outside, then a lighter or warmer setup will benefit during those activities, too.
Saying that there are considerations that can be made which will save you money. Unfortunately, much of these considerations are dependent on your local climate and willingness to tolerate discomfort. The more weather and temperature you anticipate dealing with will demand more advanced equipment. If you are lucky to live in an area where the nights are warm and dry then you will be able to get away with a cheap lightweight sleeping bag. Otherwise, you will need to look to balance sleeping bag comfort temperature ratings, size and price. The same can be said for shelter, fair weather will only require a bivy bag to provide a little extra protection. Alpkit, OEX and other similar brands all offer budget bivy bags that are affordable, pack small and offer decent performance. Army bivy bags use a Gore-Tex material for superior performance at a great price, however they are very heavy. Pairing a bivy bag with a tarp will offer some added protection without too much extra outlay.
Tents ultimately offer far better protection from the weather but the added complexity of design adds cost. In fact, the difference between a premium tent and a budget tent can be as much as 2.5kg of extra weight. Considering that a bivy set up with a tarp will likely cost less and be lighter, we would only recommend getting a tent if you really need the extra comfort and weather protection.
Choosing an affordable sleeping mat isn’t necessarily choosing the mat with the lowest price, instead, look for mats that have a more durable material. Many brands offer lightweight mats made from 20D fabric at a low cost however these can be prone to punctures. Choosing a mat with a 75D material will be heavier and possibly more expensive but should save you from buying twice.

Graham Cottingham joined the BikePerfect team as our senior tech writer in 2020. With over 20 years of riding experience, he has dabbled in downhill, enduro, and gravel racing. Not afraid of a challenge, Graham has embraced bikepacking over the last few years and likes nothing more than strapping some bags to his bike and covering big miles to explore Scotland's wildernesses. When he isn’t shredding the gnar in the Tweed Valley, sleeping in bushes, or tinkering with bikes, he is writing tech reviews for BikePerfect.
Rides: Cotic SolarisMax, Stooge MK4, 24 Bicycles Le Toy 3, Surly Steamroller
Height: 177cm
Weight: 71kg
