Bikepacking essentials: Our tips to get ready for a bikepacking adventure
Bike Perfect takes a look at what to do and what not to do when getting ready for a bikepacking trip
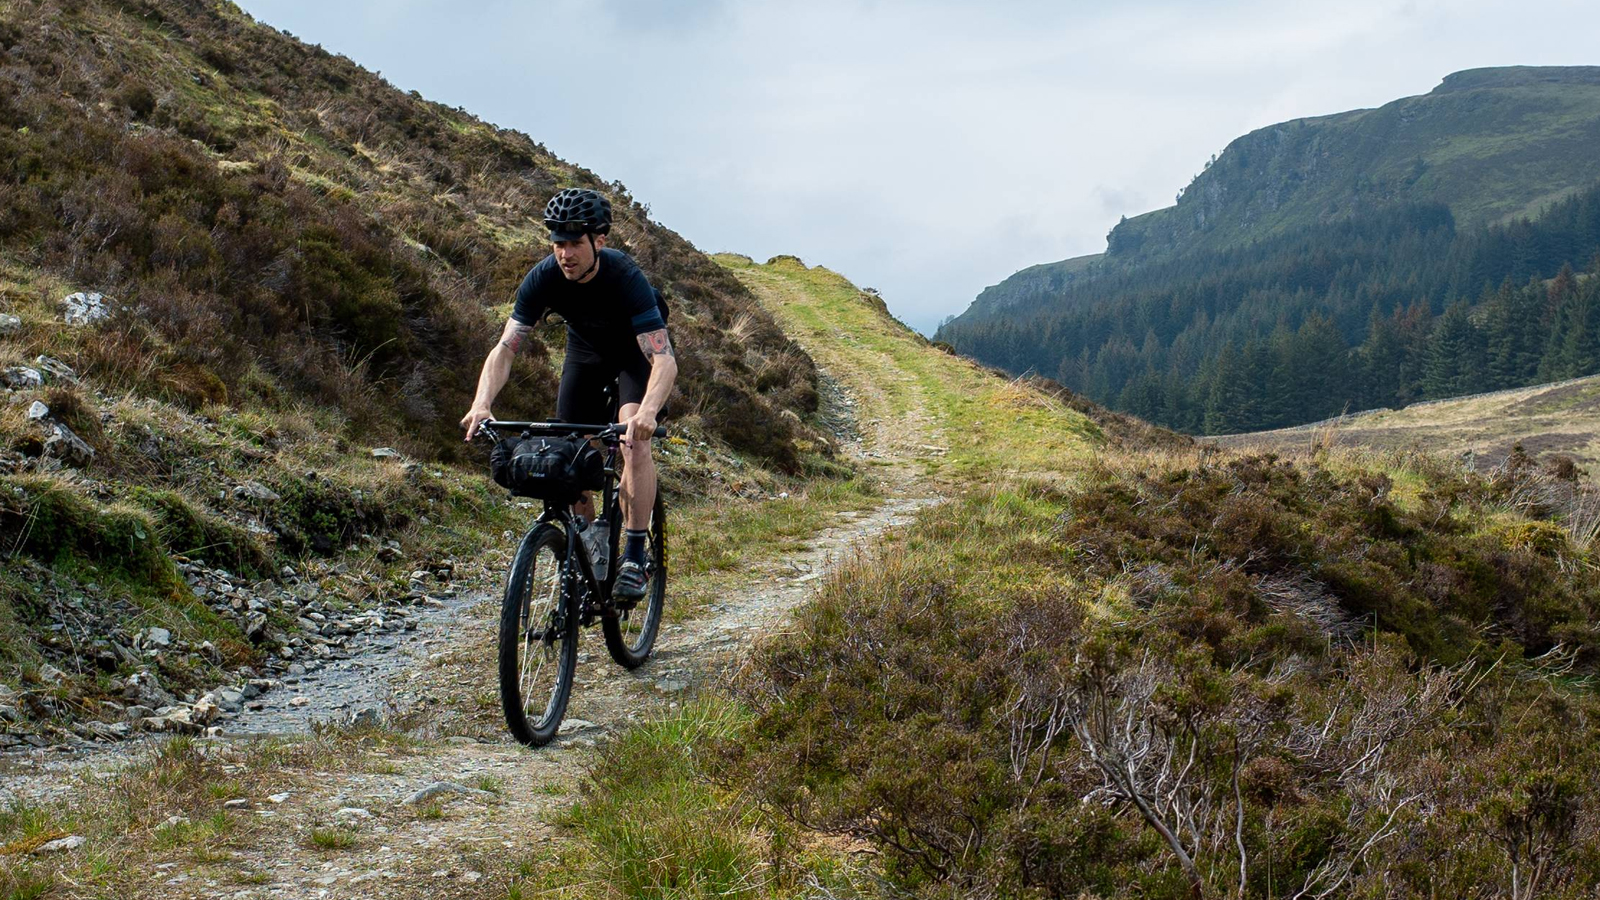
Whether it's your first bikepacking trip or your hundredth, taking everything that you need on a bikepacking trip can be a bit of an unknown. Every trip has a different set of challenges, whether it's length, terrain, or weather, and that’s not considering that each rider has different demands and expectations of equipment.
The reality is that there is no perfect bikepacking setup, however, there are plenty of wrong ones. Even experienced riders can set out on a trip forgetting something that later down the trail you realize you really need or misjudging the weather or route to find themselves in a less than ideal situation.
After all, often the nature of bikepacking means traveling out from your local area to remoter areas which amplifies the importance of being self-sufficient.
While everyone’s approach to bike and kit setup is unique, there are a few key areas that are universal, and if followed will ensure that your bikepacking trip goes as smoothly as possible. Here is Bike Perfect's bikepacking essentials guide for kit and preparation.
1. A suitable bike
Why trust BikePerfect
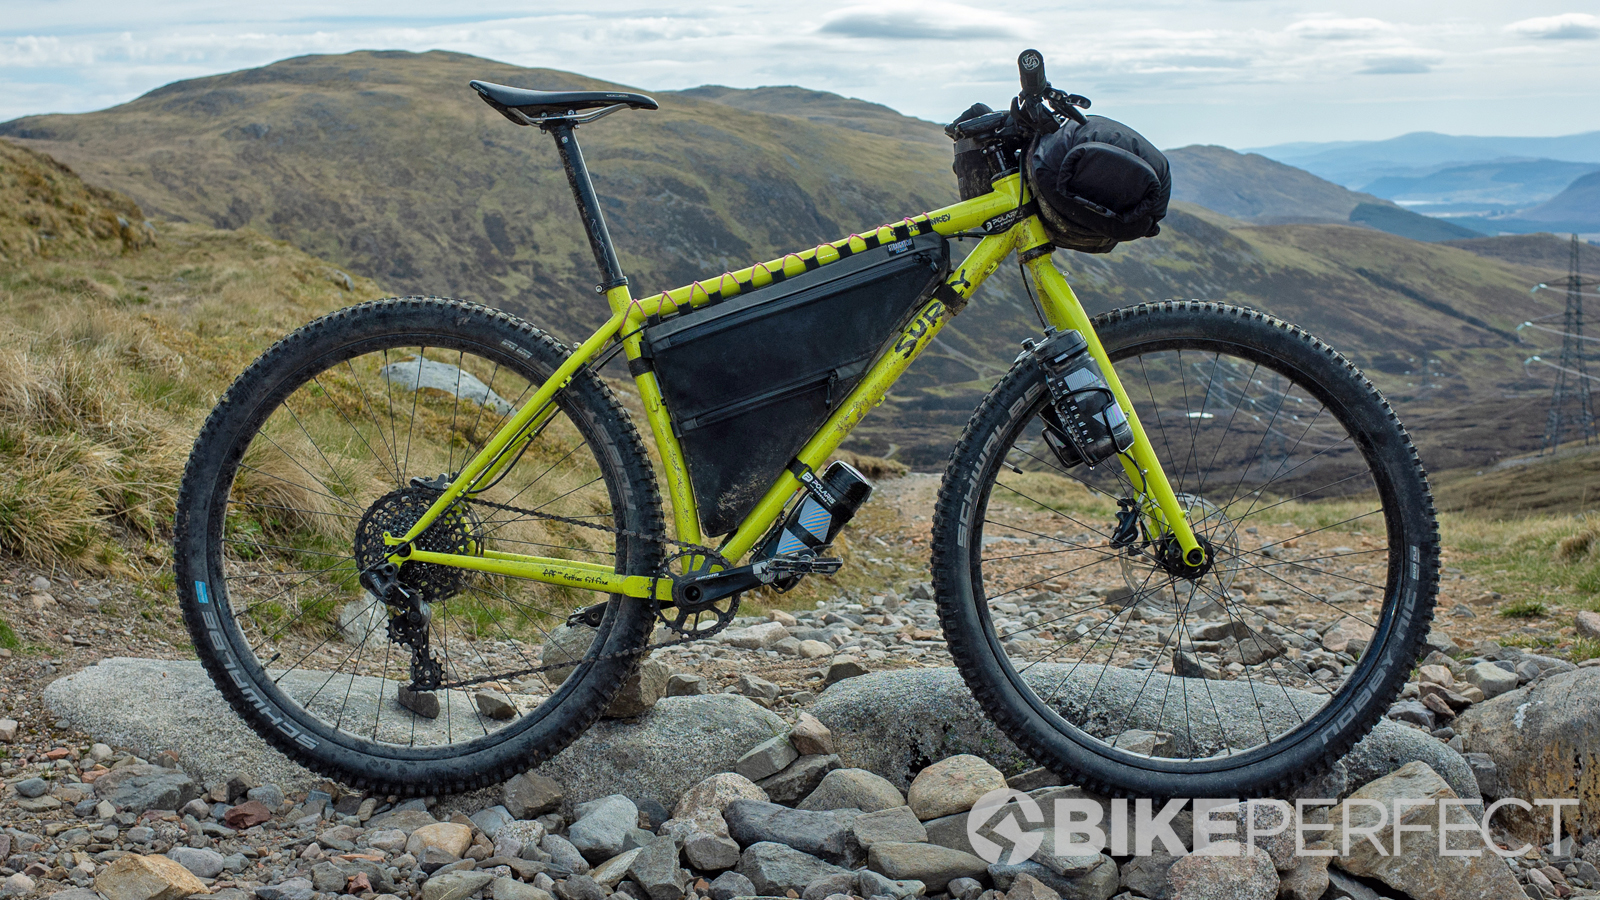
We will stand by the fact that any bike can be a bikepacking bike, however, there are some considerations to be made when choosing and getting your bike ready.
If you don’t have a gravel bike, it wouldn’t be unreasonable to tackle a 200km gravel route on an XC mountain bike, however, doing the same route on a downhill bike would be torturous. With that in mind, choose your bike or make modifications that will help you get the most enjoyment from your bikepacking trip.
Upgrades should be focused primarily on comfort and efficiency. Picking a bikepacking saddle that you know is comfortable and choosing the best MTB tires for fast-rolling are key areas to concentrate on as they will make the biggest difference to how a bike rides over a long distance.
There are a few other considerations to be made as well. If you have suspension you will need to stiffen it to accommodate the added weight of your bikepacking kit. It is also worth thinking about your gearing as the added weight of your kit will make climbing harder. Mountain bikes are generally equipped with lower gearing, however, if you are using a gravel bike it may be worth dropping to a slightly smaller chainring if the route is hilly.
2. Sleeping equipment
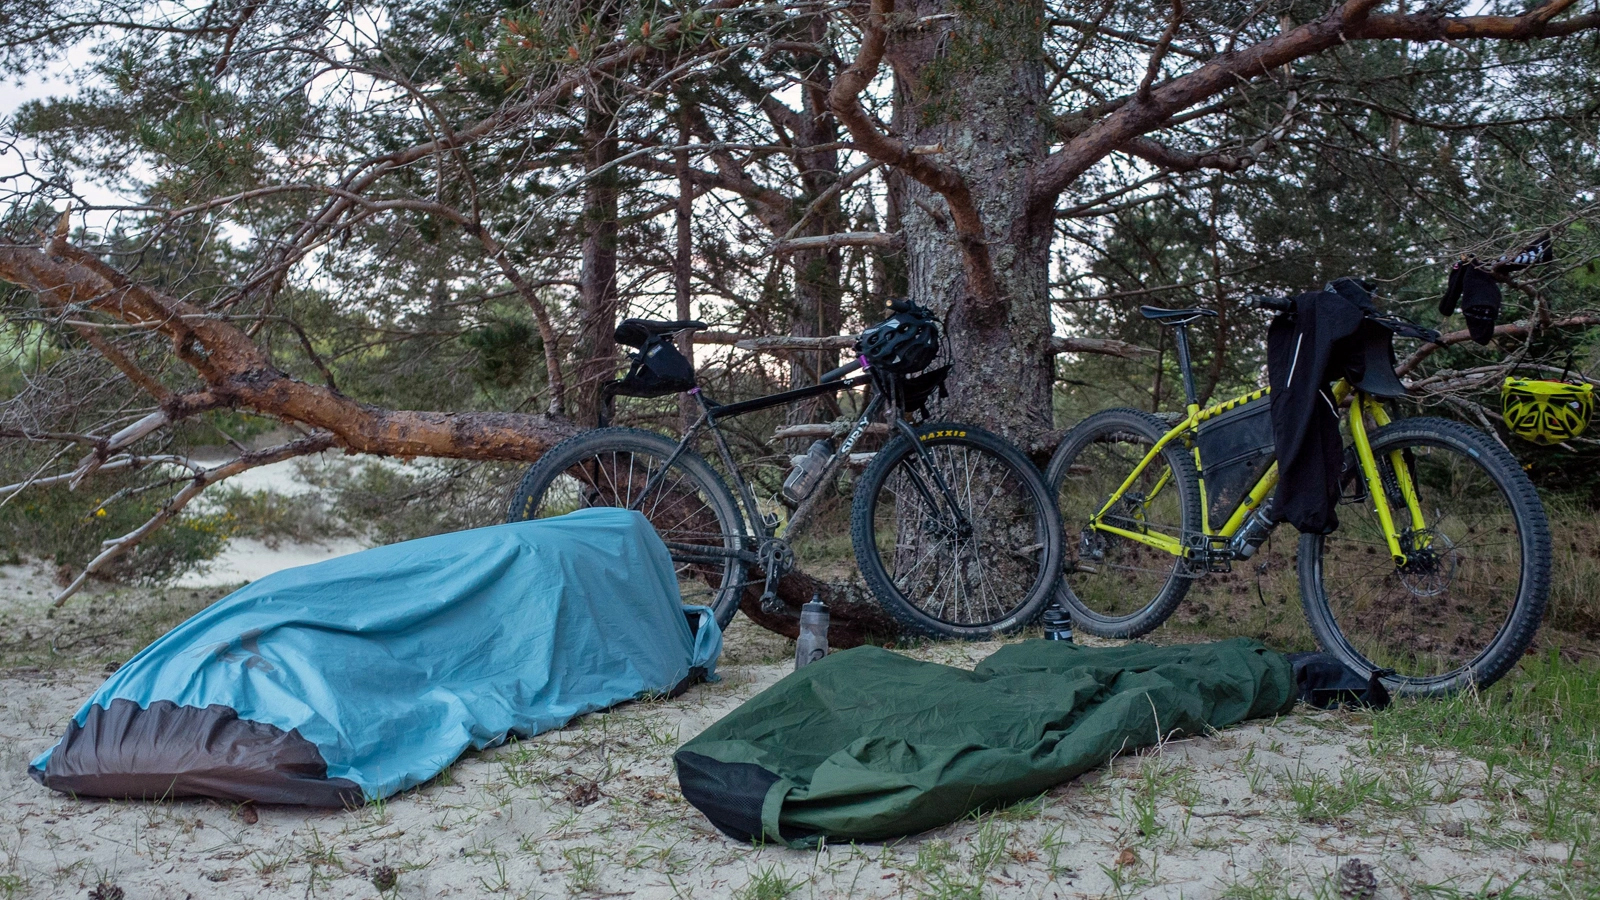
A poor night’s sleep can ruin the next day’s riding. There are a number of sleeping setups to choose from with the main three being either a tent, bivy or hammock. They all have positives and negatives, so it is worth considering which will best work for you.
A tent provides the best level of weather protection and the most comfort. You have a dry space inside to relax free from biting insects, rain and dirt. The disadvantages are that they are heavier and bulkier to carry, require flat ground and take longer to put up and take down.
A bivy is essentially a waterproof jacket for your sleeping bag. They are light, packable and you can sleep just about anywhere, however, unless paired with a tarp, you are very exposed to the weather and cold.
Last but not least is a hammock. The advantage of a hammock is that you don’t need flat ground for a good night’s sleep. You do need somewhere to hang it from though, if the weather is wet you will need a tarp and if it’s cold you will still need to add a sleeping mat for warmth.
3. Riding clothing
Your usual riding gear is probably going to be good enough, but if you are trying to pick the best clothing for bikepacking it is all about comfort.
A good quality pair of bib shorts will make a huge difference when you are spending hours on a saddle. While the tight fit might not be to most mountain biker’s style, there is nothing stopping you from wearing a pair of baggy riding shorts over the top, which can add an extra layer of protection from the weather too.
If you are buying bib shorts to go under your shorts we suggest opting for a set that has pockets built-in as this will provide extra useful storage that can be easily accessed while riding.
4. Cooking equipment and food
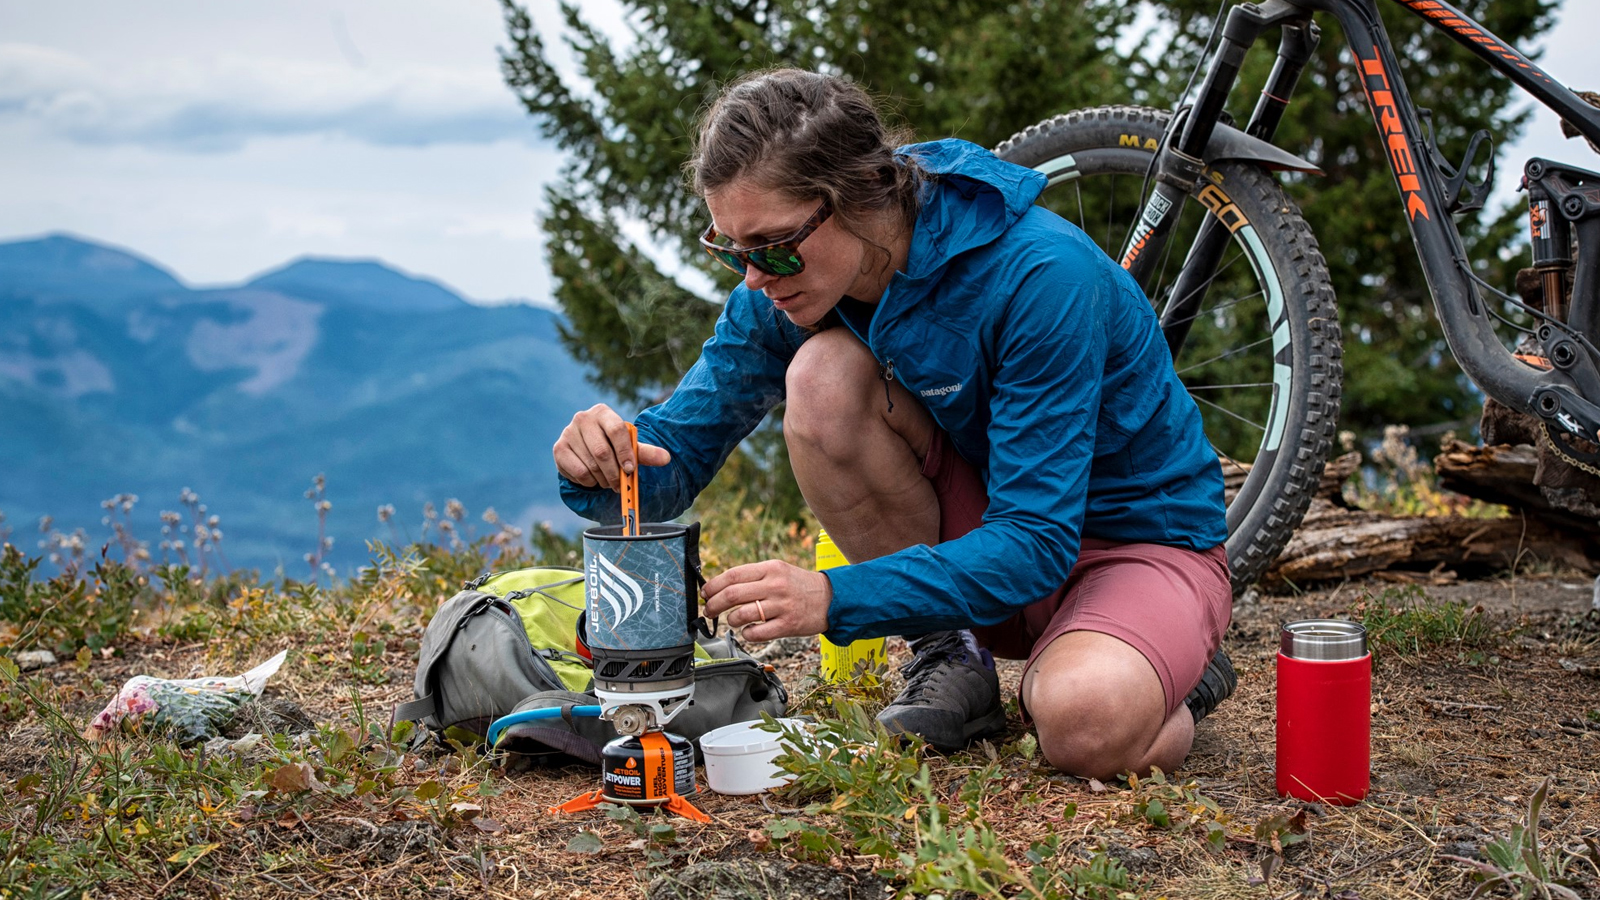
Alongside a good night's sleep, making sure you are properly fed and watered during a trip can make a huge difference to your performance. Of course, depending on resupply points, you need to also be able to pack and carry your food.
Choose your meals based on packability and ease to make, the last thing you need is a chef’s touch when all you want is to eat and sleep after a big day riding. There are many brands that offer adventure-specific meals which are packed with calories and only require boiling water to make, in the past many of these meals weren’t very palatable however they have improved in recent years.
Cooking equipment can be bulky so it’s worth trying to get a system that packs into itself. Most outdoors camping pots will fit a small gas canister inside or there are systems like Jetboil which combines stove and pot to boil water extremely quickly. If opting for a standard pot and stove we recommend choosing a pot between 600ml and 750ml as they are large enough to cook a meal in but still small enough to easily pack. It is worth considering whether you actually need to carry a stove at all. If you’re trying to get the lightest setup or you are racing the clock, sacrificing a stove frees up more space for food and saves time in preparation. Of course, not all trips are about FKT (Fastest Known Time) and a morning coffee while watching the sunrise over the mountains is a great way to start a day’s riding.
5. Repair tools
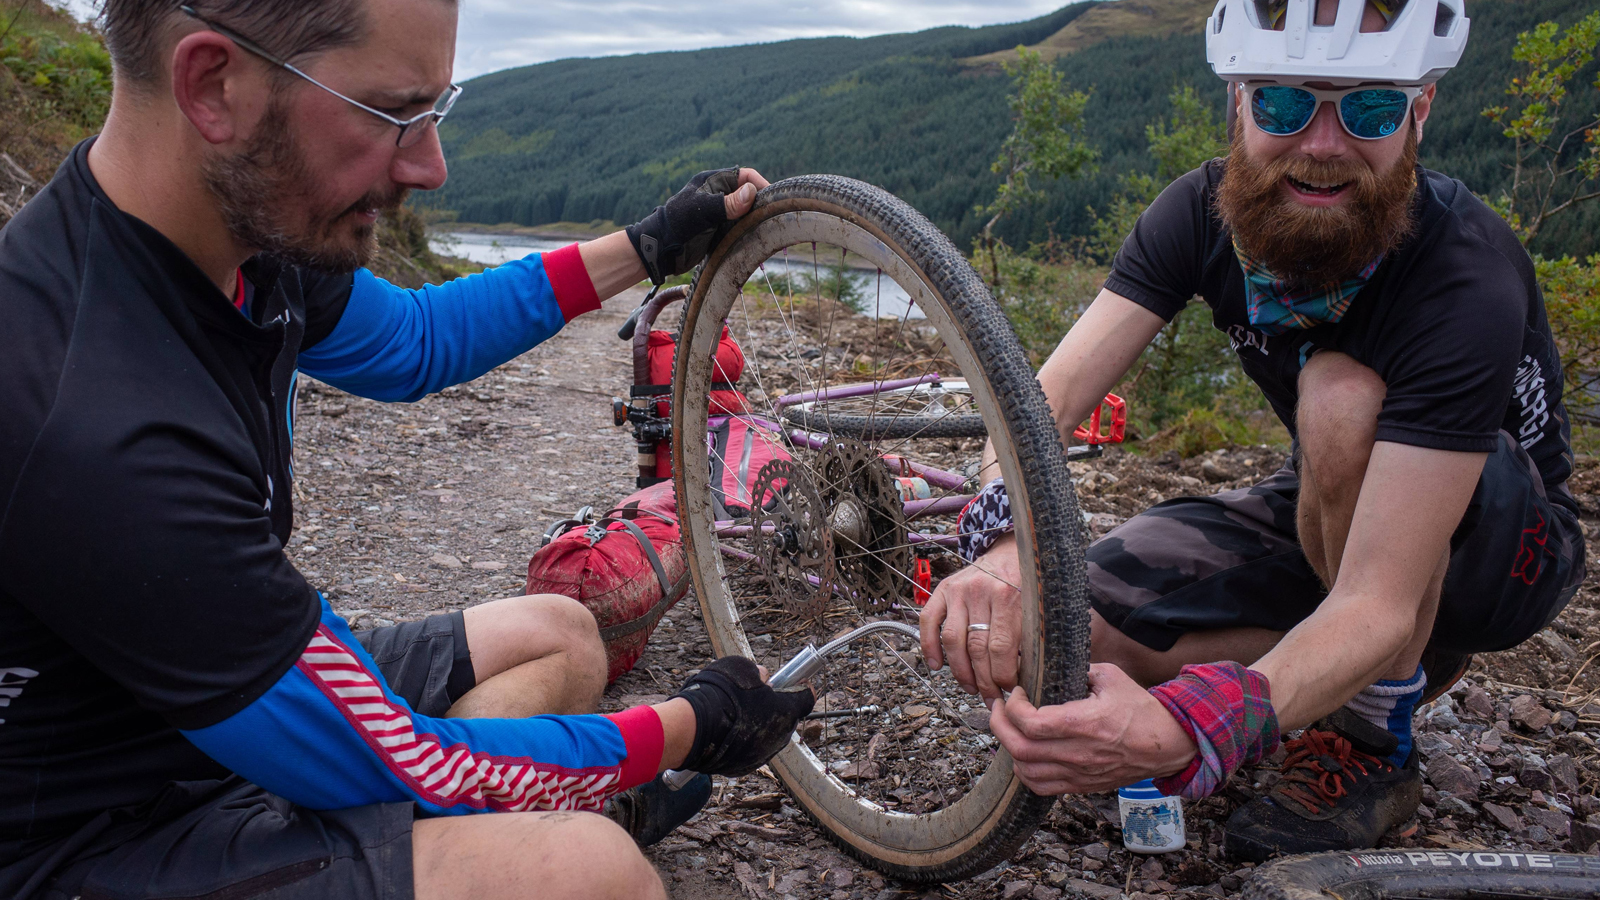
The last thing you want is a mechanical putting an end to your bikepacking trip or even worse stranding you out in the middle of nowhere. While you probably already have a selection of the best multi-tools that you take on your regular rides, it’s worth adding a few extra items just to make sure you are prepared. Make sure your tool covers all the bolts on your bike and includes a chain breaker as well, bringing a second tool with a set of pliers, a knife and other camping-related tools is also recommended. Carrying a spare gear cable, chain quick links, extra cleat bolts and some tire boots can be invaluable if you need them and take up little space. We also recommend a small bottle of chain lube to keep your drivetrain running smoothly after a few hard days on the trail and a top-up of tubeless sealant if you are running tubeless tires.
6. First aid kit
It’s not just your bike that can break on a trip, your body might need some care and attention along the way as well. As bikepacking by nature can take you away from civilization it’s recommended to pack a first aid kit just in case. It should include a few key items such as bandages, dressings, tweezers and other items that clean and protect a wound until you're able to give it proper attention. Ibuprofen and paracetamol should also be included. In case you are faced with the worst-case scenario and suffer a serious injury it’s worth taking some precautions to make sure you can get help. Always tell someone your intended plan and route and its worth checking in as your trip progress. GPS tracking whether through your GPS and phone or using a Spot tracker will allow loved ones to track your progress and alert emergency services if something doesn’t look right. Some helmets and GPS devices have crash detection as well, although that relies on being in an area with phone signal.
7. Electronics
Even if you are escaping the modern world you will likely have a number of electronics with you. Most riders will have at least a phone, GPS computer, lights and maybe a camera as well. While these items all stash away and attach to the bike easily the related paraphernalia doesn’t. For a start all these items need to be charged, batteries are heavy so it’s worth thinking about how much power you actually need. Figuring this out is easy, add up the battery capacity of each device, in mAh and multiply by the number of charges it will require throughout the trip and that’s the capacity you will need. You will also need cables, try to carry short cables and, although not always possible, try to limit the different types of cables needed to charge your devices. If everything could be charged using one type of cable, life would be much easier.
8. Make a plan
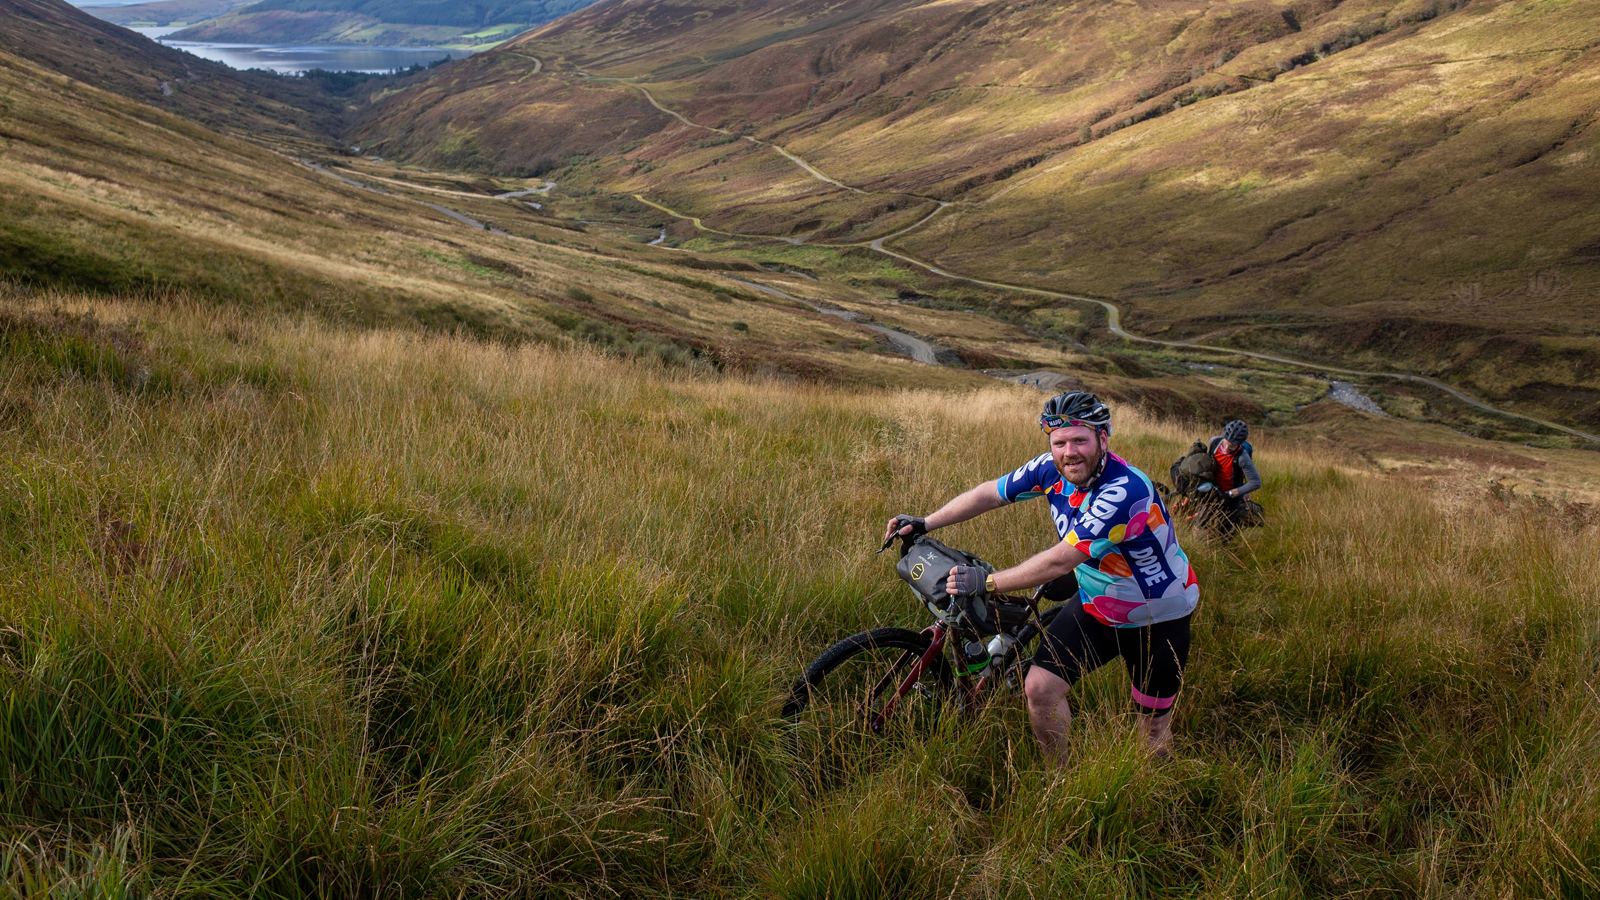
Probably the most common reason bikepacking trips go array is not enough planning. The reason being that there is often a lot to consider when planning a trip. Weather, route and terrain are very important, but so is knowing potential food stops, escape routes and camping areas - the last thing you want to do after an exhausting day bikepacking is struggling to find a place to set up camp. Luckily anyone with an internet connection has access to all of the data they need, your favorite weather reports (Weather Bagel is particularly useful) and Google maps will allow you to get an idea of the weather expected and refueling points, we find Google Street View particularly useful when scouting ahead for camping spots too.
Luckily the best MTB GPS computers take over much of the hard lifting once you start riding. While there is nothing wrong with old-fashioned paper maps, having a GPS computer with a map on your handlebars that alerts you to turns, helps with pacing and can even remind you to eat and drink, streamlining your day and allowing you to concentrate on enjoying the ride. If you are looking for the best GPS computer for bikepacking it’s important to prioritize battery life, reliability and a good quality mapping system
9. Practice packing your bike
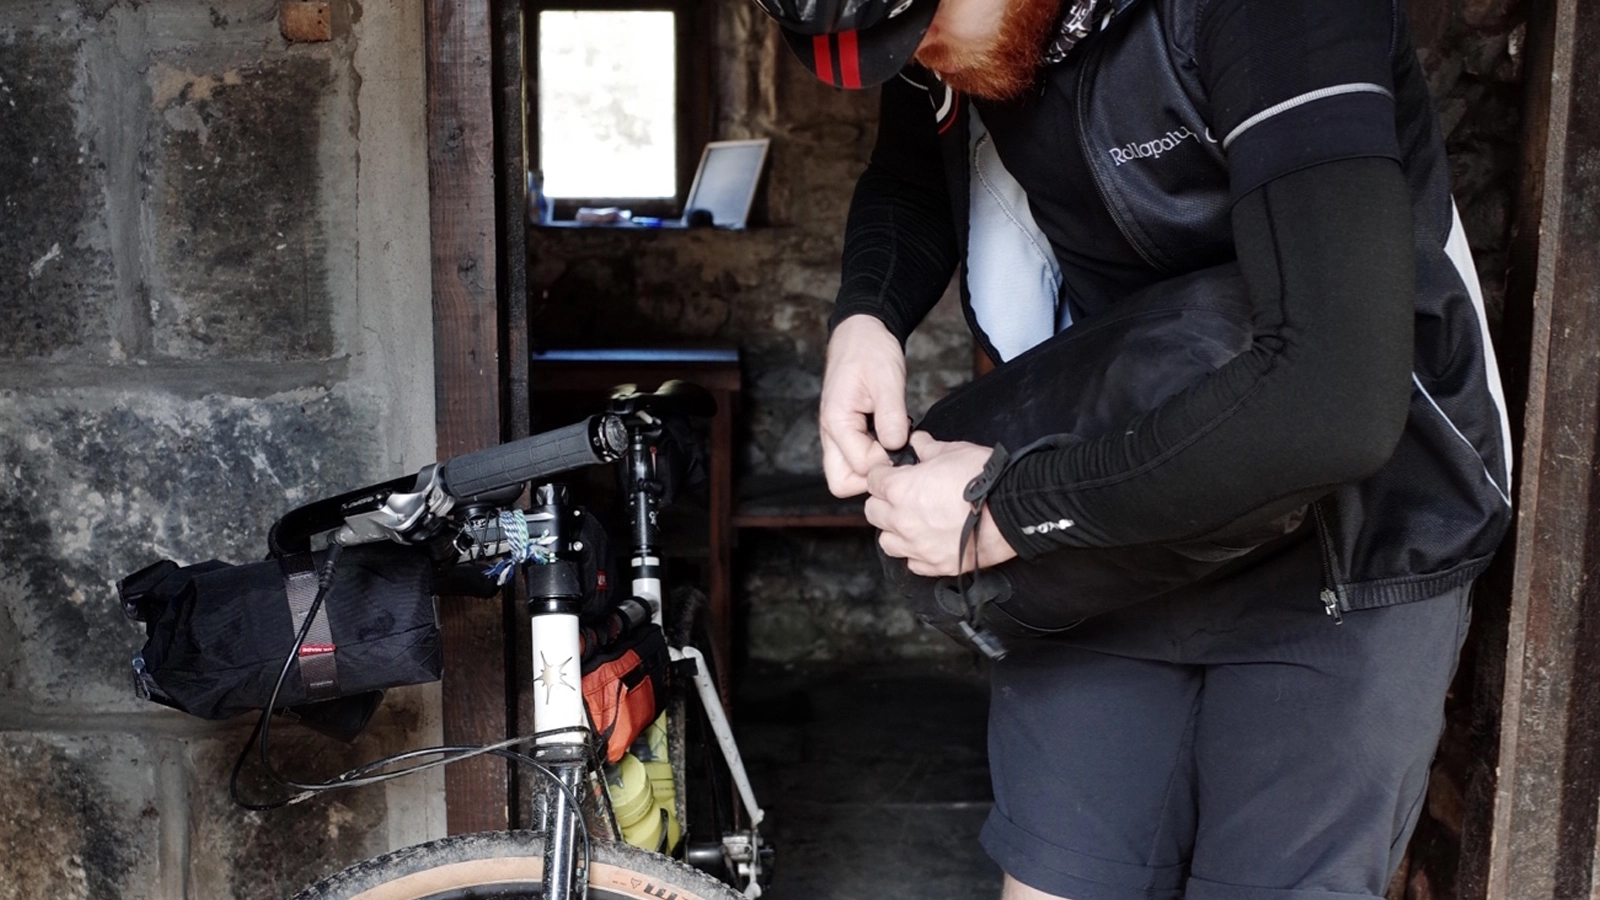
Packing a bikepacking bike is an art in itself, you can have the best bikepacking bags around but if you pack them poorly or they aren’t fitted right you will ruin the ride quality of your bikepacking bike and waste valuable space which could be used for important things like food or an extra piece of clothing.
Not only will a refined packing approach improve your luggage capacity it will also speed up everything else, with all your equipment carefully packed away everything that needs to be on hand is easily accessible and when unpacking and repacking after camping it’s a quick process leaving more time for eating and riding.
One of the biggest problems people face is space, while there are all sorts of bikepacking bag solutions the reality is there isn’t much space on a bike. A large handlebar, framebag and seatpack will only add up to around 35L of storage and that’s not considering the restrictive nature of the bag shapes. That means the best solution is to simply take less equipment, of course, this depends on how much luxury you are comfortable giving up. Another good way to reduce volume is to look for products that have multiple functions.
The general rule is to keep heavy luggage low and frequently accessed items easy to grab. Sleeping bags, spare clothing and other lighter items are best stored on the handlebars or saddle.

Graham Cottingham joined the BikePerfect team as our senior tech writer in 2020. With over 20 years of riding experience, he has dabbled in downhill, enduro, and gravel racing. Not afraid of a challenge, Graham has embraced bikepacking over the last few years and likes nothing more than strapping some bags to his bike and covering big miles to explore Scotland's wildernesses. When he isn’t shredding the gnar in the Tweed Valley, sleeping in bushes, or tinkering with bikes, he is writing tech reviews for BikePerfect.
Rides: Cotic SolarisMax, Stooge MK4, 24 Bicycles Le Toy 3, Surly Steamroller
Height: 177cm
Weight: 71kg
