Bespoken Word – the stuff manufacturers don’t tell you
Researching a recent product review got Guy Kesteven thinking about how many bits of vital bike product knowledge are left for riders to either find out through dangerous/disappointing performance or never at all
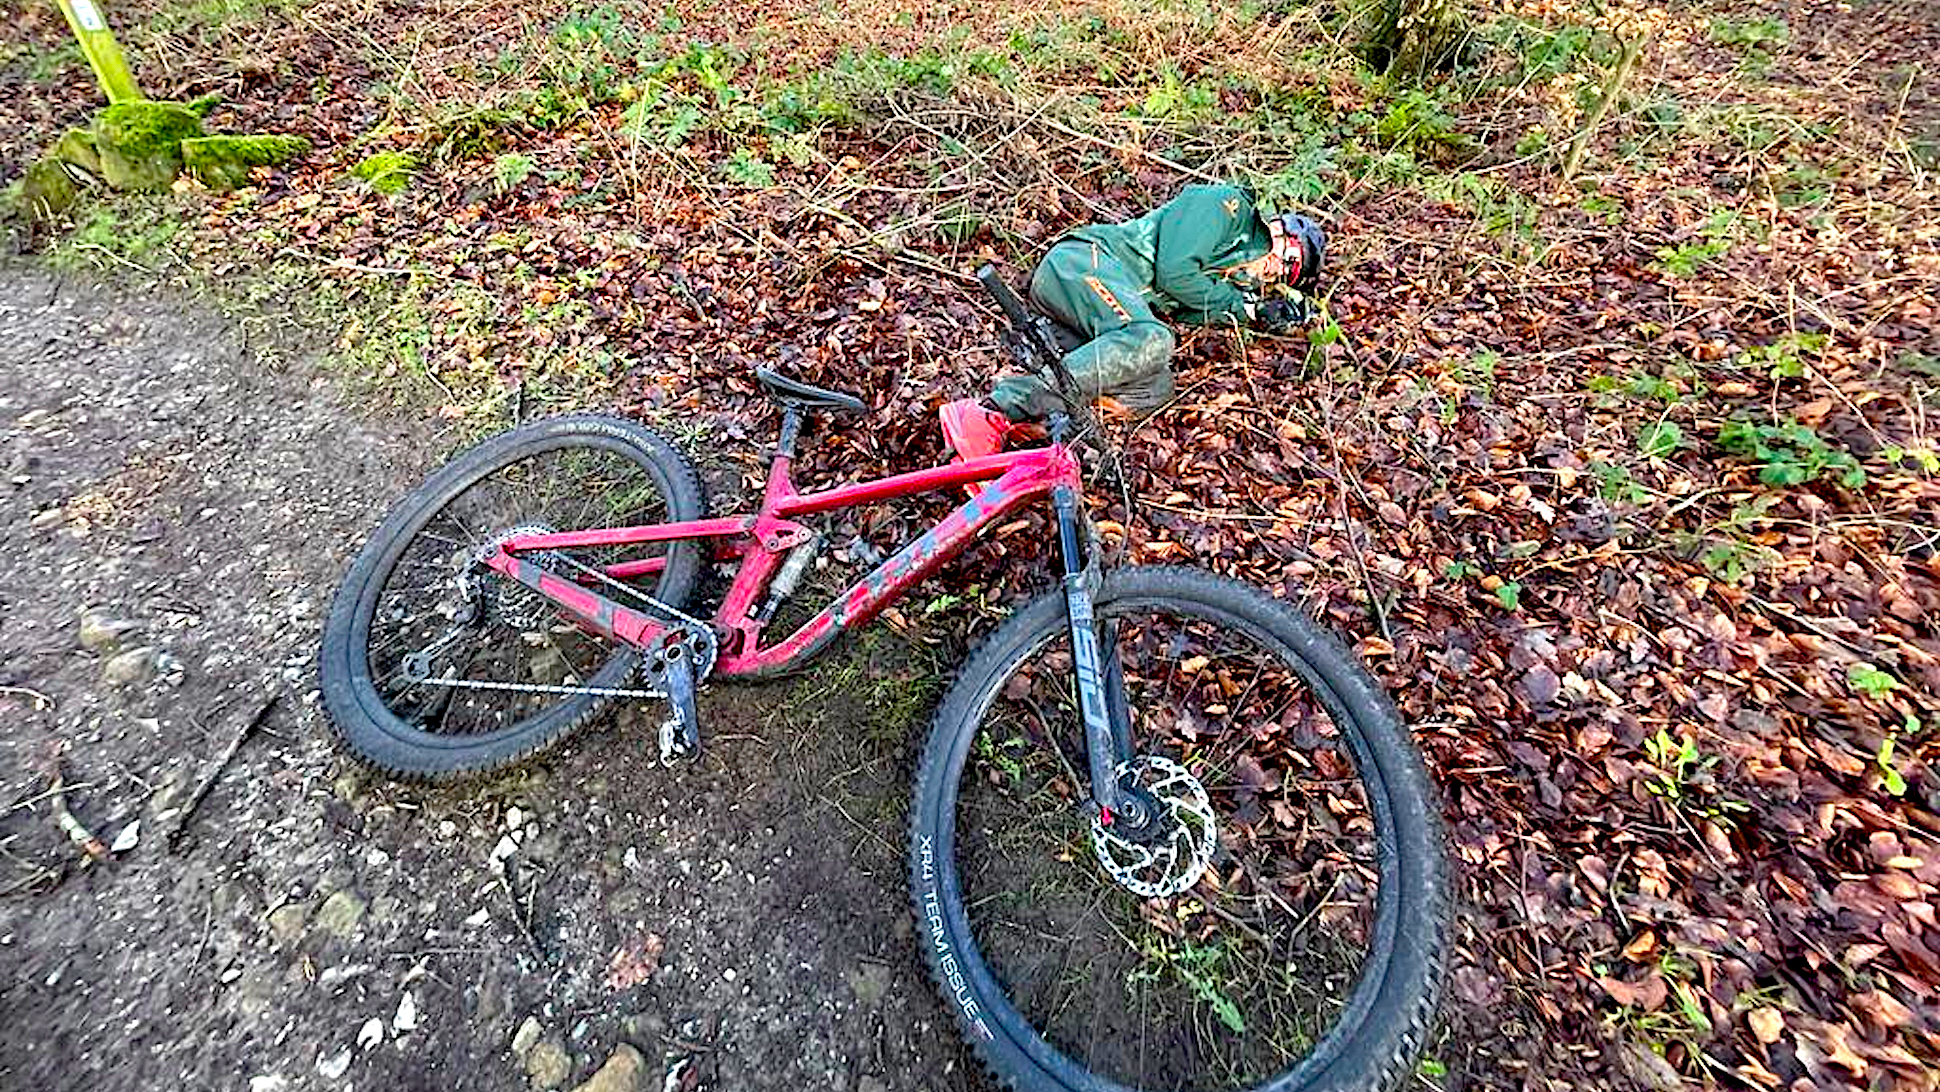
Considering you only need to print a QR code somewhere to give a user instant access to as much set up knowledge as you want to communicate, I’m still shocked at how a lot of really vital information isn’t generally known. In fact this whole piece has been prompted by an educational chat with legendary Geek Warning podcast tool guru Dave Rome.
But while you’ll hopefully find this little Public Service announcement helpful, surely it’s the manufacturers who should be stopping potentially very dangerous and at least performance reputation damaging fails from happening?
Torque keys
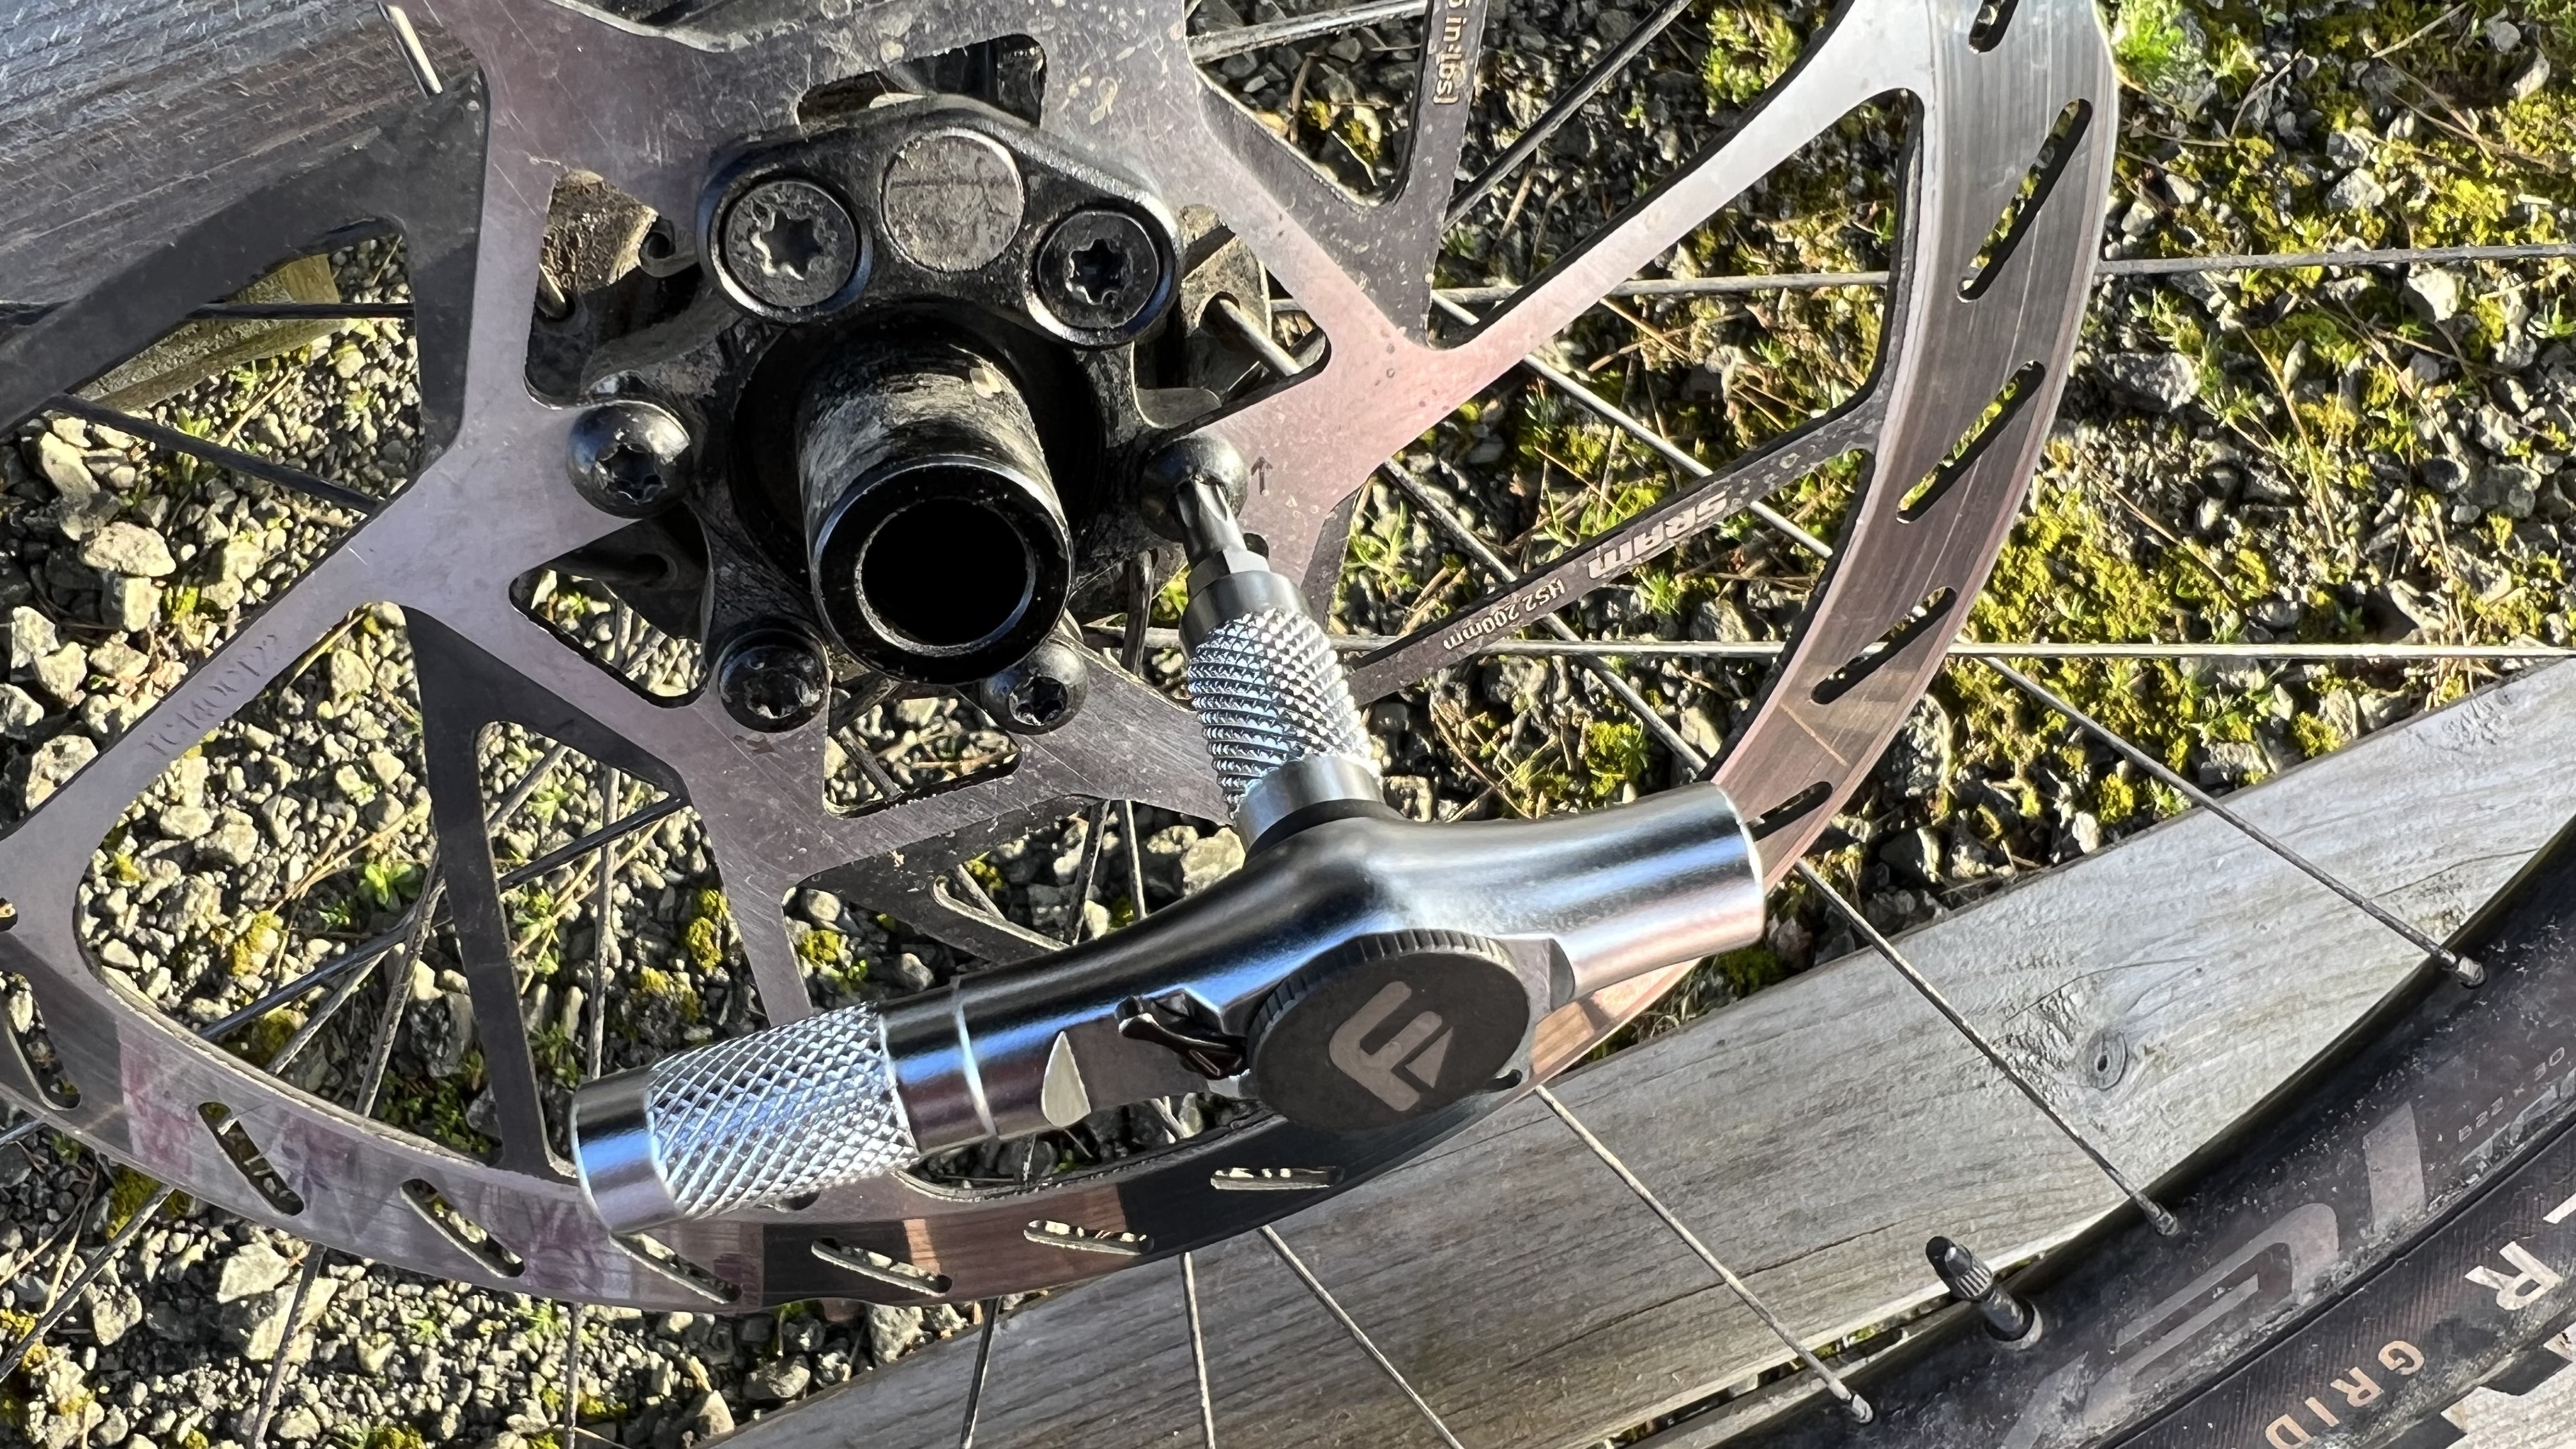
Obviously I apologize if everyone else knew that fixed torque limiters need ‘setting’ to read correctly if they’re new or haven’t been used in a while, but I certainly didn’t till Dave told me when we were chatting about the new Feedback Sports Ratchet tool. Apparently though, pushing past the preset torque and clicking open – several times is often essential to free up the mechanism so it reads correctly. I only actually realised this when the Feedback tool seemed massively stiff when I first used it so I contacted tool oracle and wrench savant Dave as I knew he had the same tool. He let me into the secret – only Pedros has ever communicated this about their products apparently – and after a few overload clicks in a vice, the Feedback dropped from over 8nm to the correct 5nm. The fact that I could have been going 60 percent over the correct tightening torque if I hadn’t sensed something was wrong means a lot of less experienced users could easily have stripped bolts or even cracked components/frames by trusting the initial torque readings.
Brake pads
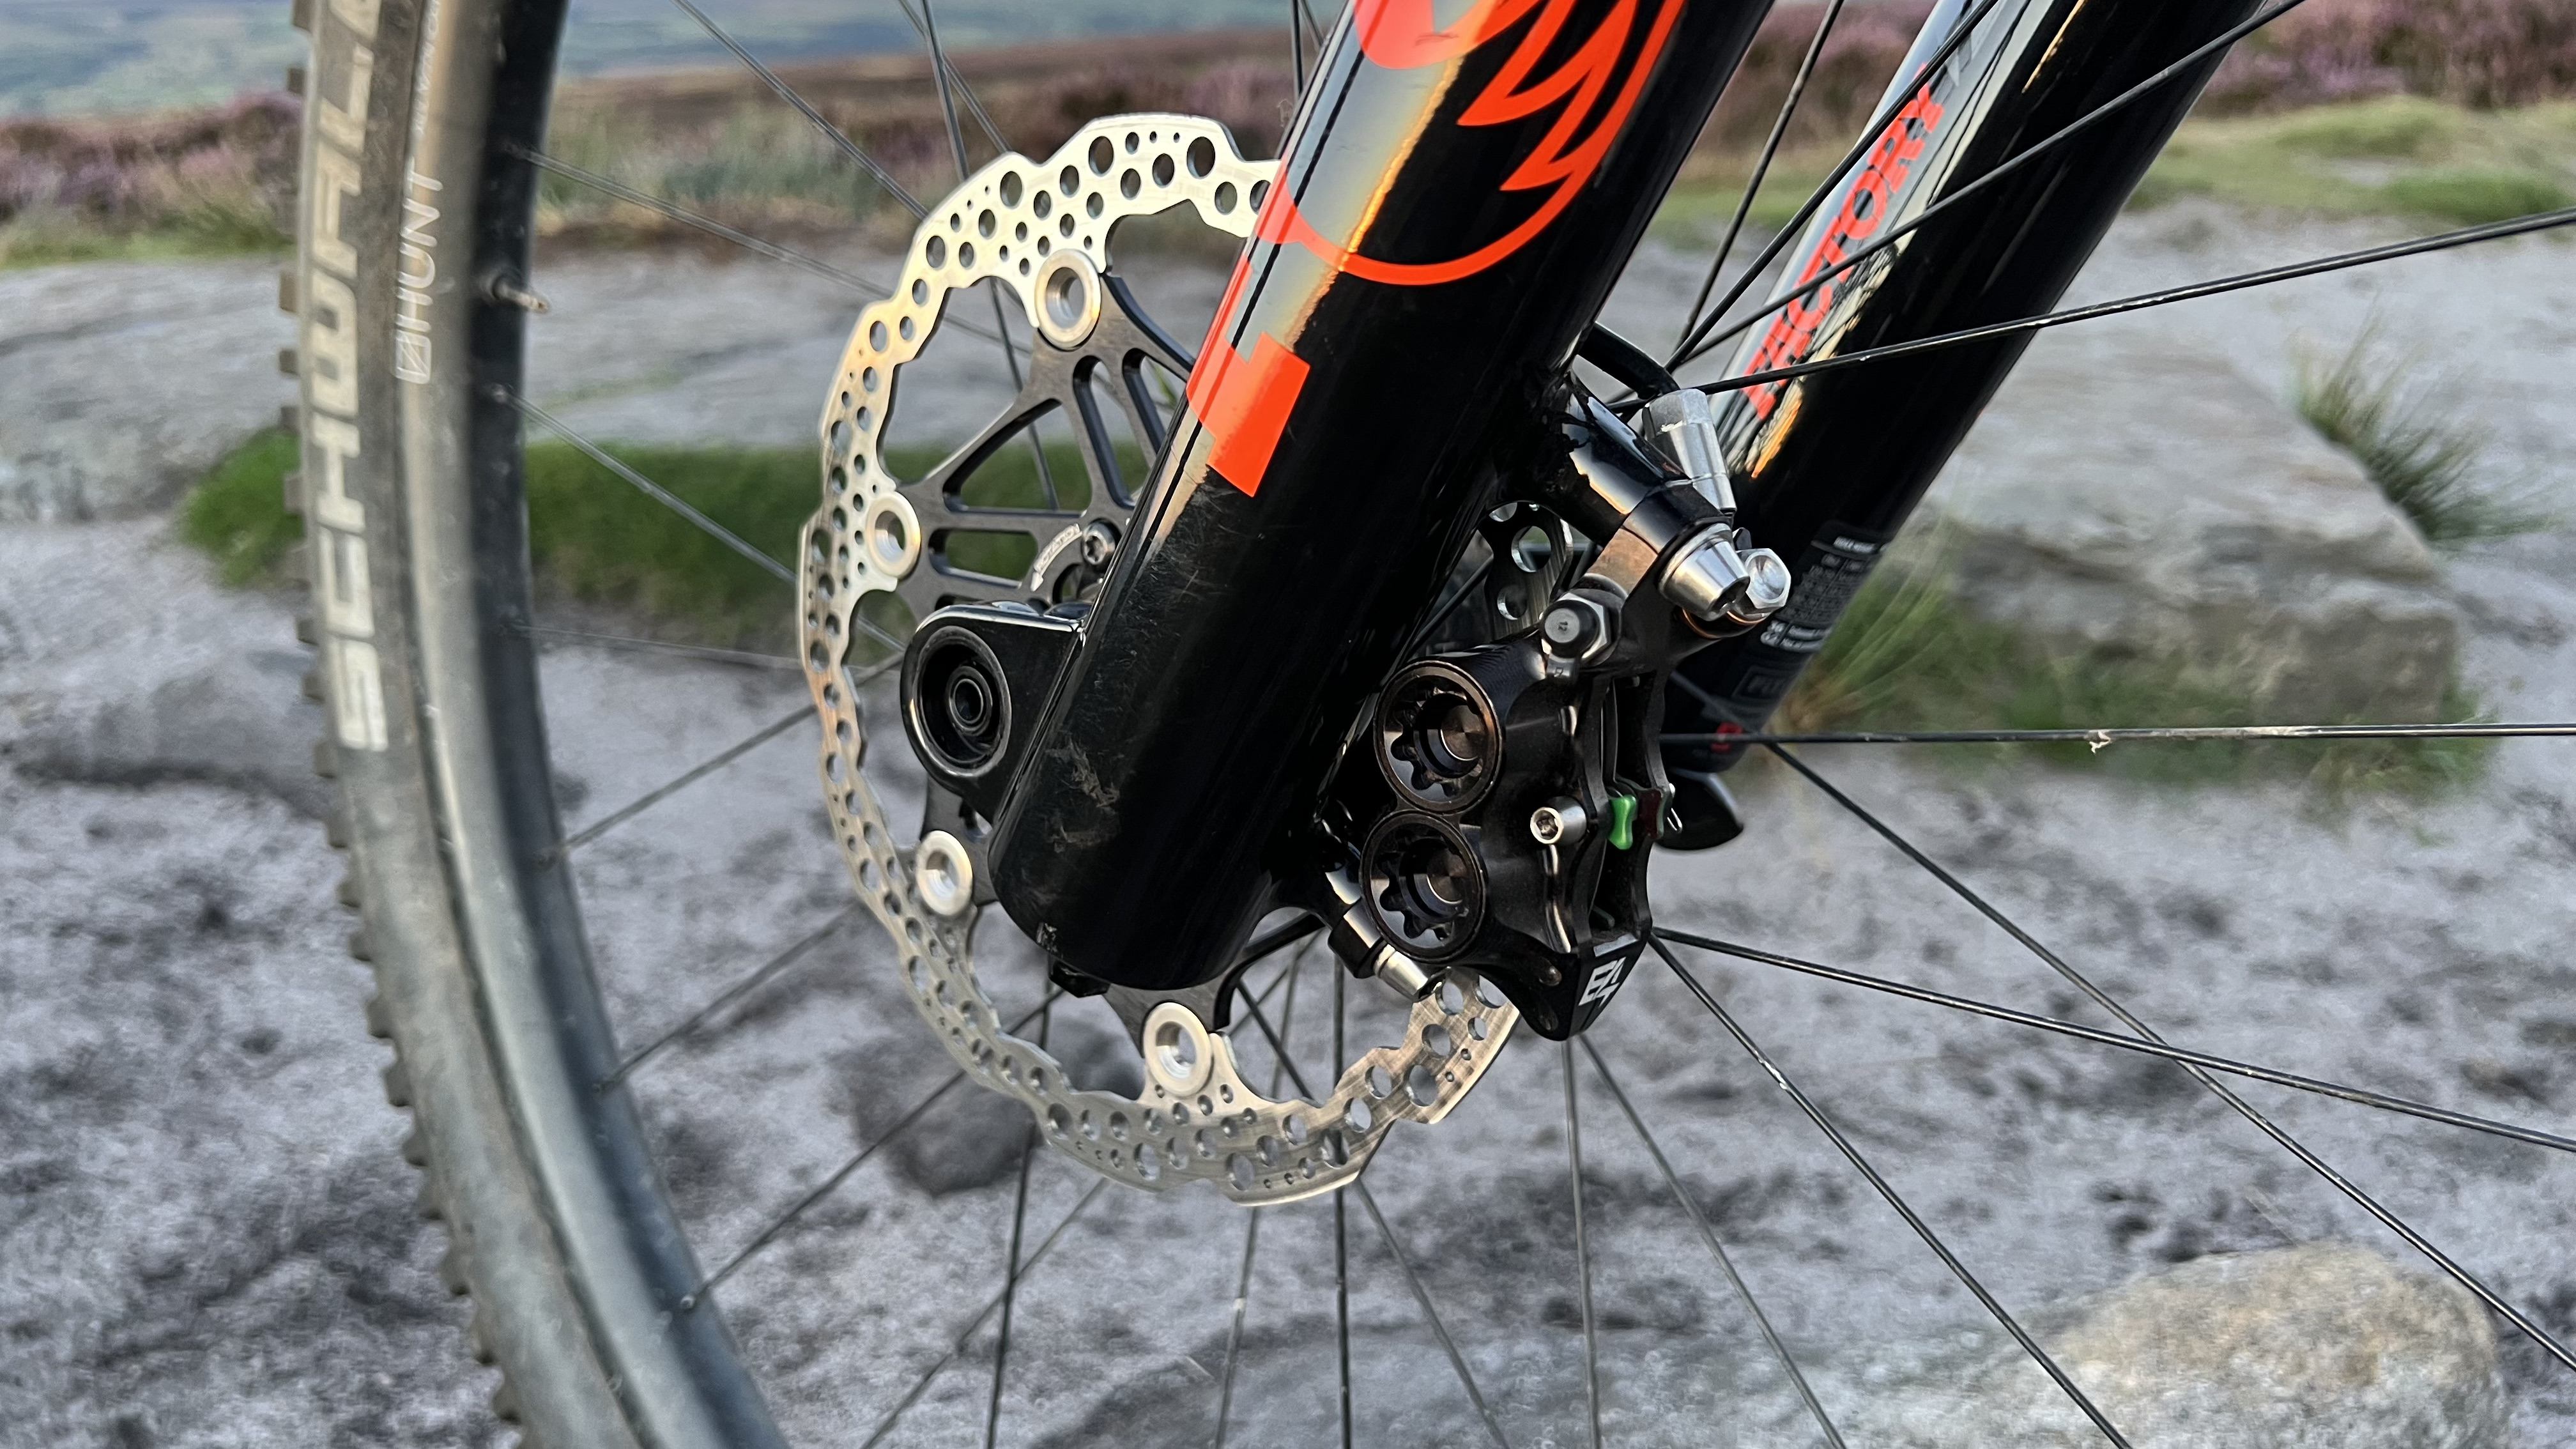
Hopefully most of you will know about bedding in fresh brake pads. I’m not sure how though as I’ve not seen it actually anywhere it would make sense to communicate it. Somewhere like a sticker attached to a new brake when you buy it (separately or on a new bike) or on packets of pads or fresh rotors.
Because laying up some pad material onto the rotors and hardening the pads by gradually building up heat over sequential increasingly aggressive stops is essential to get full power and longevity out of them. A reality you’ll know all about if you’ve sailed over the edge of a descent on a new bike in terror feeling like the brakes have failed. Or you’ve had fresh pads disintegrate within one ride in winter. But if you don’t know what’s causing that, then it’s not only really bloody dangerous but also very bad for the brand too. Something a recent post on our WhatsApp ride group asking for different pad brand recommendations after very disappointing (but it turned out set up related) longevity showed.

Light charging
I’m actually going to cover two peeves here. One is that while most of the instructions (good ones at least) that come with lights tell you not to expect full battery run time until you’ve done a few empty and recharge runs, it’s normally hidden in the small print somewhere. Now you know though so make sure you don’t rely on the full printed run time straight from the box.
Second peeve – don’t rely on the run times a lot of light reviews quote either. I’ve been testing lights for years and I can categorically state that trying to verify run times is really hard. Especially when overheating, thermal throttling and the previously mentioned battery set up times are involved. In fact, I’ll be honest and say it’s almost impossible to get a tight figure because riding temp/cooling depending on speed etc. will always be a wide open canvas. If you run lights several times in a fan cooled test rig that you’re happy to stay up monitoring until the last one goes from red light to empty or risibly feasible, you can at least get comparable data for a selection of competing lights. All too often though you see lazy journalists just reprinting the claimed run times of manufacturers which are occasionally close to honest but often a wild fantasy based on theoretical best operating conditions with zero power loss through circuitry etc. Don’t even get me started on claimed ‘Lumen power’ outputs either.
In other words, don’t believe the manufacturer or reviewer numbers – even mine will only be a rough guide – and do your own tests using your own normal riding conditions to make sure you don’t get left in the dark.

Greased chains
You might have noticed that if you handle a fresh chain it’ll feel like it’s been pulled through a giant slug. That’s because they’re coated in heavyweight waterproof grease so they don’t corrode while being shipped/stored. What they don’t bother to make clear is that if you stick the chain on like this and go riding that grease won’t protect the chain, it’ll create the most hideous gunky mess that will foul up your gears, cassette and chainring. Given the likely grit and silica content of the gunk, it’ll be an extremely effective grinding paste for reducing transmission lifespan.
So don’t run your chain sticky, degrease it thoroughly, rinse it then get it ready to ride with your favorite chain lube.
Overpressuring tires
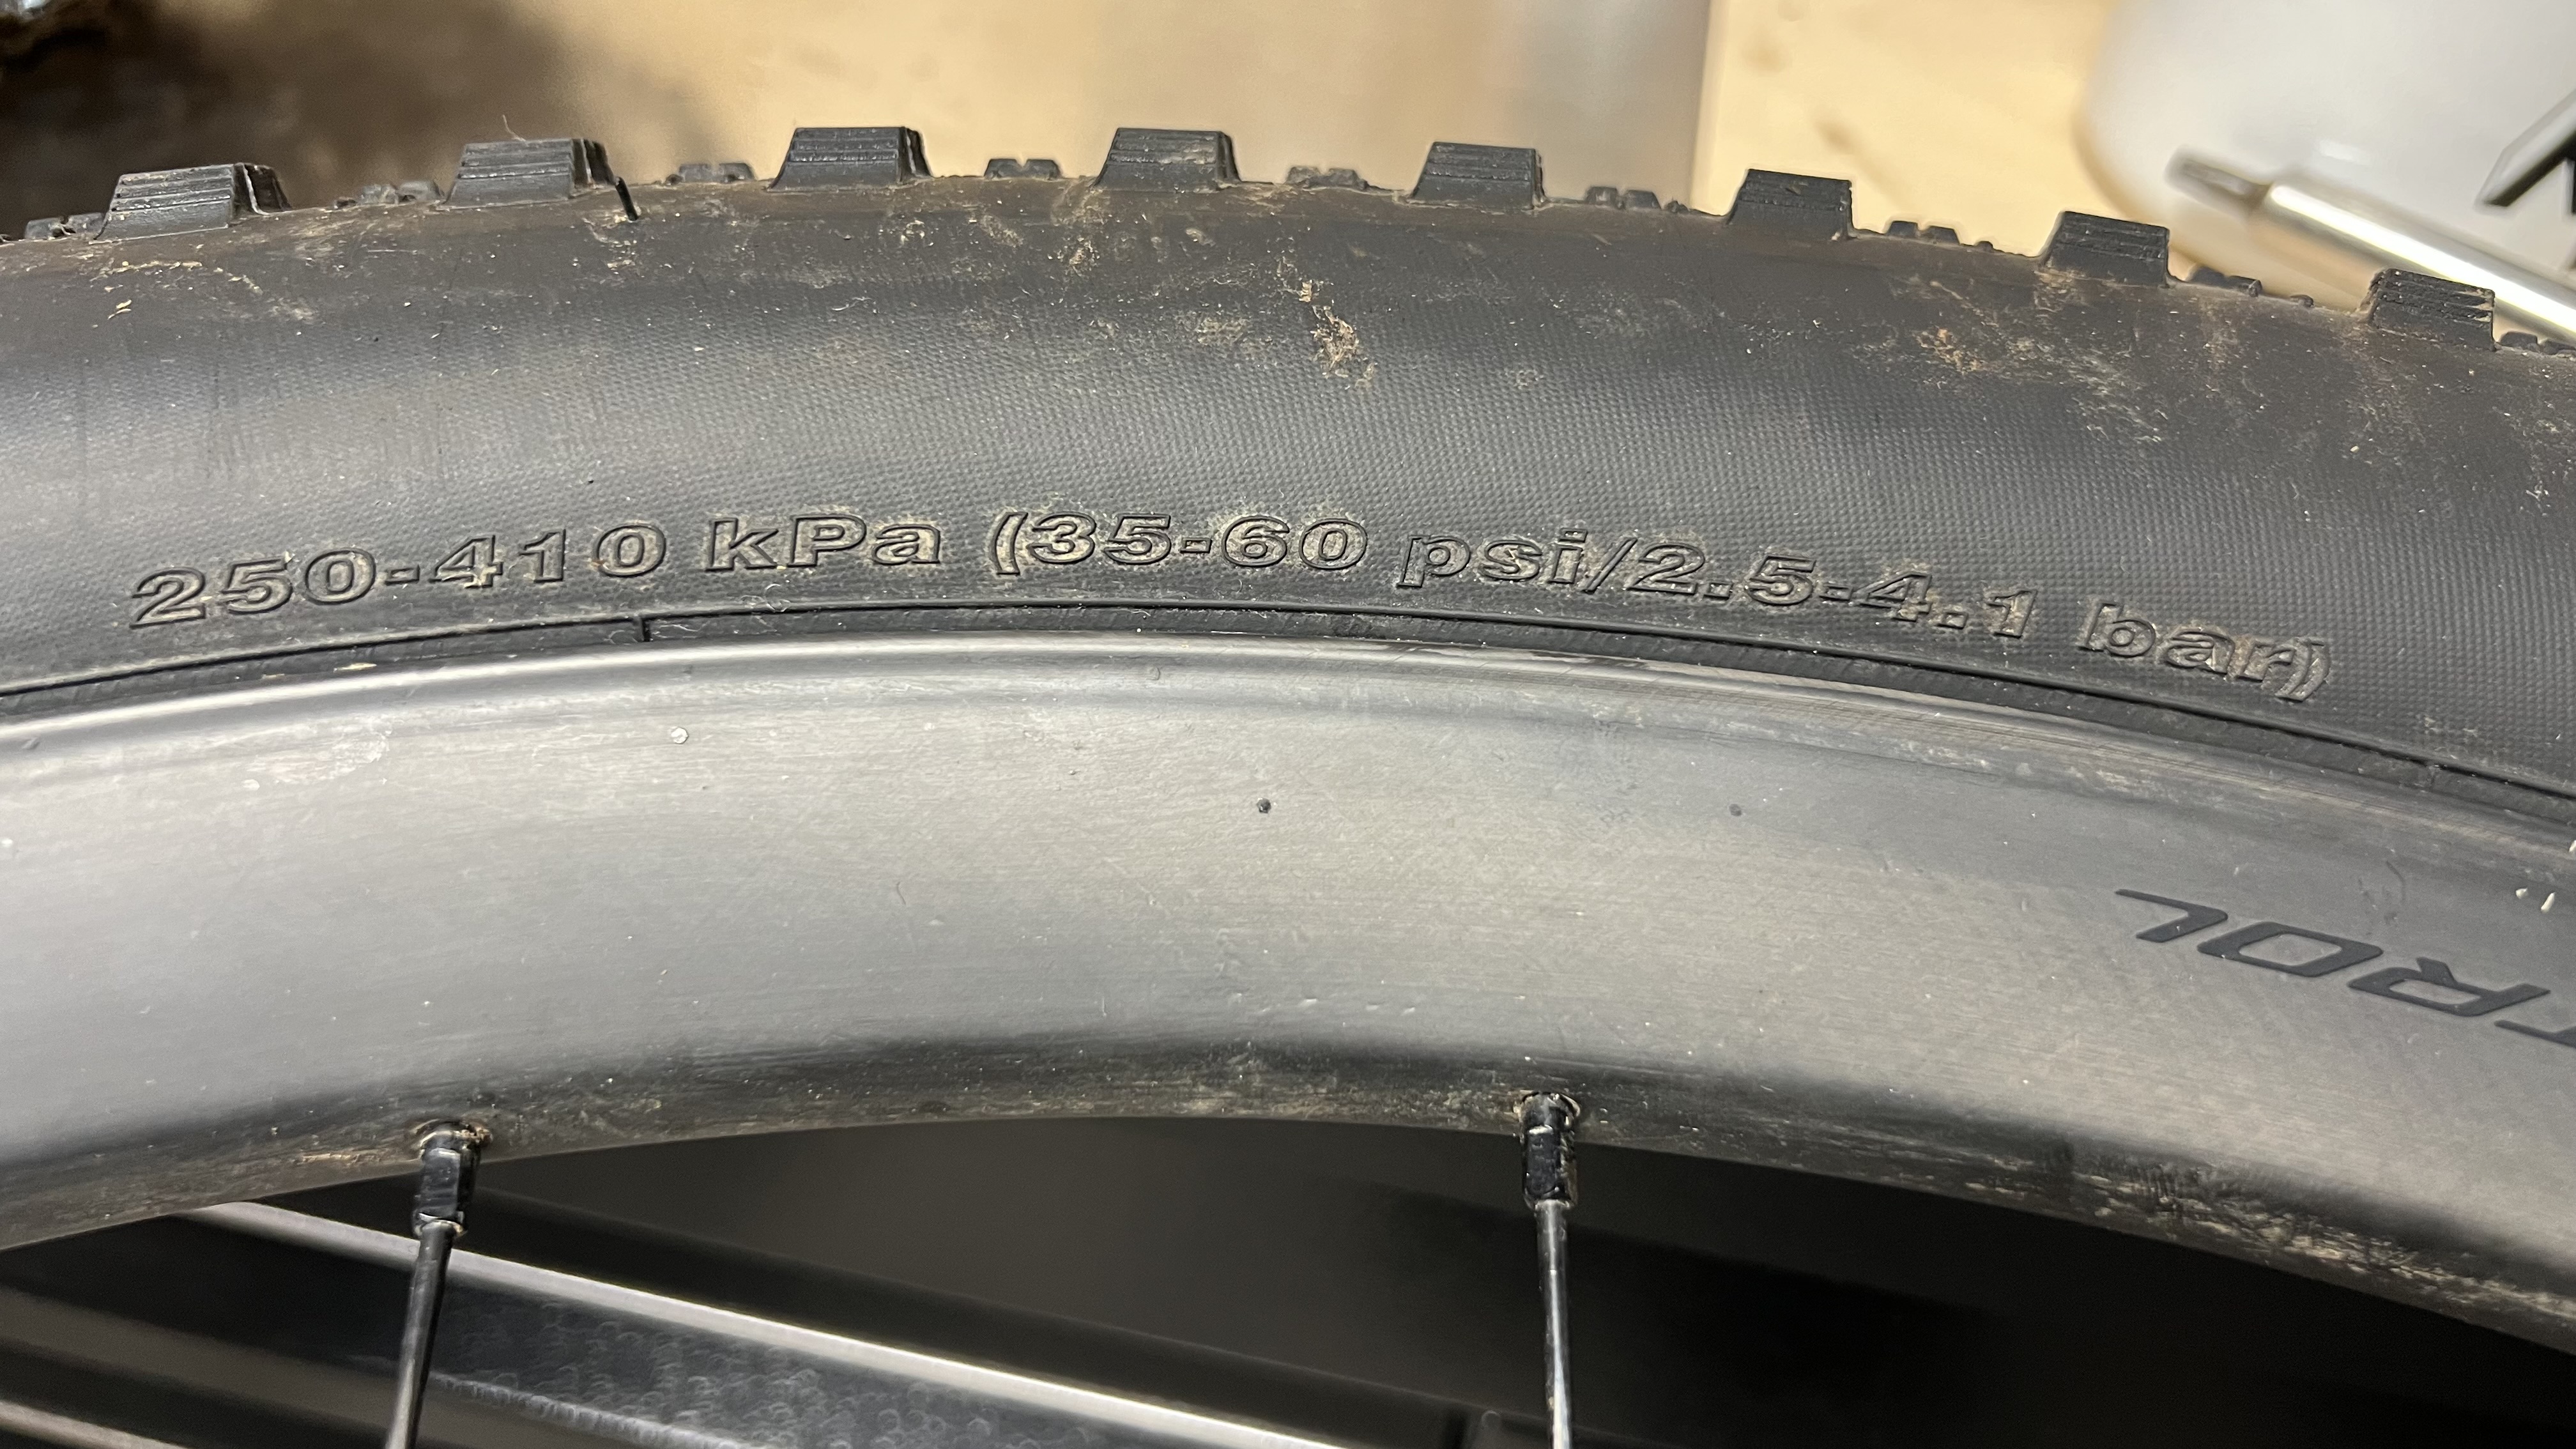
I actually just went into the workshop to check this because I wanted to be dead sure that the utter stupidity of the recommended pressures printed on tires is still a thing. And yes, even on a set of Maxxis tires so new I can’t actually talk about them until tomorrow, it says “250-410 kPa (35-60 psi/2.5-4.1 bar)” on the sidewall. I mean, you might have to pump them that hard to get a fully clicked seal on some tubeless rims, but the actual effective operating range of this lightweight XC tire is between 15 and 25 psi depending on conditions and whether you’re using an insert. The same stupid high pressures are printed on tougher/plus sized tires that can be run at even lower numbers though and they’ll feel and perform even worse.

Re pressurising shocks
Ever pumped a shock or fork up from flat and thought it’s broken because it refuses to move at the pressure you used to use? Well what’s happened is that the fork/shock has inflated past the bleed port that equalizes the positive and negative pressures. That means there’s not enough negative pressure to help get the shock/fork moving until you bounce it hard enough to push it back past the port. To combat this, make sure you keep cycling the fork/shock through its travel so the negative spring automatically levels up enough to make it work OK from the start.
But then it surely says all that on a really obvious sticker somewhere on the fork or in the box/instructions. Oh no it doesn’t, does it – another industry win, sigh.
New tech, old assumptions
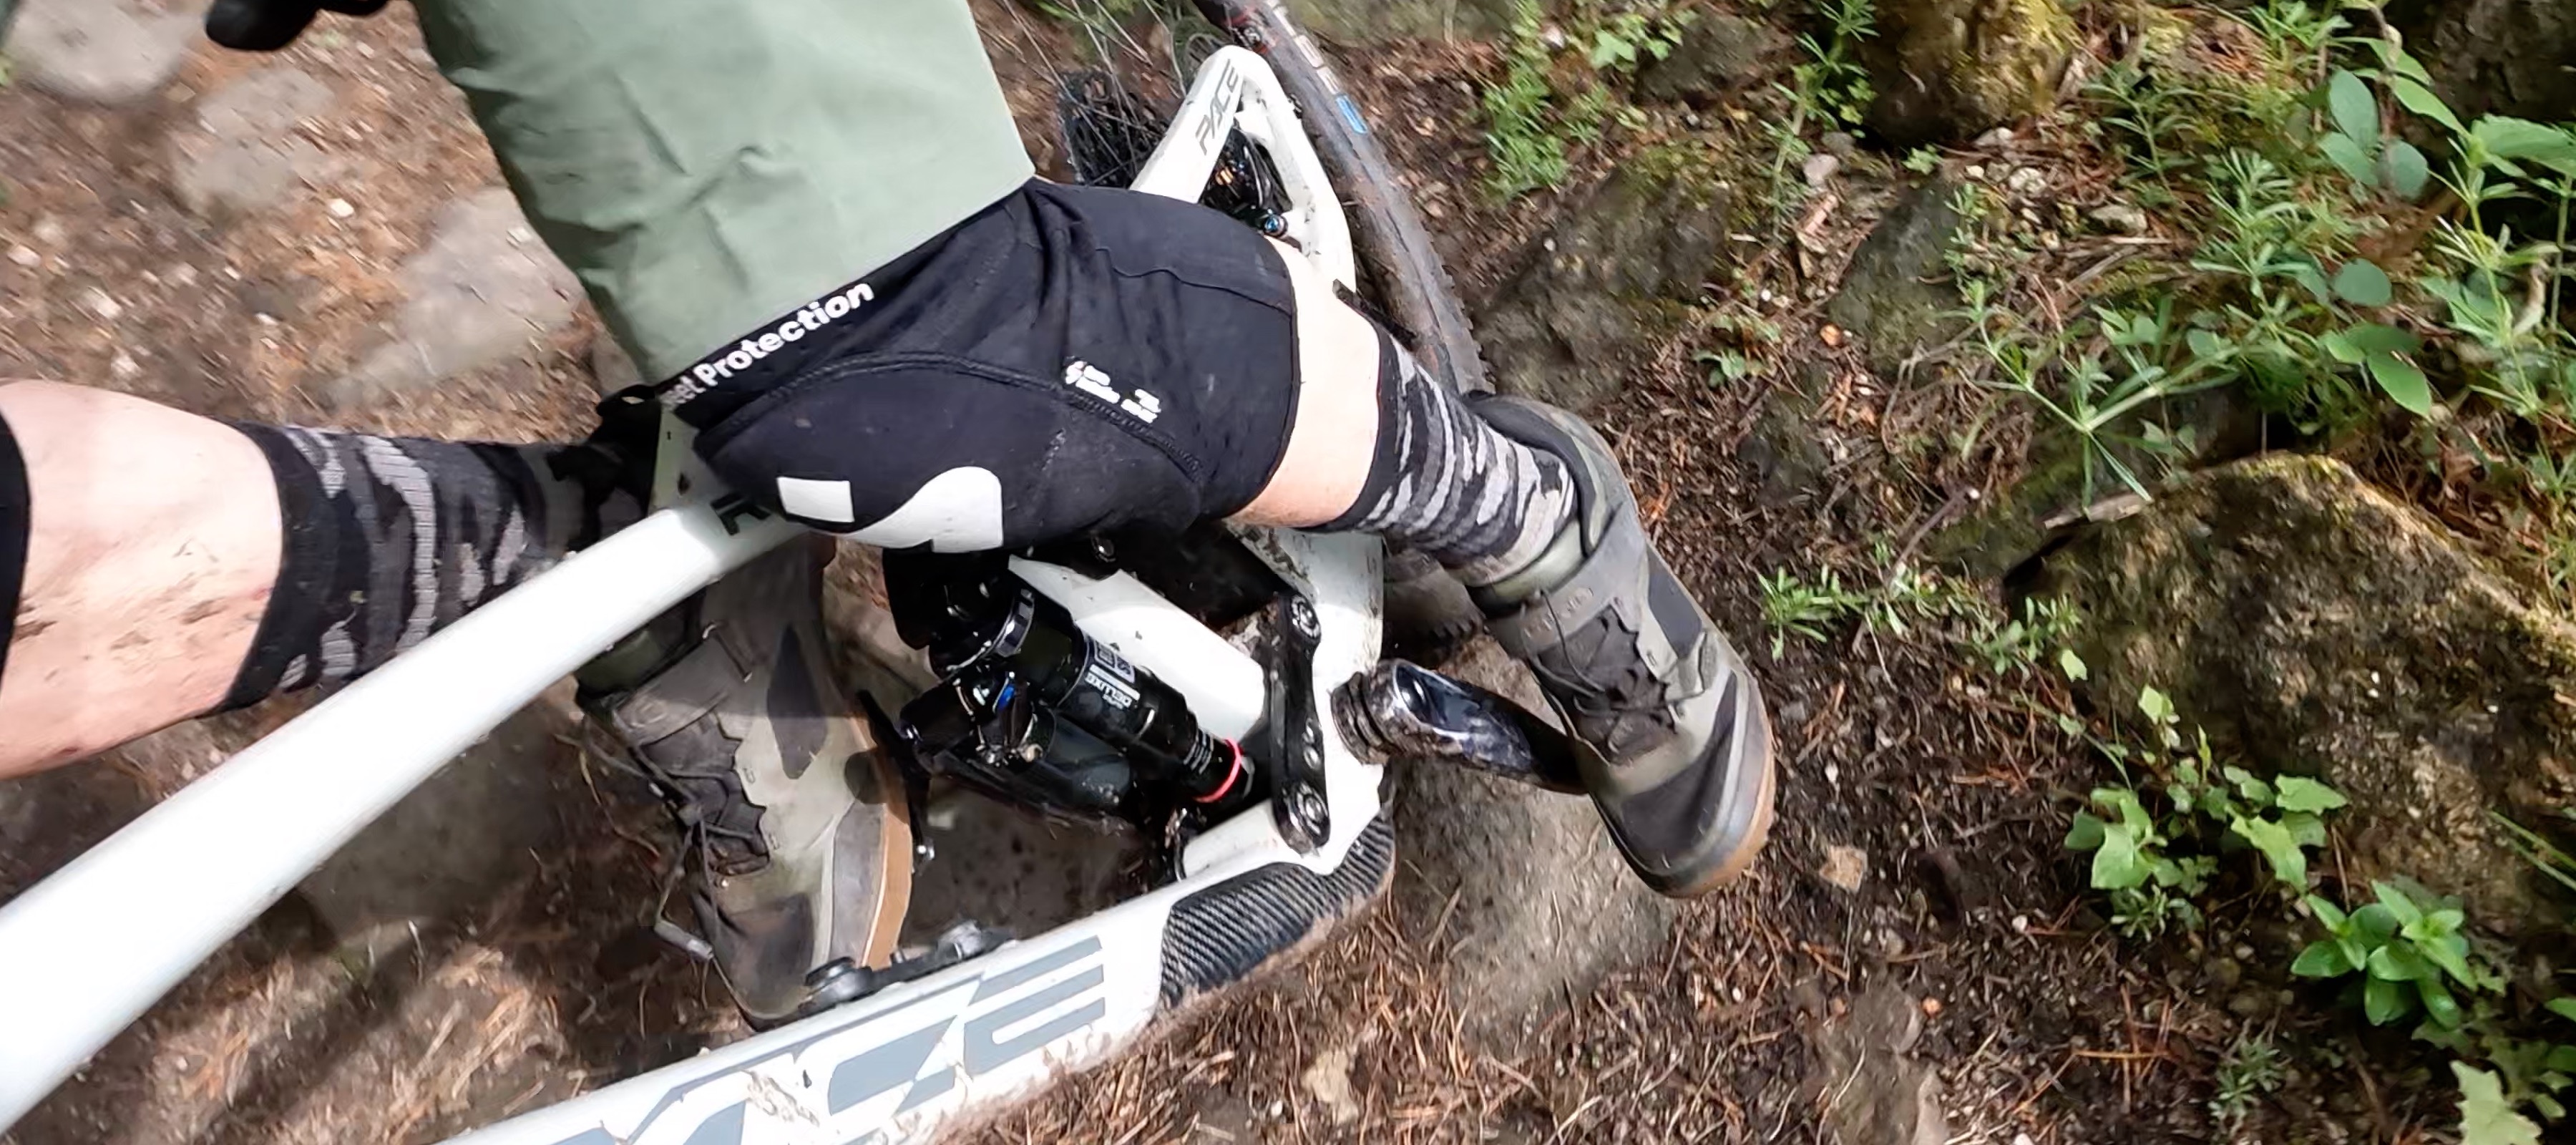
Sometimes a product changes dramatically in how it works/feels but the communication that surrounds it means a lot of riders won’t get the best results. RockShox latest generation damper changes are a great example of this. For a start, the new compression knobs on Charger 3 dampers can be very confusing. That’s because the upper +/- knob that controls low speed compression relates to a line on the lower high speed compression knob. However, if you turn the knob in the + direction without realizing that it actually reduces the amount of compression and vice versa.
The low speed compression dial sits alone on the Super Deluxe rear shock and keys off a fixed indicator on the shock so there’s no confusion there. The way that adjuster changes feel is totally different to previous shocks though. It’s not a movement threshold, it’s much more about mid stroke support and control. That means it offers you slightly different versions of the same bike that you can click between depending on terrain rather than just creating a pedaling sweet spot that you then stick with. However, all RockShox really talk about is lack of 'cross talk' between low and high speed damping which is definitely a win, but it's not an insight into what it can do, how it does it and by extension what a great shock it really is.
Wetting out
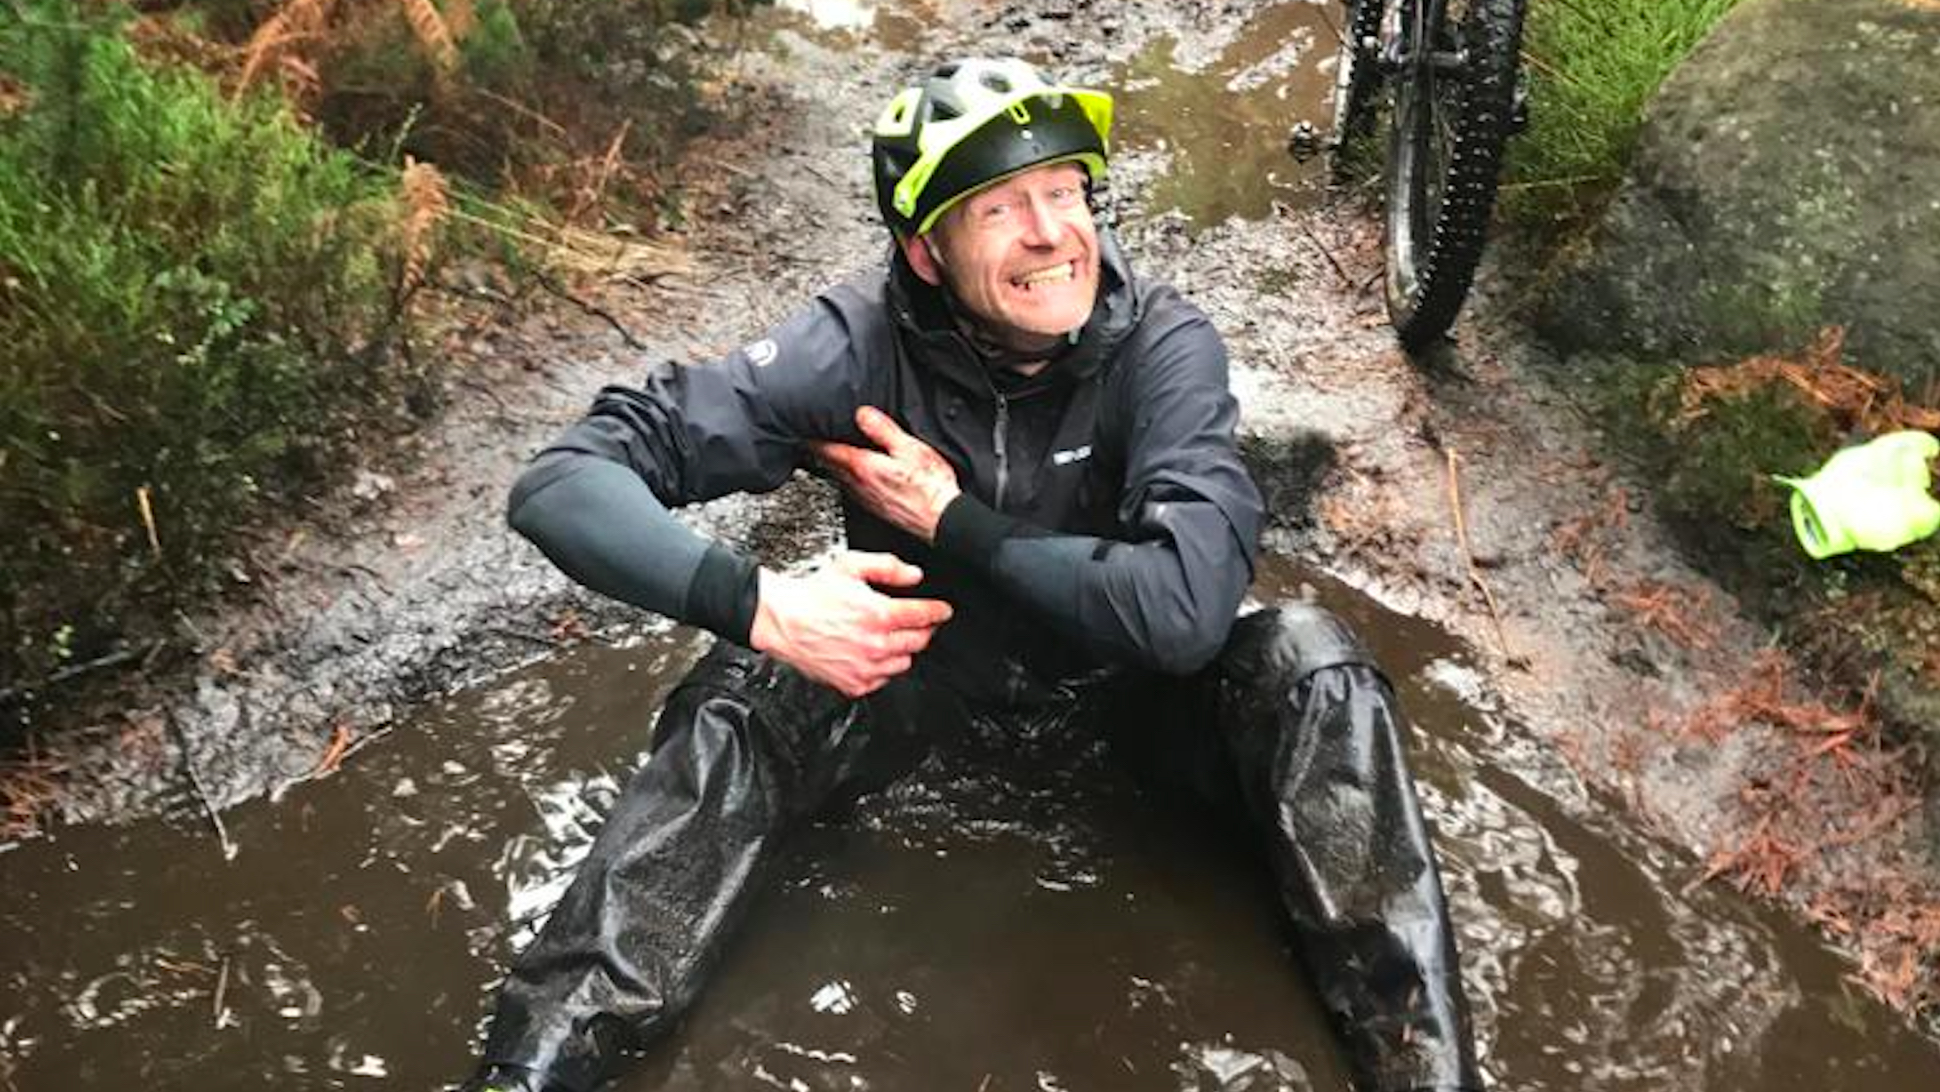
One thing that always seems to cause confusion is waterproof jackets, often because the words used are more than a little misleading and even the way fabrics perform can be confusing. DWR layers that keep water droplets ‘beading’ on the surface are a great example, because it’s easy to think once the water stops ‘beading’ and sinks in, the waterproofing isn’t working anymore. Well technically that bit of the defense isn’t, but it’s generally the membrane behind the outer face that provides the actual waterproofing. So while the face fabric ‘wetting out’ will speed up heat loss and slow down breathability, the fabric is still waterproof.
So why am I getting wet inside? That’s because even the best fabrics can’t cope with the amount of sweat a mountain biker can create when steaming uphill or working hard on a descent. Add the fact that water can seep up sleeves, down necks or up from hems – particularly if you’re wearing a wicking layer designed to move moisture and that means wetness will always build up inside the jacket somehow. That’s why I always wear tech fleeces or soft shells rather than waterproofs, but that’s another story I’ve told before.
Washed up
And while we’re on tech fabrics, while you’ll always get a laundry label telling you the temp and cycle to use for a garment there’s one bit of crucial information that’s rarely communicated. If you use conditioner on a fabric that’s designed to wick or breathe it’s like throwing a seagull into an oil slick. The pores in a breathable membrane need to be clear and open for moisture vapor to pass through. Wicking fibers work because they spread sweat or moisture over a wide area fast as possible so it can evaporate quickly. Smother membranes and fibers in a coating of conditioner though and while it might feel silky and smell nice, you’ll completely choke the performance of the fabric. You only need to do it once to ruin performance for ages too, so if you want to stay sweat free and dry then stay with simple soaps and put up with a bit more scratch and stink.

Guy Kesteven has been working on Bike Perfect since its launch in 2019. He started writing and testing for bike mags in 1996. Since then he’s written several million words about several thousand test bikes and a ridiculous amount of riding gear. He’s also penned a handful of bike-related books and he reviews MTBs over on YouTube.
Current rides: Cervelo ZFS-5, Specialized Chisel, custom Nicolai enduro tandem, Landescape/Swallow custom gravel tandem
Height: 180cm
Weight: 69kg
